Alright, fellow Earth explorers, let's get our hands dirty! Turning a tiny seed into a juicy strawberry plant feels a bit like magic. But it’s actually a brilliant science mission you can launch right from your kitchen windowsill.
To grow strawberry seed and watch it flourish, we just need to follow a few simple steps. We’ll give the seeds a little chill-out time (like a deep space nap!), tuck them into some cosy soil, and keep them warm until they’re ready to say hello to the world.
Your Mission to Grow Strawberry Seeds
Get ready for an amazing adventure! Just like Space Ranger Fred blasts off on epic missions to explore new worlds, we're about to start our own important quest. Your mission, should you choose to accept it, is to learn how to grow strawberry seed into sweet, juicy fruits you can actually pick and eat.
Watching a seed transform is one of the coolest science experiments you can do. It’s a fantastic way to understand where our food comes from and connect with nature. This strawberry mission is a perfect hands-on project; for even more ideas, check out these amazing at-home sustainability activities for kids.
Before we get started, every good explorer needs a mission plan. Here’s a quick look at the adventure ahead.
Your Strawberry Mission Briefing
| Mission Phase | What You Will Be Doing | Estimated Time |
|---|---|---|
| Phase 1: Deep Freeze | Chilling the seeds in the fridge to wake them up. | 2-4 weeks |
| Phase 2: Sowing Time | Planting your tiny seeds in soil. | 30 minutes |
| Phase 3: Germination Watch | Waiting for the first little green sprouts to appear. | 1-6 weeks |
| Phase 4: Seedling Care | Looking after your baby plants indoors. | 4-6 weeks |
| Phase 5: Moving Out | Transplanting your strong seedlings outside. | 1-2 hours |
This plan gives you a rough idea of the timeline, but remember, every seed grows at its own pace. The most important part is to have fun and watch closely!
A Super STEM Adventure
This isn't just gardening; it's a real-life STEM challenge packed with amazing discoveries. As you get your hands dirty, you'll be exploring:
- Science: You’ll discover what seeds need to germinate (that's the science word for sprouting!). It’s all about sunlight, water, and the right kind of soil.
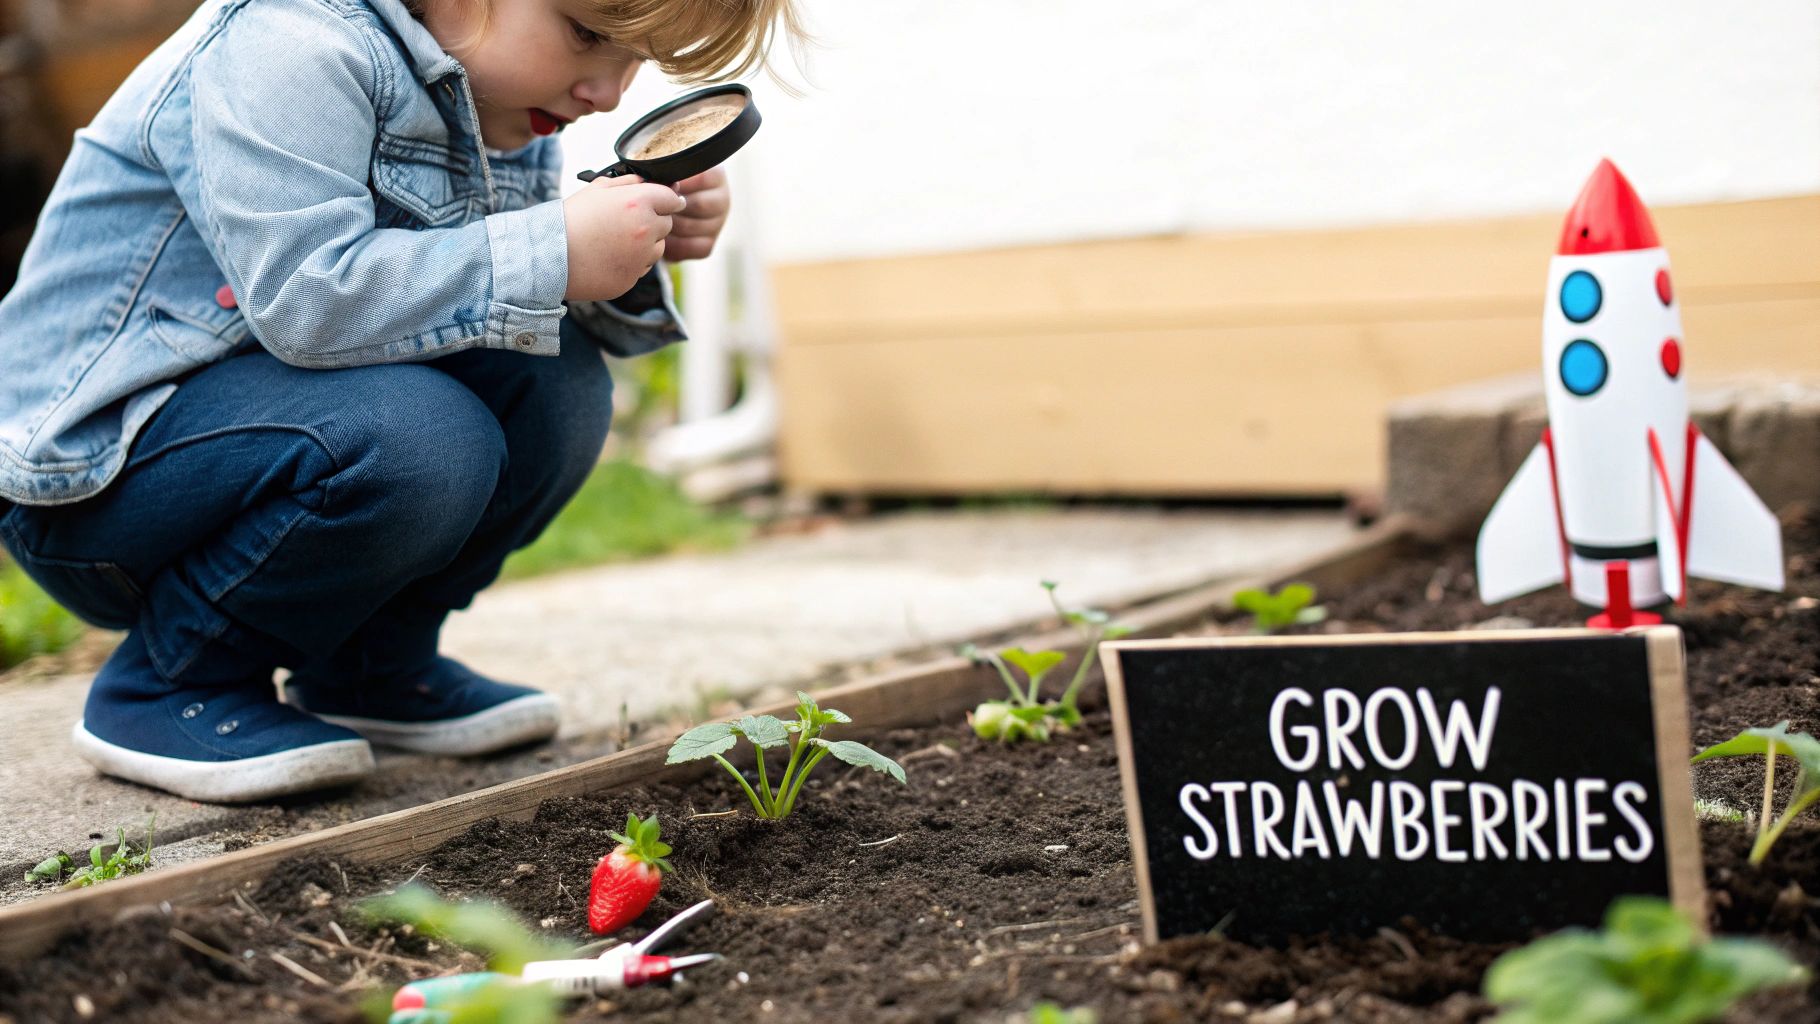
- Technology: We’ll use simple tools like pots, trays, and maybe even a magnifying glass to get a super close-up look at your seedlings' progress.
- Engineering: You'll become a garden designer, figuring out the perfect spot for your pots to get just the right amount of sunshine without getting too hot.
- Maths: Get ready to count your seeds, measure water, and track how many days it takes for your plants to pop up and grow.
Growing strawberries is a journey that teaches patience, sparks curiosity, and delivers the sweet reward of seeing your hard work pay off.
Just like in the story Fred's Cosmic Colours, where Fred learns how different elements create amazing colours in space, you'll discover how simple things like soil, water, and light combine to create something wonderful and tasty. Every step is a new discovery.
Right then, let's get our mission kit sorted!
Getting Your Mission Kit Ready
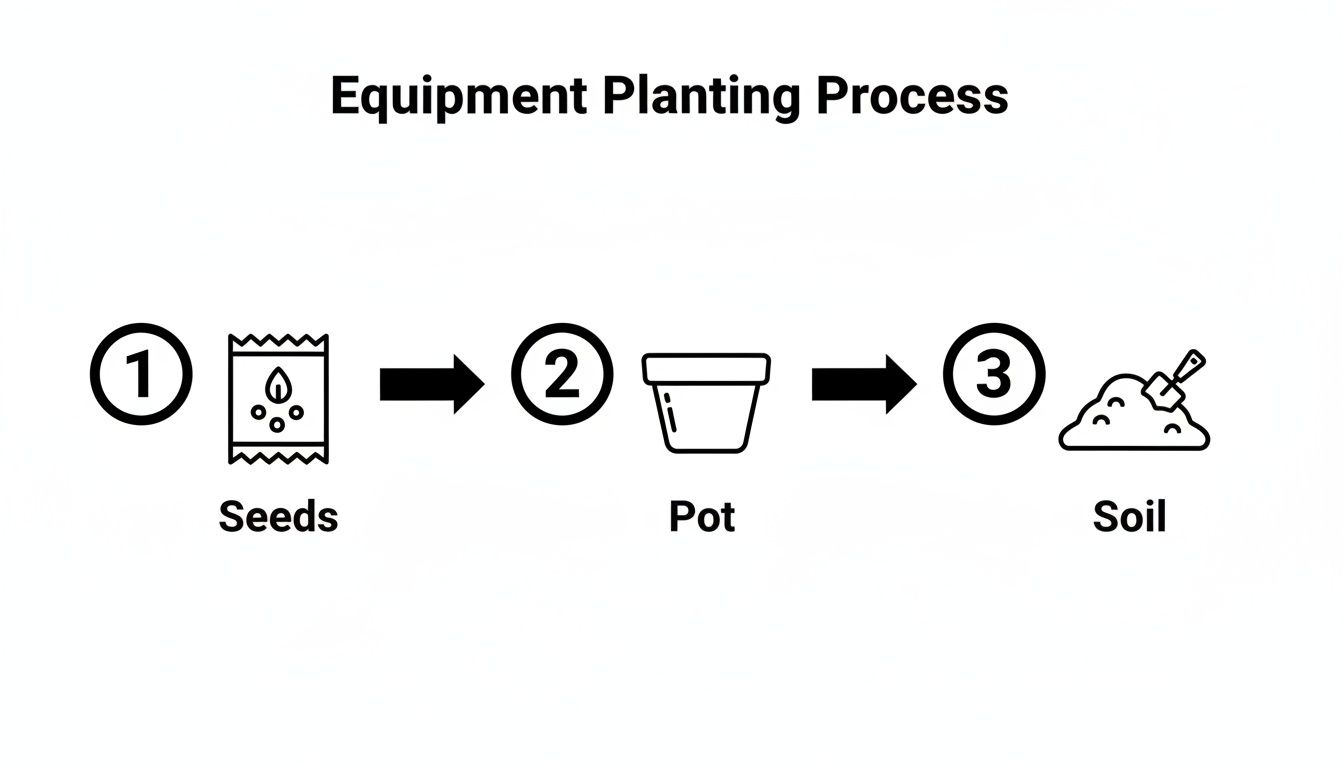
Every brilliant space mission starts with gathering the right equipment, and our strawberry-growing adventure is no different. Before we can dive in and get our hands mucky, we need to assemble all the essential supplies. Think of it as packing your astronaut backpack before blasting off to a new planet.
Getting everything ready beforehand is a fantastic job for your little helpers. It really builds the excitement and gives them a sense of ownership right from the start. Let's run through our mission checklist together.
Your Essential Supplies Checklist
To kick things off, you only need a few simple things. Most of this kit can probably be found around the house or at a local garden centre.
- Strawberry Seeds: The star of the show! You can find packets of strawberry seeds online or in most garden shops. It's a good idea to look for varieties that are known to grow well here in the UK.
- Small Pots or a Seed Tray: These will be the very first homes for your seeds. You could use special seed-starting trays, or you can be an eco-warrior and recycle small yoghurt pots or toilet roll tubes. Just make sure an adult helps to poke a few small drainage holes in the bottom so the roots don't get waterlogged.
- Seed-Starting Compost: This isn’t just any old soil from the garden! Seed-starting compost is incredibly light and fluffy, which makes it perfect for tiny, delicate roots to push through. It’s like a soft, cosy bed for your seeds. Always choose a peat-free compost if you can—it’s a simple way to help protect our planet's precious peat bogs.
- A Spray Bottle: A gentle mist of water is much kinder to tiny seeds than a great big splash from a watering can, which can easily wash them away or bury them too deep.
- Cling Film or a Clear Lid: This acts like a mini-greenhouse, trapping warmth and moisture inside to help your seeds wake up and decide it's time to sprout.
- Plant Labels: You can use old lolly sticks or even cut up plastic pots to write on. This is a brilliant way to remember what you’ve planted and, crucially, when you planted it.
Why This Gear Matters
Each piece of equipment has a special job to do. The pots provide a safe, contained space, the compost offers up vital nutrients (think of it as space food for plants!), and the clear cover creates a warm, humid atmosphere—a bit like a tropical planet where plants absolutely love to grow.
Think of your seed tray as the launchpad for your strawberry rockets. We need to make sure everything is just right for a successful take-off! Giving them the best possible start now means you'll have much stronger, healthier plants later on.
Once you have all your gear assembled, you are officially ready for the next exciting phase of the mission: waking up the seeds! For more fun projects to try while you wait for your seeds to grow, check out the free activities on the Space Ranger Fred website.
Planting Your Strawberry Seeds
Right, this is where the real mission begins—waking up your strawberry seeds from their long, cosmic sleep! Just like an astronaut needs special prep before a spacewalk, our seeds need a little help to get ready to grow.
Let the science begin!
The Secret Mission of Cold Stratification
Strawberry seeds are incredibly clever. Out in the wild, they'd spend the cold winter months resting in the chilly soil before waking up in the spring. We need to create our own mini-winter to tell them it's almost time to sprout.
This secret mission is called cold stratification, and it’s much easier than it sounds.
Think of it like this: your seeds are tiny astronauts in hibernation, floating through a frosty asteroid field (your fridge!). This cold nap tricks them into thinking winter has passed, so when they warm up, they’ll be raring to go. Most alpine strawberry varieties need about 2-4 weeks of this cold treatment to germinate properly.
It's a bit like Space Ranger Fred travelling to a cold, icy planet before heading to a warm, sunny one. The change in temperature is the signal that a new adventure is about to begin!
To get started, just pop your sealed packet of seeds straight into the fridge. That’s all there is to it! Just make sure to mark the date on a calendar so you and your little gardeners know when it's time for the next phase of your mission to grow strawberry seed.
Preparing Your Launchpad
Once your seeds have finished their chilly hibernation, it's time to prepare their first home base.
Fill your seed tray or small pots with your fluffy, peat-free seed-starting compost. Gently pat it down, but don't press too hard—we want to keep it nice and airy for those delicate new roots to wiggle through.
Next, grab your spray bottle and lightly mist the surface of the soil until it’s damp but not a muddy puddle. Imagine creating a perfectly misty morning on a newly discovered planet. This gives the seeds water right away without washing them away, which can easily happen with a big watering can.
Sowing Your Strawberry Seeds
Now for the delicate part. Carefully open your seed packet. Strawberry seeds are absolutely tiny, so this is a brilliant job for steady little hands.
Sprinkle the seeds as thinly as you can over the surface of the damp compost. Try to leave a little space between each one if possible.
Once they're sprinkled, cover them with a very thin layer of compost. We’re talking just a light dusting, about 1.5mm deep. Strawberry seeds actually need light to help them germinate, so if they're buried too deep, they might not sprout at all.
Give the surface one last gentle mist, and you're done.
Creating the Perfect Space Station Environment
To give your seeds the best possible start, we need to create a warm and humid environment, a bit like a cosy little space station.
Cover your pots or tray with some cling film or a clear plastic lid. This will trap moisture and warmth inside, creating the perfect conditions for the magic to happen.
Place your covered tray in a warm, bright spot, like a sunny windowsill. The ideal temperature for strawberry seeds to get going is between 18-24°C.
Now, the waiting game begins! It can take anywhere from one to six weeks for the first tiny green shoots to appear. Check the soil every day, and if it looks a bit dry, just give it a gentle mist with your spray bottle.
While you're waiting for lift-off, you could explore some other fun science activities for kids to keep the scientific spirit alive.
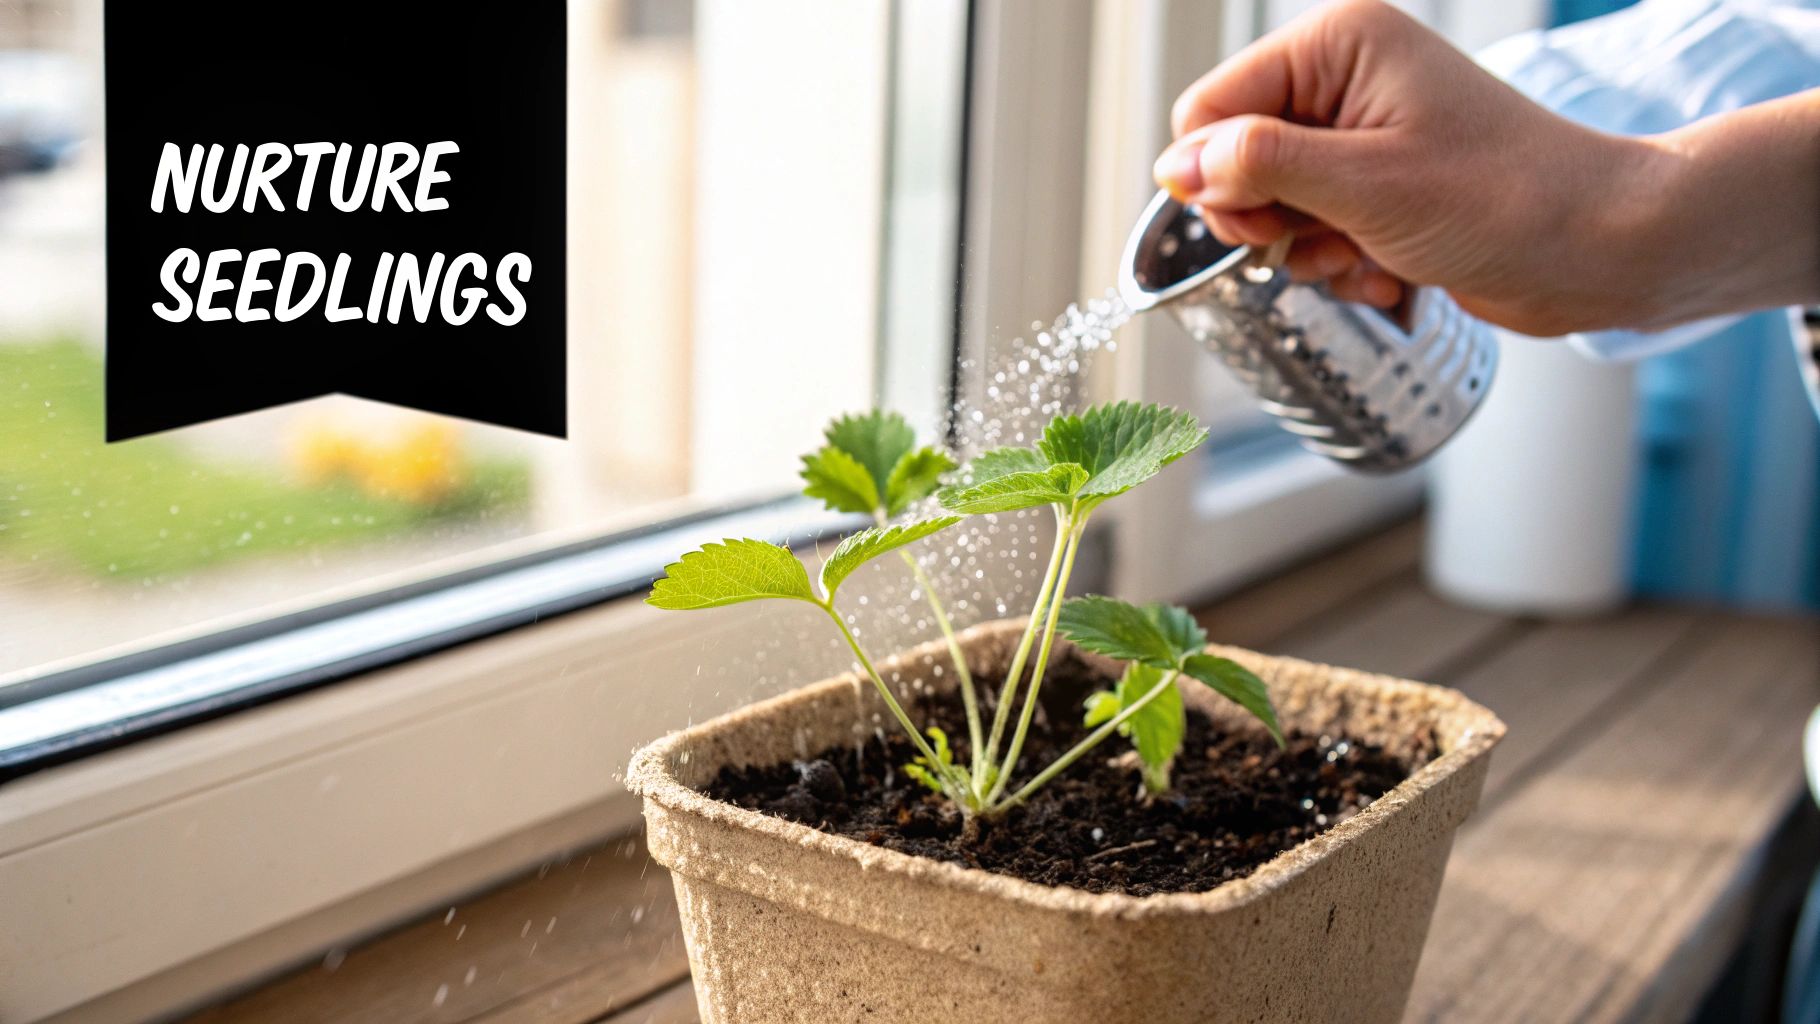
Caring for Your Sprouting Seedlings
Mission Control, we have liftoff! Those tiny green shoots poking through the compost mean your mission to grow strawberry seed has entered a brand new, exciting phase. These are your baby strawberry plants—your seedlings—and they’re counting on you to help them grow big and strong.
Just like a tiny astronaut on a space station, your seedlings have a few simple needs. Let’s pop on our plant scientist hats and take a closer look.
Giving Your Seedlings Enough Light
Light is the rocket fuel for your seedlings. They need heaps of bright, indirect sunlight to make food and develop strong stems.
A south-facing windowsill is usually the perfect launchpad. Give the pot a little turn each day to stop the seedlings from leaning too far towards the sun. This encourages them to grow straight and tall, not wonky.
If you notice your seedlings getting really long, thin, and pale—stretching out like they’re reaching for a faraway star—they probably need more light. This is called getting ‘leggy’. Try moving them to a brighter spot to give them a boost. Nailing the light and water balance is a key skill, and a good beginner's guide to indoor plant care can offer some fantastic extra tips.
Perfect Watering Practice
Water is crucial for your seedlings, but it’s a delicate balance. Too much is just as tricky as too little.
- Check the soil daily: Gently touch the surface of the compost. If it feels dry, it’s time for a drink.
- Water from the bottom: This is a clever trick to avoid disturbing those fragile little plants. Stand your pot in a shallow tray of water for about 10-15 minutes. The compost will soak up just the right amount through the drainage holes.
- Avoid soggy soil: If the compost looks dark and muddy all the time, you’re likely overwatering. Let it dry out a bit before adding more.
Think of it like this: your seedlings don’t want to be in a swimming pool or a desert. They want soil that feels like a slightly damp sponge. This kind of careful observation is what makes a brilliant scientist!
Moving to a Bigger Home Base
After a few weeks, your seedlings will have grown their first few ‘true leaves’. You’ll know them when you see them—they’re the proper, jagged-edged strawberry leaves that appear after the first two smooth baby leaves (which are called cotyledons).
Once your seedlings are about 5-7cm tall and have a few of these true leaves, they're ready to move out of their shared tray and into individual pots. This gives their roots more room to stretch out and get strong.
Solving Common Strawberry Mission Problems
Even the best Space Rangers hit a little space turbulence now and then! If your strawberry mission isn’t going exactly to plan, don’t worry. Every problem is just a puzzle waiting to be solved, and figuring things out is a huge part of the scientific adventure.
Let’s investigate some common mission glitches and get your seedlings back on course.
My Seeds Haven't Sprouted
It can feel like a very long countdown waiting for those first green shoots! If nothing has appeared after a few weeks, don't panic. Let's run through a pre-flight check.
- Was it chilly enough? Some strawberry seeds need a cold nap in the fridge (cold stratification) to wake up properly. If you skipped this step, it’s not too late to try again with a fresh batch of seeds.
- Is it warm enough? Seeds need cosy warmth to get going, ideally somewhere around 18-24°C. A sunny windowsill is perfect, but a cold, draughty spot might keep them snoozing.
- Are they buried too deep? Strawberry seeds are tiny and need a bit of light to sprout. If they’re hidden under too much compost, they might not have the energy to push their way to the surface.
My Seedlings Look a Bit Weak and Floppy
If your seedlings are looking long, thin, and a bit pale, they're probably ‘leggy’. This is their way of shouting, “I need more light!”
They are stretching as far as they can to find the sun. Try moving their pot to an even brighter spot, and give it a little turn every day so they grow straight and strong instead of leaning over. A little extra sunshine is usually all the rocket fuel they need to perk right up.
Think of troubleshooting as being a detective, just like Space Ranger Fred solving a cosmic mystery. You look for clues, test out different ideas, and learn something new with every attempt. It’s all part of the fun!
Sometimes a change of scenery is all you need. If your young explorers are feeling a bit stuck indoors while waiting for seeds to sprout, there are plenty of other fantastic missions to embark on. Check out these brilliant rainy day activities for kids for more inspiration.
Your Strawberry Mission FAQs
Every great explorer has questions, and when you're on a mission to grow strawberries from seed, it’s brilliant to be curious! Here are a few of the most common queries we get from fellow young gardeners.
Let's find the answers together to make sure your mission is a stellar success.
How Long Does It Really Take to Get Strawberries?
Ah, the big question! Patience is a super skill for any scientist or space ranger, and growing strawberries from a tiny seed is quite the journey.
Here’s a rough flight plan:
- Sprouting (Germination): You’ll need to keep a close eye on your seed tray for anywhere from 1 to 6 weeks before you see the first signs of life.
- Growing Strong Seedlings: Once they've sprouted, your baby plants will need another 4 to 6 weeks indoors to get big and strong enough for the outside world.
- First Fruit: After you’ve moved them to their final home, you could be tasting your very first homegrown strawberries in about 60 to 90 days.
So, from a tiny seed to a juicy, red berry, you’re looking at a mission timeline of a few months. Trust us, the wait makes that first bite taste even sweeter!
Can We Grow Strawberries Indoors All Year Round?
Yes, you absolutely can! Growing strawberries indoors is like having your very own food-producing space station, especially when it’s chilly and grey outside here in the UK.
To pull this off, your plants will need a bit of extra help. Since there isn't enough strong sunshine in the winter, you’ll need to use a special 'grow light'. This acts like a mini-sun, giving your plants all the light energy they need to make leaves and, eventually, yummy fruit. It's a fantastic experiment and a great way to enjoy a taste of summer, whatever the season.
What's the Best Type of Strawberry for Beginners?
For your first mission, it’s a great idea to choose a variety that’s known for being easy-going and reliable. We always recommend looking for packets of Alpine strawberries, sometimes called Fragaria vesca or woodland strawberries.
These little plants are brilliant for beginners. They’re tough, they don’t send out lots of messy runners like other types, and they produce heaps of small but incredibly flavourful berries. They are a perfect choice for growing in pots on a windowsill or patio.
A Quick Mission Update: If you spot the leaves on your strawberry plant turning yellow, it's a signal! Your plant is usually trying to tell you one of two things: either it's getting a bit too much water, or it's not getting enough sun. Try letting the soil dry out a little between waterings or moving the pot to a brighter spot. Your plant will soon let you know if you've got it right!
Your own strawberry-growing mission is a brilliant way to explore the world of science and nature right from your kitchen. For more stories that blend adventure with learning, blast off with Space Ranger Fred and discover a universe of fun!
Find your next adventure at https://spacerangerfred.com.