
Bean bag toss, or cornhole as you might know it, is one of those classic garden games that’s secretly a brilliant launchpad for learning. On the surface, it’s a simple, hands-on activity where you throw bags filled with beans or corn towards a raised board. But for us? It’s an exciting mission that blends playtime with physics and maths.
Your Bean Bag Toss Mission Briefing
Welcome, Space Rangers! Get ready to turn a simple garden game into an amazing STEM adventure. We’re going to reimagine the humble bean bag toss as the perfect mission for Space Ranger Fred, exploring how this fun activity gives children a fantastic chance to learn about physics, maths, and even a bit of engineering.
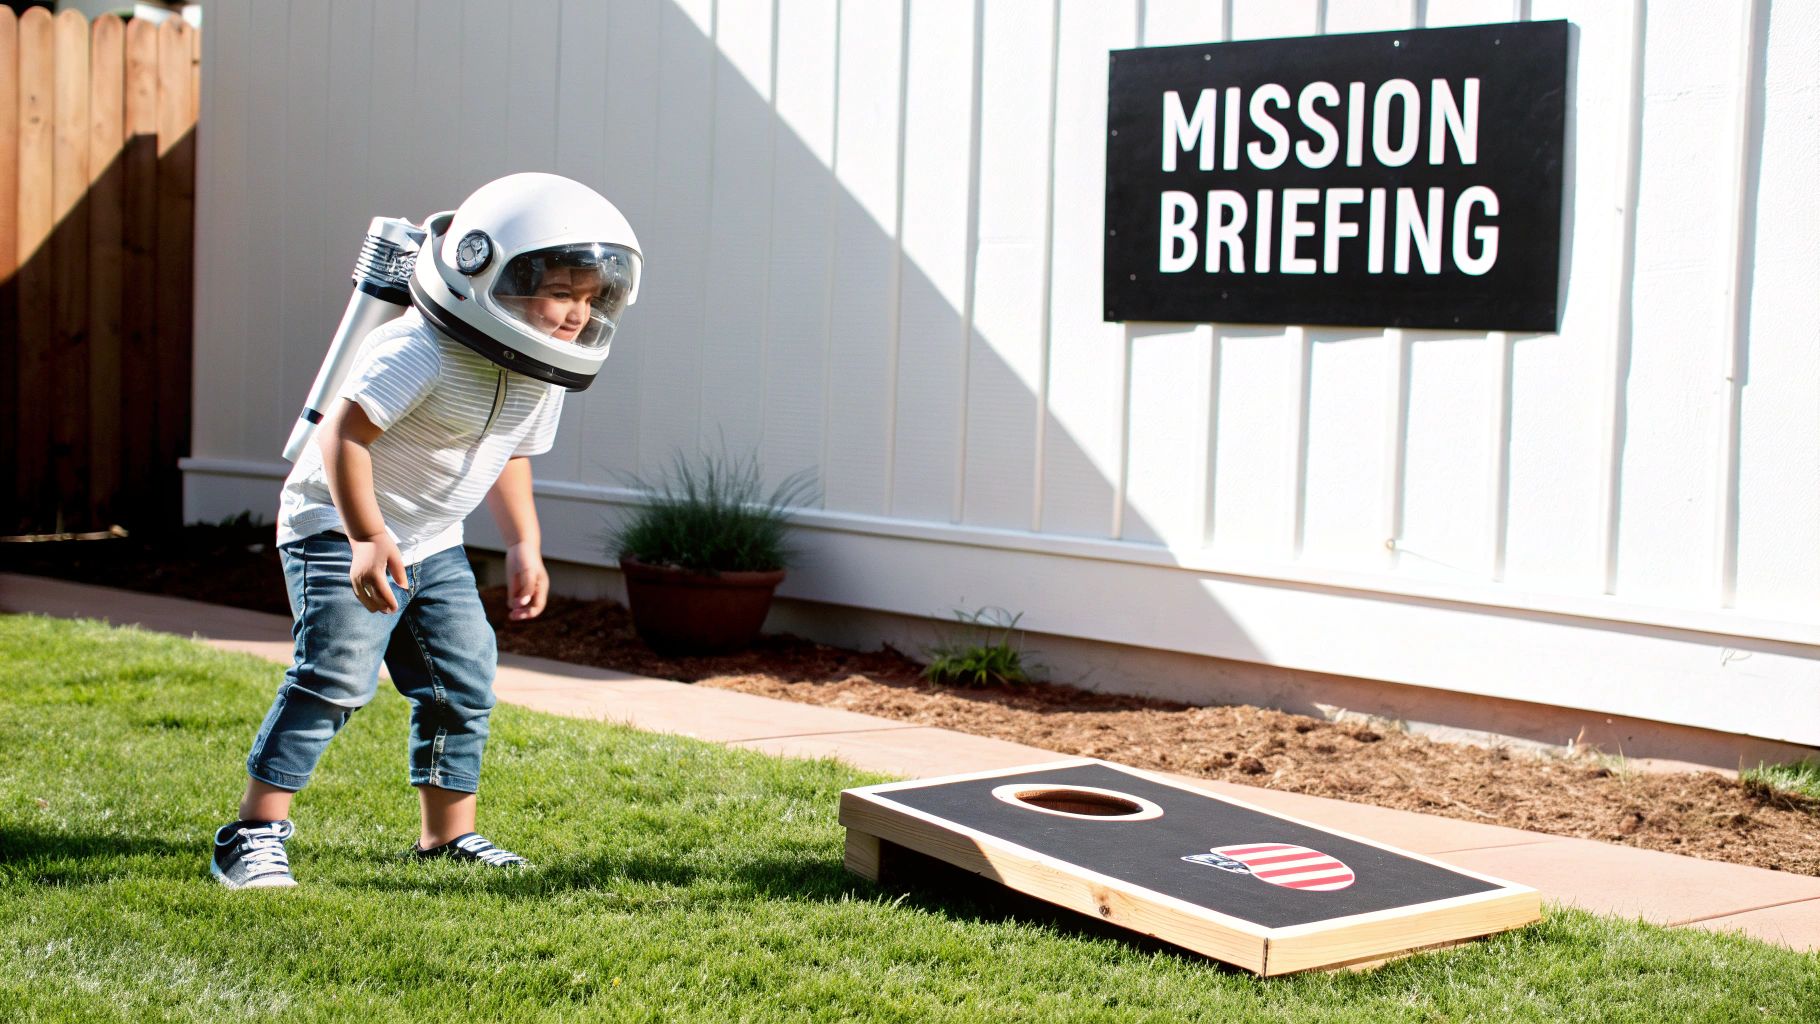
Think of it as astronaut training right in your own back garden. Every throw is a mini-lesson in trajectory and gravity, and every bag that lands on the board is a mission accomplished! This fits perfectly with the Menturity™ approach, where real learning happens through doing, trying, and talking about what we've discovered.
Learning Through Playful Missions
A hands-on project like this is fantastic for building skills that go way beyond just aiming and throwing. When children get stuck into making and playing the game, they start to develop:
- Curiosity: They'll naturally start asking questions. "What happens if I throw it higher?" or "Why did that bag slide straight off the board?"
- Confidence: Building a board from scratch or scoring that winning point is a huge confidence booster, giving them the courage to take on other challenges.
- Communication: Playing together means explaining ideas, figuring out the rules, and cheering each other on.
This kind of learning is so powerful because it doesn't feel like a stuffy lesson. It’s an adventure led by experience, where children get to be the scientists and engineers. You can dive deeper into this playful mindset by exploring our guide on what STEAM education is all about.
Our goal isn't just to play a game; it's to launch a mission of discovery. By framing the activity as a Space Ranger adventure, we turn simple actions into exciting scientific experiments that spark imagination and make complex ideas feel approachable.
Setting the Scene for Adventure
We'll give you everything you need to kick off your own bean bag toss mission. We’ll cover how to build your own gear, the science behind a perfect throw, and some fun ways to tweak the game for different ages and groups.
You don't need expensive equipment or a massive space to get going. In fact, a simple DIY setup can provide hours of fun and bring families, friends, or classmates together for a bit of friendly competition.
So, grab your mission logs, and let’s get ready for take-off!
Construct Your Intergalactic Launchpad
Every space mission needs the right equipment, and your bean bag toss adventure is no different! Here's your family’s official blueprint for building a DIY bean bag toss board—your very own intergalactic launchpad—using simple bits and bobs you can find at most hardware shops.
Building your own board is so much more than a craft project; it’s a brilliant engineering challenge that gets the whole family involved. It’s a chance for a bit of teamwork, some head-scratching problem-solving, and creative fun, all while making something you can play with for years to come.
Let's get our mission engineers ready!
Gathering Your Mission Supplies
Before you start building, it's time to gather your materials. Think of this as your pre-flight checklist. A well-prepared team is a successful team, after all!
Here’s a simple list of what you’ll generally need:
- A large piece of plywood: This becomes the main surface of your launchpad. A standard size is often around 60cm by 120cm, but feel free to adjust this to suit your garden or playroom.
- Some timber for the frame and legs: This gives your board its strength and the all-important launch angle. A few lengths of 5cm x 10cm timber usually do the trick.
- Screws, nuts, and bolts: To hold everything securely together.
- Tools for the grown-ups: A saw, a drill, a measuring tape, and some sandpaper are essential.
- Paint and brushes: To give your board its official Space Ranger Fred look!
Safety is always our top priority. An adult should handle all the cutting and drilling, but it’s a brilliant idea to get young helpers to sand down any rough edges to avoid splinters.
Assembling Your Launchpad Frame
With your materials ready, it's time to build the frame. This is where your launchpad starts to really take shape, supporting the main board and holding the legs in place.
First, cut your timber to create a rectangle that fits the edges of your plywood sheet. Go ahead and secure these pieces together with screws to form a sturdy base. This frame gives the board a bit of heft and stops it from moving around too much during an exciting game.
Next up, you'll create the legs. These are usually attached to the top end of the board with bolts, which handily allows them to fold away for easy storage. The length of the legs is important—it determines the angle of your board. This is a perfect moment for a mini-experiment! Ask your young engineers, "What happens if we make the legs shorter? Or longer? How does it change the game?"
Preparing for a Perfect Launch
Once the frame and legs are attached, it’s time to fix the plywood top. This is the all-important surface where your bean bags will land. Just lay the plywood over the frame and screw it down securely, making sure there are no wobbly bits.
Now for the target—the hole! A standard bean bag toss board has a circular hole near the top. You can use a compass or even a large dinner plate to draw a perfect circle, and then an adult can use a jigsaw to carefully cut it out. Remember to sand the edges of the hole so they’re nice and smooth.
This construction phase is a fantastic opportunity for learning. It's a real-world lesson in measurement, angles, and basic carpentry. For more ideas on creating engaging activities, check out our guide on building games for children.
Customising Your Bean Bags
Of course, no game is complete without the bean bags! You can certainly buy these, but making your own adds another layer of fun to the project.
You'll need a durable fabric like canvas or duck cloth, cut into squares. Sew three sides together, fill the pouch with dried beans, corn, or plastic pellets, and then carefully stitch the final side closed. For those interested in creating their own, understanding how to sew a stuffed item can provide some really valuable basic knowledge.
A great challenge for your crew is to make sure each bag weighs the same. This introduces a bit of sneaky maths and science—how can you measure the filling to ensure every bag is identical?
Decorating Your Space Ranger Board
This is where the real fun begins! Once your board is built, it's a blank canvas just waiting for your creative touch. A couple of coats of primer and paint will protect the wood and get it ready for decoration.
Why not give your board an official Space Ranger Fred design? You could paint planets, stars, and swirling galaxies to make it feel truly out-of-this-world. To help you create the perfect look, you can download our free space-themed stencils from the activities page on our website.
Encourage your young artists to take the lead here. Their launchpad should reflect their own cosmic creativity. Once the paint is dry, your mission is ready for its first launch!
Mastering Trajectory and Orbital Mechanics
Now that your intergalactic launchpad is ready, it's time to dig into the awesome science that makes your bean bag fly! This is where a simple garden game turns into a real-world physics lesson, but don't worry—we’re not getting bogged down with complicated sums. Instead, we’ll explore the science of a bean bag toss like it’s an exciting space mission.
Let’s imagine your bean bag is a tiny spaceship. Its mission? To land safely on a distant planet (the hole in your board!). To get there, it has to follow a very specific path through the air. In science, we call this curved path a trajectory.
The Forces Behind a Perfect Throw
Every time you launch your bean bag spaceship, two invisible forces take over. First, there’s the push you give it with your arm, which is the force that sends it soaring. The harder you throw, the more force you use, and the further your bean bag travels. Simple enough.
But there’s another force pulling it back down to Earth—gravity. Gravity is what keeps our feet on the ground and stops everything from floating off into space. It’s constantly tugging on your bean bag, pulling it downwards and creating that lovely curved arc you see with every toss.
This infographic shows the simple steps for building your board, which is the launchpad for all these physics experiments.
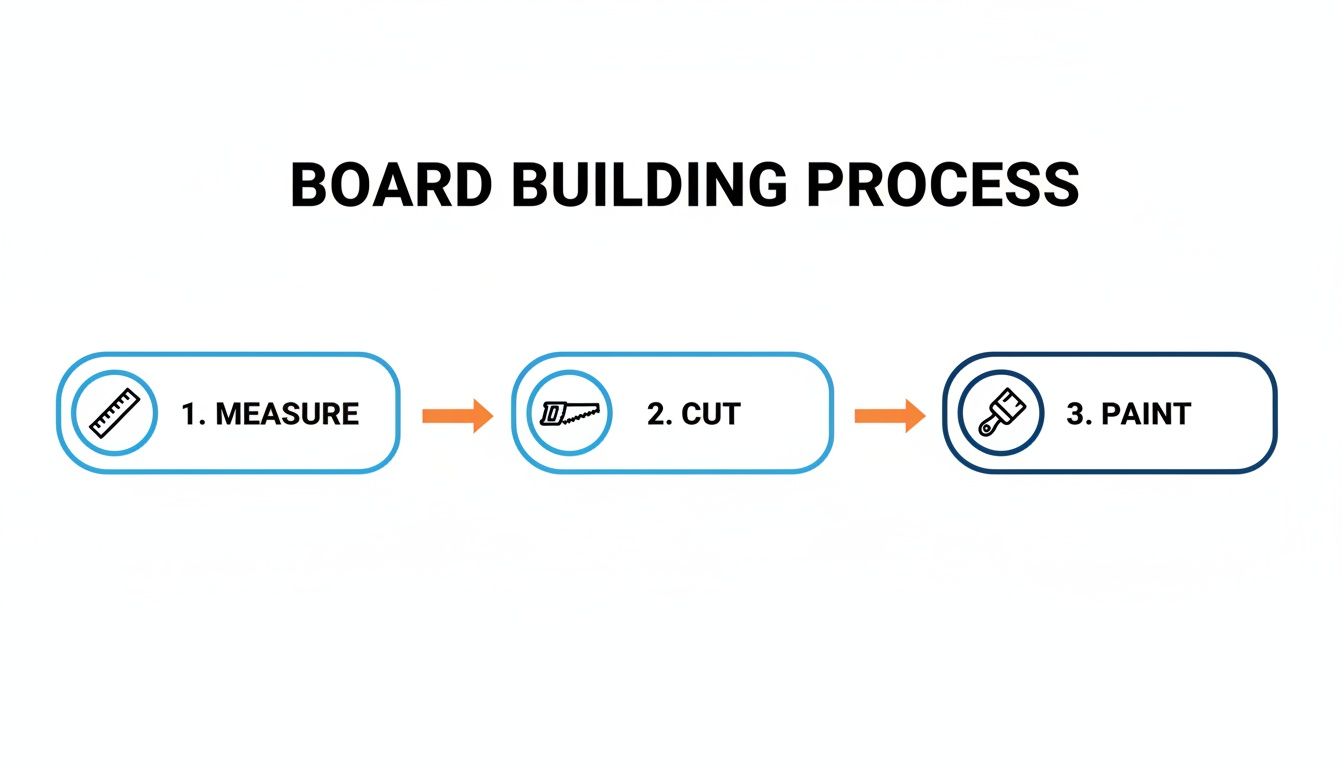
Each step, from measuring to painting, is part of the engineering process that makes your trajectory experiments possible. You can explore more about these invisible forces in our blog post about gravity explained for kids.
Finding the Perfect Launch Angle
The secret to a successful mission landing is all about finding the perfect balance between your throw's force and gravity's pull. This is where the angle of your throw becomes super important.
Think about it like this:
- Throwing too high (a steep angle): Your bean bag will go up, up, up… but gravity will quickly pull it straight back down, often falling short of the board. A classic rookie mistake!
- Throwing too low (a shallow angle): Your bean bag will shoot forwards fast and flat, but it might not have enough height to clear the board or land gently. It could even skim right over the top.
The sweet spot is somewhere in the middle. You're aiming for a gentle, rainbow-shaped arc that allows the bean bag to drop gracefully onto the target.
Mission Challenge: Can you find the perfect arc? Try throwing three bags with a very high arc and three with a very flat arc. Talk about what happens each time. Now, try to find that 'just right' throw that lands on the board most often. This is what scientists call trial and error!
A Game with Many Names
While we're having fun with our bean bag toss, it's interesting to know that people all over the world are playing their own versions of this game. In the UK, you might find it at a summer fete or in a pub garden. While lots of people in America call it 'cornhole', British players often just call it 'Bean Bag Toss'.
Sometimes, boards can have smaller holes or a steeper incline, making that perfect trajectory even trickier to master. This just goes to show how a simple idea—throwing an object at a target—can be adapted and changed, creating new challenges for players everywhere.
Turning Play into Scientific Thinking
By experimenting with your throw, you are behaving just like a real scientist or an astronaut. They have to calculate the perfect trajectory to get their rockets into orbit or land a rover on Mars. They can't just guess; they have to understand how forces like thrust and gravity work together.
Every time your young space ranger adjusts their throw, they are testing a hypothesis. They’re thinking, “If I throw it a bit softer, will it land on the board?” or “If I stand closer, will my aim get better?” This is the heart of scientific thinking—asking questions, trying things out, and learning from the results. It's learning through story and play, which is what we value most.
Setting Your Mission Rules and Scoring
Every good space mission needs a clear set of objectives! Now that your gear is ready and you’ve mastered the science of flight, it’s time for your official mission briefing. Let's run through a few different ways to play and score your bean bag toss game, with plenty of variations for different ages and skill levels.
This isn’t just about winning; it’s about making numeracy feel like part of the adventure. By tweaking the rules, you can transform a simple game into a brilliant maths challenge that grows right alongside your child.
Basic Rules for Little Cadets
For your youngest space cadets (around 6-7 years old), the mission is simple: keep it fun, positive, and encouraging. The real focus here is on taking turns, joining in, and getting to grips with basic counting.
A great starting point is a super straightforward scoring system:
- 1 point for any bag that lands and stays on the board.
- 3 points for any bag that goes straight through the hole.
This keeps the maths nice and easy, making sure everyone feels like they've succeeded. After each player has thrown their bags, get them to run up to the board and count their points together. It’s a fantastic, low-pressure way to build up their confidence.
Junior Ranger Challenges
Once your explorers are a bit older (around 8-9), you can bring in some slightly more complex rules to sharpen their mental maths. This is where the game starts to feel a bit more strategic.
Try adding subtraction into the mix. For instance, you might decide that any bag landing on the board but then sliding off means a point gets taken away. This simple change encourages players to think a little more about the power and angle of their throws.
By adding a simple twist like subtraction, you’re not just playing a game; you’re encouraging real-world thinking. Children start to see how numbers work in a practical, hands-on way, which is a core part of the Menturity™ approach.
Advanced Scoring for Senior Explorers
For older kids (ages 10-12), you can introduce a more competitive way to play known as cancellation scoring. This is how many official leagues do it, and it definitely requires some quick thinking!
In this version, only one team scores per round. After both teams have thrown, you compare the scores. The team with the higher score gets awarded the difference. For example:
- Team A scores 5 points.
- Team B scores 2 points.
Team A wins the round and gets 3 points (5 minus 2). Team B gets zero. This method makes every single throw count and adds a whole new layer of strategy, as players have to think about cancelling out their opponent's points as well as scoring their own.
To make it even more of an adventure, why not explore the different ways to play in our book, Space Ranger Fred and the Planet of Puzzles? It's packed with challenges that inspire creative problem-solving.
Find Your Favourite Mission Rules
There’s no single "right" way to play bean bag toss. Honestly, the best part is experimenting to find what works for your crew. To help you decide, I've put together a quick comparison of the different scoring methods.
Space Ranger Fred Scoring Variations
| Mission Level | Points for Landing on Board | Points for Bag in Hole | Best For |
|---|---|---|---|
| Little Cadets (Ages 6-7) | 1 point | 3 points | Practising simple counting and taking turns. |
| Junior Rangers (Ages 8-9) | 1 point | 5 points (subtract for bags falling off) | Developing basic addition and subtraction skills. |
| Senior Explorers (Ages 10-12) | 3 points | 10 points (use cancellation scoring) | Encouraging strategic thinking and mental maths. |
Give each one a try and see which mission your family enjoys the most. You could even invent your own scoring system! The most important rule is simply to have fun and learn together.
For more creative ideas, be sure to check out our free activities page for other great games you can play.
Adapting Your Game for Any Mission
One of the best things about a simple game is how you can completely change it with a little bit of imagination. What starts as a basic garden activity can become a brand-new adventure every single time. Your DIY bean bag toss board is the perfect launchpad for all sorts of creative missions, whether you're planning a birthday party, a family get-together, or an exciting classroom lesson.
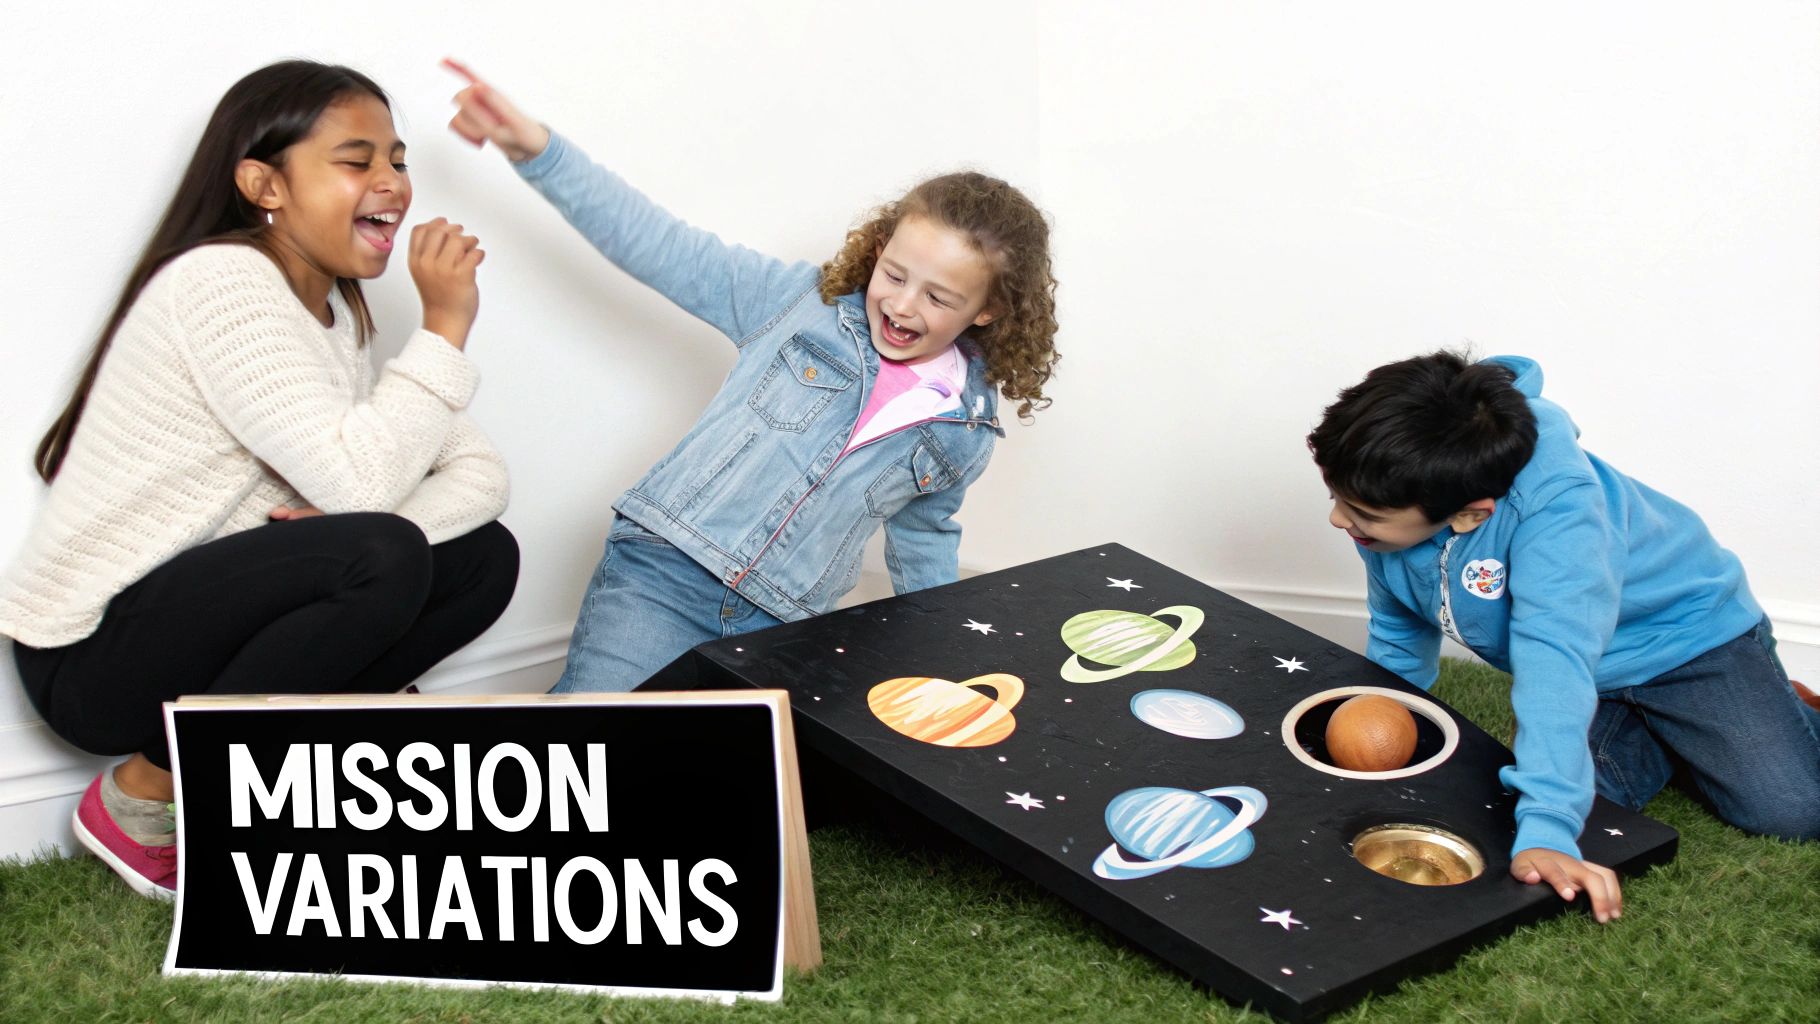
This kind of playful adaptation is what the Menturity™ approach is all about. It encourages children to see how one idea can spark many others, giving them the confidence to experiment and share their own creative suggestions.
Party and Garden Game Variations
A bean bag toss is a brilliant addition to any party. Its popularity has grown massively in recent years, becoming a common sight at summer fetes and in pub gardens across Britain.
To make your game the star of the show, try these space-themed twists:
- Planet Hopping: Grab some chalk or stickers and label different parts of the board with planet names. Then, call out a destination—"Mission objective: land on Mars!"—and see who can hit the target.
- Asteroid Field Challenge: Scatter a few extra obstacles (like soft toys or cushions) around the board. Players now have to navigate the "asteroid field" with their throws, making the mission just a little bit trickier.
- Team Relay Race: For bigger groups, set up two boards and divide players into teams. The first player throws their bags, sprints to collect them, and tags the next person in line. It’s a fantastic way to get everyone moving and working together.
Of course, the fun doesn't have to stop there. If you're looking for more ways to keep your crew engaged, you can discover plenty of other interactive games for parties.
Bringing the Mission Into the Classroom
Teachers, this is where a bean bag toss game really shines as a teaching tool. It gives you a hands-on way to bring abstract concepts to life, making learning feel active, memorable, and genuinely fun.
Instead of just talking about the solar system, why not turn your lesson into an interactive mission? You could create different boards for the inner and outer planets, challenging students to land their "spaceships" in the correct order. This reinforces what they've learned while letting them burn off a bit of energy at the same time.
A simple bean bag toss game can easily become a dynamic lesson on physics. Challenge students to predict the trajectory of their throws or measure the distance and angle needed to score. It’s a perfect example of experience-led learning, where children discover scientific principles for themselves.
Theming Your Game Around a Story
One of my favourite ways to adapt the game is to tie it directly to a story. Think about the adventures in the Space Ranger Fred and the Race to Neptune book. You could decorate your board to look like the planet Neptune and challenge players to help Fred complete his mission by landing their bean bags safely.
This kind of narrative play does more than just make the game fun; it helps children connect with the story on a much deeper level. They’re no longer just throwing bags at a board; they’re participating in the adventure and helping their favourite character solve a problem. It’s a brilliant way to get them thinking creatively and talking about their ideas as they imagine themselves as part of the story.
By changing the theme, rules, or setting, you’re showing your young explorers that learning isn’t confined to books or screens. It’s something you can do, try, and talk about—whether you’re in the classroom, the back garden, or on a mission to the farthest reaches of the galaxy.
Mission Control: Your Questions Answered
Every great mission starts with a few good questions. Even the most experienced Space Rangers need to check their flight plan! Here are some of the most common queries we get at Mission Control, answered with a little help from Space Ranger Fred himself.
What’s the Best Stuff for Making the Bean Bags?
Excellent question, mission engineer! For the outside of the bag, you’ll want a really tough fabric that can handle being launched into orbit again and again. Things like canvas or duck cloth are brilliant choices—they’re strong and will last for ages.
When it comes to the filling, you’ve got loads of options. While the game is sometimes called cornhole because people traditionally used dried corn, you can get just as creative.
- Dried beans or lentils
- Small plastic pellets
- Uncooked rice
The key is making sure each bag weighs roughly the same so the game is fair and consistent. It’s actually a fantastic little science experiment to see which filling flies best!
How Can I Make the Game Safe for Younger Cadets?
Safety first—that’s the number one rule on any Space Ranger mission! When you’re building the board, a grown-up should always be in charge of tools like saws and drills. A brilliant job for young helpers is sanding down any rough edges to make absolutely sure there are no splinters.
For the game itself, always stick to soft bean bags and clear plenty of space around the playing area so nobody trips or bumps into anything. For little arms that are still training, you can also slide the boards closer together to make the target a bit easier to hit.
The real goal here is to build confidence and have a blast. Tweaking the game to suit your little cadets ensures they have a positive experience, which is the most important part of learning through play.
My Child Gets Frustrated When They Can’t Score. How Can I Help?
That’s a very thoughtful question. Every astronaut has to practise a lot before they get things right, and it’s totally normal to feel a bit wobbly at the start. One of the best ways to help is to make it much easier to succeed.
Try moving the boards super close together. You could even grab some chalk and draw a huge "bonus zone" around the board—if a bag lands inside that zone, it still scores a point!
The most important thing is to celebrate the effort, not just the result. Praise their brilliant throws, their great teamwork, and their determination. Every single throw, whether it scores or not, is helping them learn and get better.
Can We Play This Game Indoors?
Absolutely! The mission can easily move indoors on a rainy day. Just be sure to play in a room with lots of open space, like a playroom or a long hallway. And definitely move any breakable items well out of the way before you start.
It might also be a good idea to use slightly softer bean bags for an indoor game, just to be extra safe. It's a fantastic way to burn off some energy when you can’t get outside for a proper space adventure.
At Space Ranger Fred, we believe learning is best when it feels like an adventure. From building your own games to exploring the stars, there’s always a new mission waiting.
Ready for your next quest? Explore our books, activities, and more and launch your own journey of discovery today.