Ready for an exciting mission right from your own back garden? Building a rocket is a fantastic way to get stuck into some real science, and it all comes down to two main things: crafting a pressure-tight body and setting up a safe launch system. This guide will walk you through turning a simple fizzy drink bottle into a seriously high-flying vessel.
Your Mission Briefing Before You Build
Welcome, space ranger! You know how in Space Ranger Fred and the Shoelace Adventure, a totally normal object kicks off a massive journey? That's exactly what we're about to do. We’re going to transform everyday stuff into an incredible water-and-air-powered rocket. This is much more than just a craft project; it’s a hands-on science experiment that feels just like a real space launch.
Think of this guide as your mission blueprint. We'll cover everything you need to know to safely build an impressive rocket and, more importantly, understand the science that gets it off the ground. Get ready to explore the physics of space travel in the most fun way imaginable.
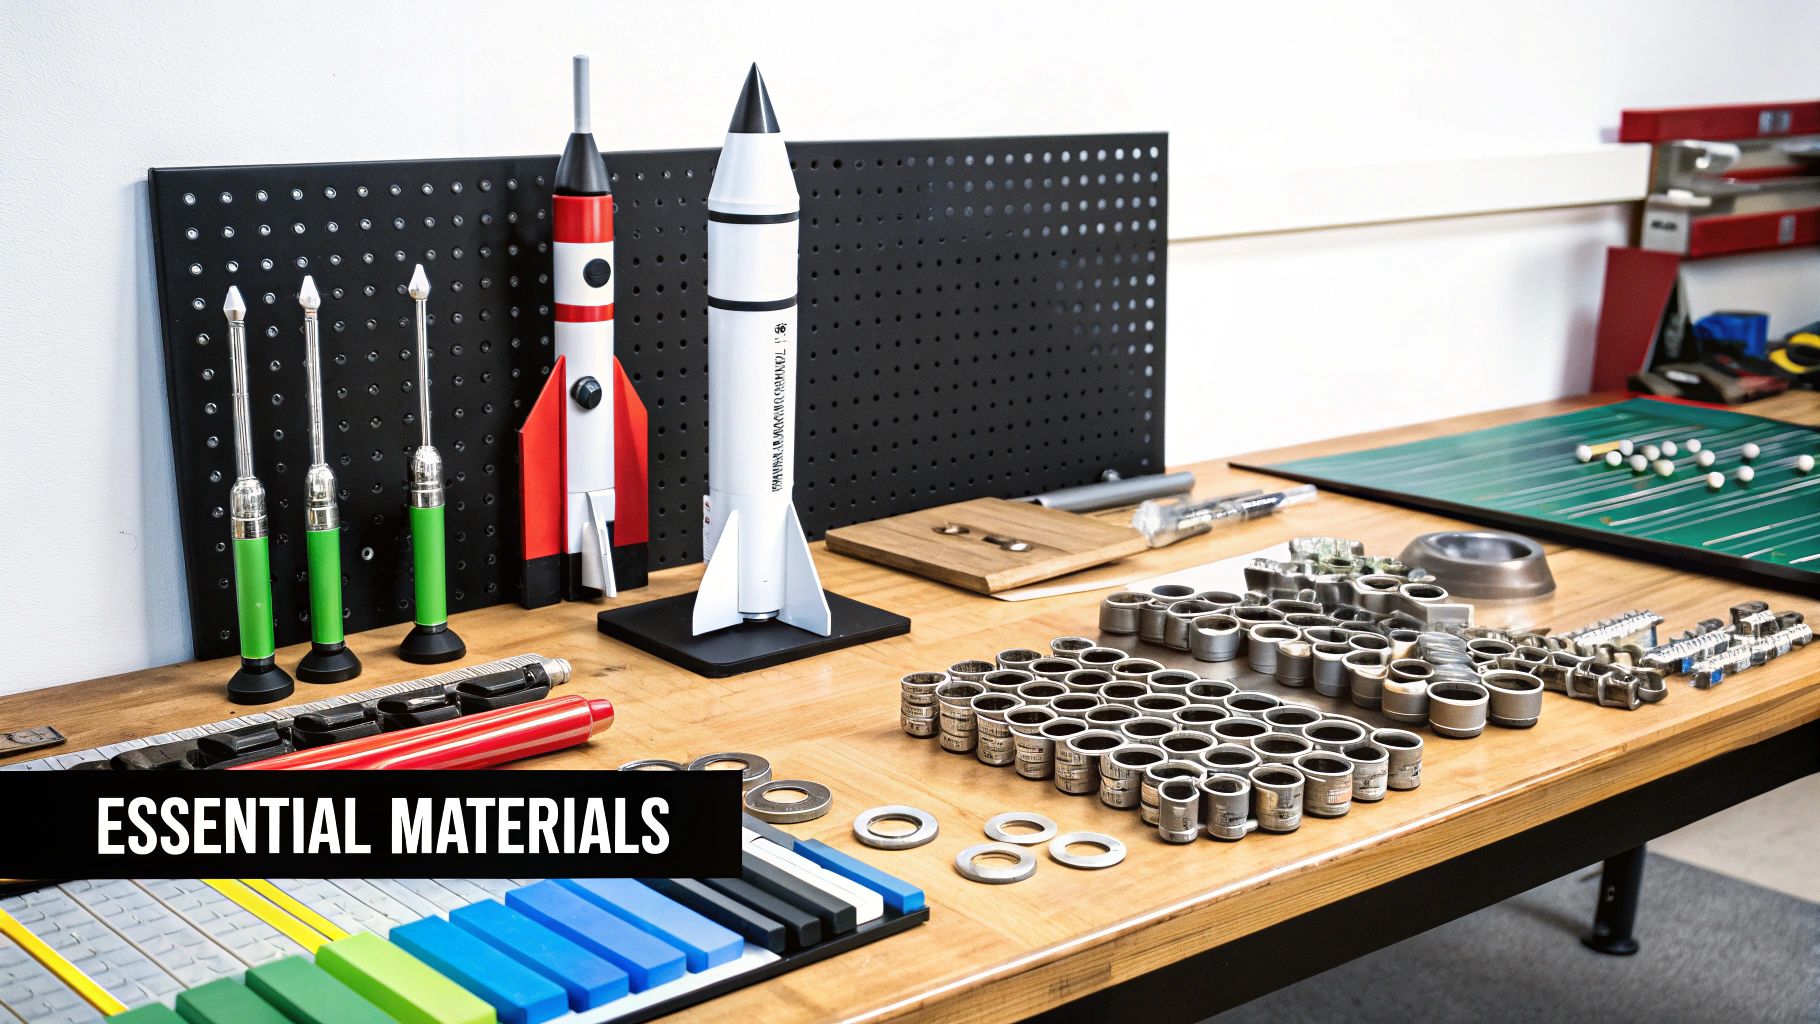
Your Essential Rocket Building Toolkit
Before we dive into the build, let's gather our supplies. Having everything you need laid out and ready to go makes the whole process smoother and a lot more fun. Here's a quick checklist of all the materials and tools you'll need for your space mission.
| Item Category | Specific Item | Top Tip |
|---|---|---|
| Rocket Body | A 2-litre plastic fizzy drink bottle (empty and clean) | Choose a bottle with a smooth, rounded shape for better aerodynamics. The sturdier, the better! |
| Nose Cone & Fins | A sheet of sturdy but flexible cardboard (an old cereal box is perfect) | Cardboard is easy to cut and shape, making it ideal for creating the crucial aerodynamic parts. |
| Ballast | A small handful of plasticine or modelling clay | This adds weight to the nose cone, which is key for a stable, straight flight. |
| Launch System | A cork that fits snugly into the bottle opening, a bicycle pump with a needle adapter | The cork creates the seal, and the pump is how we'll build up the pressure needed for a powerful launch. |
| Tools & Adhesives | Scissors, strong waterproof tape (like duct tape), a ruler, and a permanent marker | Good, strong tape is your best friend here. It needs to hold everything together against some serious force! |
Once you've assembled your toolkit, you're officially ready to move from mission control to the engineering bay!
Your First Steps to Becoming a Rocket Scientist
Before you start cutting and taping, let's talk about our mission goals. This isn't just about following instructions; it's an adventure in learning where you get to ask questions and see the answers fly, literally!
You'll get to grips with some really cool concepts, like:
- Thrust: The powerful push that sends your rocket skyward.
- Pressure: How we bottle up energy inside the rocket, ready for blast-off.
- Aerodynamics: Why the pointy nose cone and sleek body help it slice through the air.
- Stability: The super-important job the fins do to stop it from tumbling.
This hands-on approach is all about discovering things for yourself, which is exactly how real scientists and explorers work. If you're curious about this style of learning, you can find out more about what is iniquity-based learning and how it turns you into an innovator. With a grown-up on your mission support team, you'll be all set for an amazing launch.
"The most exciting phrase to hear in science, the one that heralds new discoveries, is not 'Eureka!' but 'That's funny…'" – Isaac Asimov
This brilliant quote is a reminder that every launch—whether it soars perfectly or does a funny wobble—is a chance to learn something new. Right then, let's get our mission parameters in order and prepare for liftoff.
Gathering Your Rocket Launch Supplies
Every great inventor needs the right tools and materials before they can bring their creation to life. Think of this as our pre-flight check, where we'll gather everything needed to build our magnificent vessel. Much like in Space Ranger Fred and the Umbrella Rescue, where an everyday item becomes a mission-critical tool, our rocket is built from things you might already have lying around the house.
Our mission is to build a simple but powerful water rocket. Getting all your supplies organised first makes the whole building process go a lot more smoothly.
The Essential Components for Your Rocket
The shopping list for this mission is wonderfully straightforward. You can probably find most of these items in your kitchen or garage, which makes this a brilliant and affordable project for any family to get started on.
Here’s exactly what you’ll need:
- A Sturdy Plastic Fizzy Drink Bottle: This is going to be the main body, or fuselage, of your rocket. A 2-litre bottle works best because it’s big, tough, and designed to hold pressure.
- Stiff Cardboard: An old cereal box or a delivery carton is perfect for this. We’ll be cutting out fins from it to keep your rocket stable as it flies.
- A Snug-Fitting Cork: This is a vital part of the launch mechanism. It needs to fit really tightly into the bottle's opening to create an airtight seal. No gaps!
- A Bicycle Pump with a Needle Adapter: The kind of needle adapter you'd use for a football is key. This is our 'engine room', allowing us to pump pressurised air into the rocket.
You might be wondering, "Why a fizzy drink bottle?" Well, those bottles are specifically designed to handle high pressure from the inside, which is exactly what we need for a spectacular launch.
The UK's Pioneering Rocket History
Building rockets in your garden connects you to a long and proud history of British ingenuity. The UK's journey into rocketry really took off with projects like the Black Knight programme in 1955, which tested high-altitude flight.
This was followed by famous rockets like the Blue Streak and the Black Arrow. In fact, the Black Arrow successfully launched Britain's only satellite, Prospero, way back in 1971. These early programmes were foundational, testing technologies and building the knowledge that shaped the UK's role in space exploration. To learn more about this fascinating past, you can explore the history of the UK space program.
Remember, every massive space mission started with a simple idea and a collection of basic parts. Your fizzy drink bottle today could be the first step towards designing the spaceships of tomorrow!
With your supplies gathered, you're not just a builder; you're now part of a great tradition of British rocketeers. Once you have your bottle, cardboard, cork, and pump ready, we can move on to the really exciting bit: assembly. Let's start putting these pieces together and build something truly out of this world.
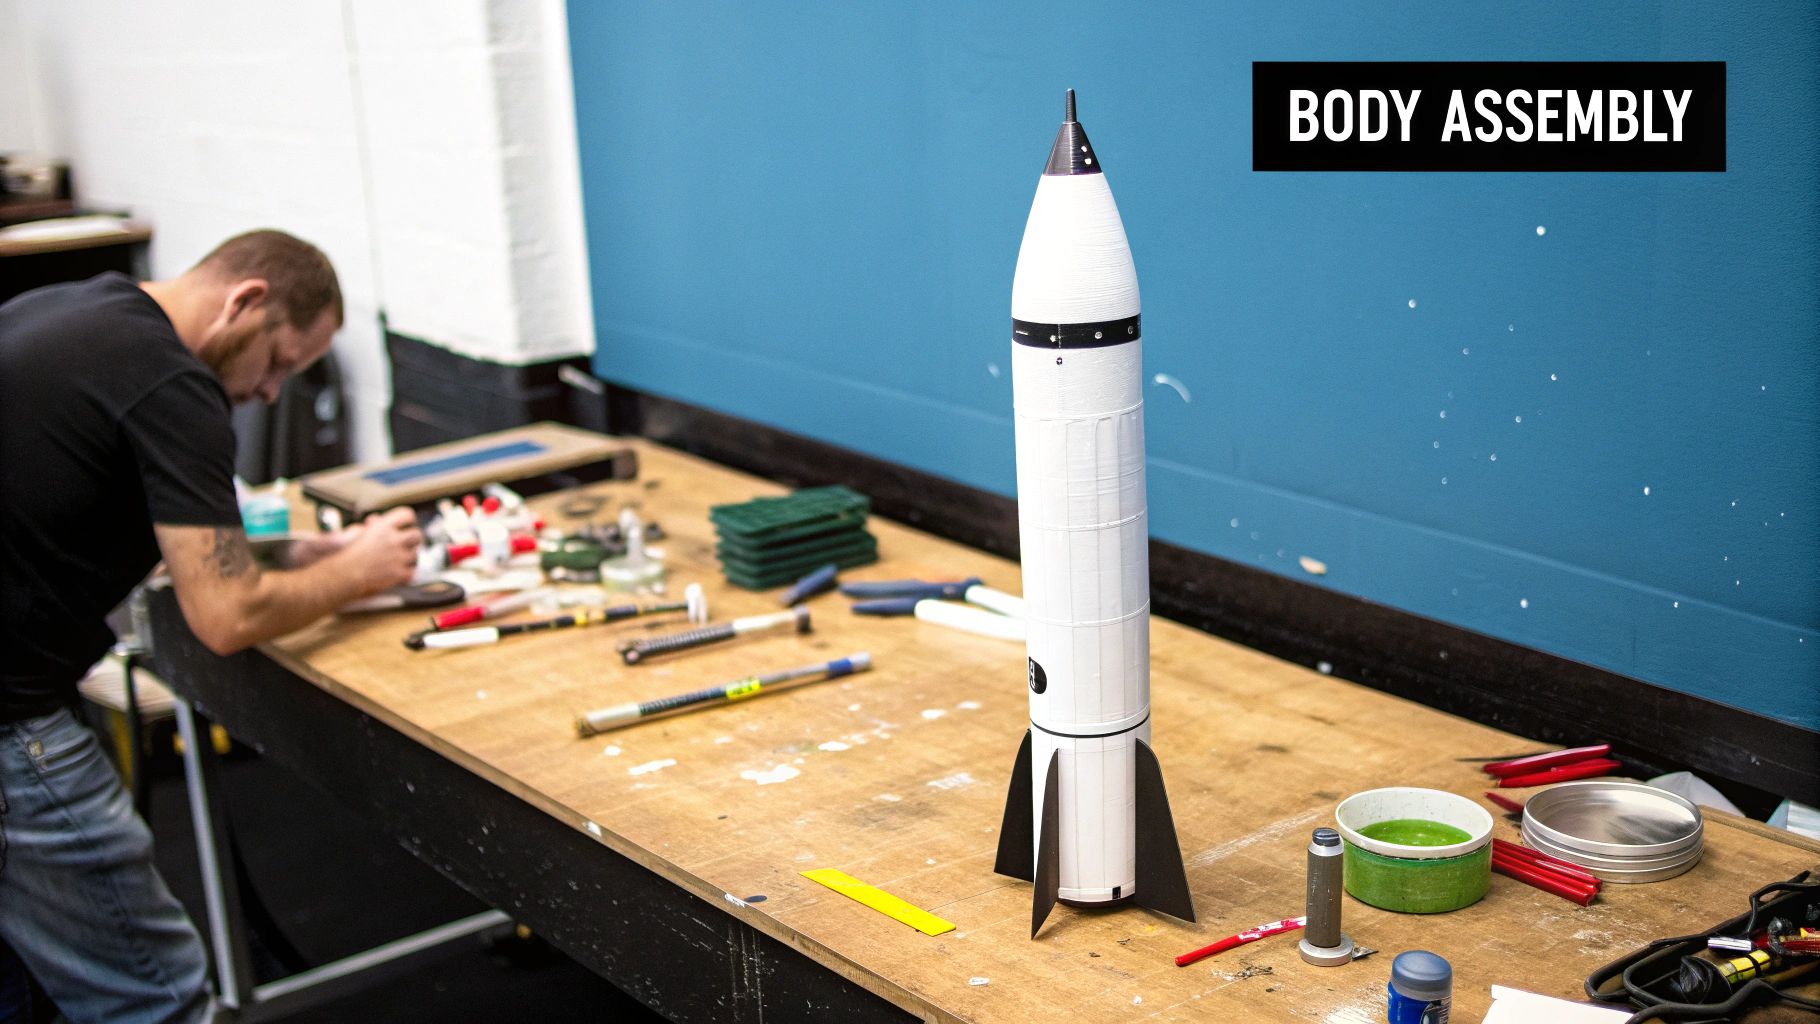
Getting Your Bottle Rocket Built
Alright, mission control, this is where the real engineering begins! With all your supplies gathered, it’s time to transform that pile of everyday items into a proper flying machine. We'll walk through the construction in a few simple stages to get your rocket ready for the launchpad.
The process might seem straightforward, but every single part plays a vital role in a successful launch. Just like in Space Ranger Fred and the Tick Tock Tale, where every component has to work perfectly on time, our rocket's parts need to be assembled with a bit of care.
Crafting the Fins for a Steady Flight
First on the list are the fins. These are non-negotiable; they act as the rocket's guidance system, keeping it flying straight and true instead of tumbling through the air. Think of them like the feathers on an arrow—without them, it would just wobble uncontrollably.
You'll want to make three, or even better, four identical fins to give your rocket maximum stability.
- Design Your Fin Shape: On your piece of cardboard, draw a right-angled triangle or a cool-looking swept-back fin shape. A good starting size is about 10 cm along the bottom edge and 8 cm high.
- Cut Them All Out: Carefully cut out your first fin. Now, use that one as a template to trace and cut the other three. It's really important they are all exactly the same size and shape.
- Attach to the Rocket Body: Use your strong, waterproof tape to securely attach the fins to the bottom end of the bottle. Make sure you space them out evenly around the bottle's circumference. Double-check that they're pointing perfectly straight!
A great way to check your fin placement is to look down the bottle from the top. They should form a perfect '+' or 'x' shape. That symmetry is the real secret to a stable flight.
This whole process of designing and building is a small taste of how real aerospace engineers work, starting with what the rocket needs to do and then drawing up a plan to build it.
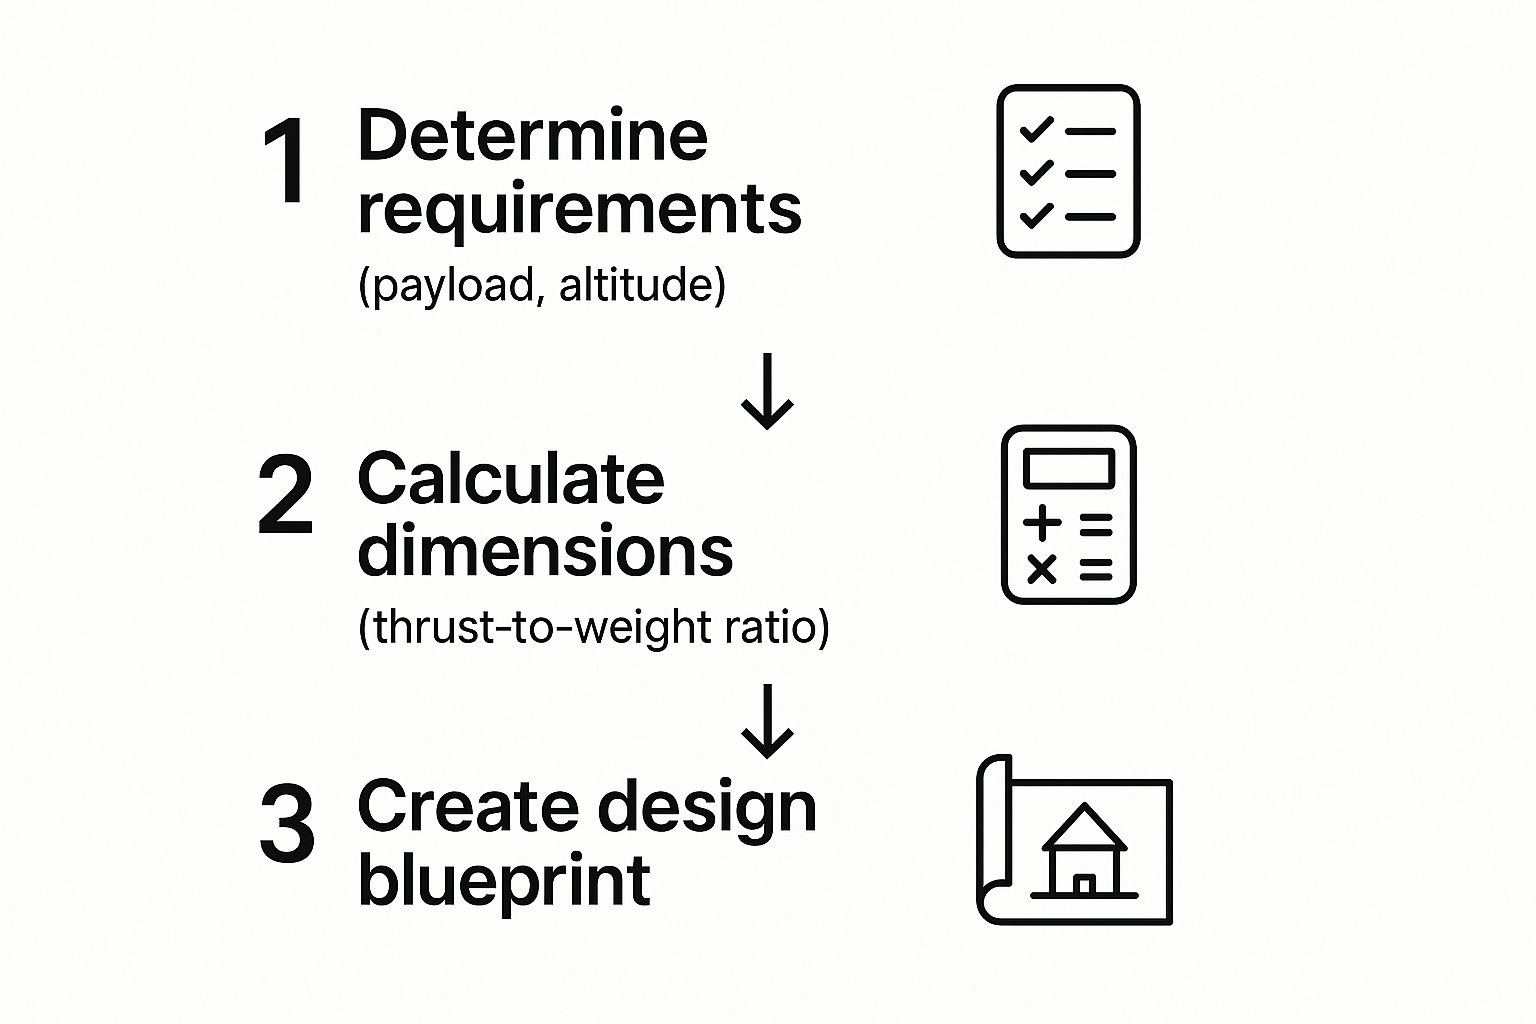
This shows that every successful design kicks off with a clear plan, from figuring out the mission's goals to creating the final blueprint for construction.
Adding the Nose Cone and Launch System
With the fins attached, your rocket is starting to look the part! Now, let's add a nose cone to make it more aerodynamic. That's just a fancy word for helping it slice through the air with less effort.
Cut a large circle from your leftover cardboard. Next, cut a straight line from the edge to the centre. You can then overlap the cut edges to form a cone shape. Tape it securely, and then attach it to the base of the bottle (which becomes the top of your rocket when it's standing up).
Time for the heart of the launch system: the cork and the pump adaptor. This is the most important part for building up the pressure needed for lift-off.
Top Tip: This next bit definitely needs an adult's help. You need to carefully and slowly push the bicycle pump's needle adaptor all the way through the centre of the cork. The aim is to have the needle poke out the other side while making sure the cork stays in one piece to form an airtight seal.
Once the needle is through, check the fit. The cork needs to wedge tightly into the mouth of the bottle. If it's loose, you'll lose all your pressure, and your launch will be a bit of a flop.
Adding Your Own Flair and Final Checks
The last part of the build is all about making the rocket yours. This is your chance to get creative! Get out the permanent markers, stickers, or even some paint and give your vessel an amazing, unique design. Will it be a sleek science craft or a colourful explorer's ship?
Once you’re happy with how it looks, you’re almost ready for the launchpad. This whole project is a fantastic hands-on learning experience. If you're hunting for more fun ways to explore the world of science, have a look at these other brilliant science experiments for children you can do at home.
Now, let's get ready to understand the science that will make it fly.
Understanding The Science Of Your Rocket Launch
So, your awesome new rocket is built and ready for action. But what’s the secret sauce that actually makes it fly? It isn't magic; it’s pure, brilliant science! This is the part where your hands-on project turns into a fantastic STEM lesson, connecting what you’ve built to the very same rules that send real rockets into space.
It all comes down to a fundamental law of physics, figured out by a very clever chap named Sir Isaac Newton hundreds of years ago.
The Power Of Action And Reaction
Ever blown up a balloon and let it go without tying it? It zips all over the room, right? Your rocket works in almost the exact same way, and it’s all thanks to Newton's Third Law of Motion.
This law states that for every action, there is an equal and opposite reaction. It might sound a bit complicated, but it’s actually pretty simple when you think about your rocket.
- The Action: Pumping air into the bottle squashes more and more air into a tiny space, building up enormous pressure. This pressure pushes down hard on the water inside until it has nowhere to go but out the bottom at high speed.
- The Reaction: As the water blasts downwards (the action), it pushes the rocket upwards with the same amount of force (the reaction). That powerful upward push is called thrust, and it’s what sends your rocket soaring into the sky!
The more pressure you build, the faster the water shoots out, and the higher your rocket will fly. This basic principle is the same one used by the colossal engines that launch astronauts into orbit.
Every time you see a rocket launch on TV, you're watching Newton's Third Law in action on a massive scale. The engines push hot gas downwards with incredible force, and in reaction, the rocket is pushed upwards towards space.
Why Your Rocket's Shape Matters
Newton's law provides the oomph, but the smart design choices you made are what make the flight a success. This is where aerodynamics and stability come into play. Just as Space Ranger Fred learns on his adventures, having the right gear designed for the job is crucial.
That nose cone you added isn't just for looks. Its pointed shape helps the rocket slice cleanly through the air, reducing drag (air resistance) and letting it fly higher and faster. A rocket with a flat top would have to push much harder against the air, which would really slow it down.
The fins are just as important for stability. As the rocket flies, even a tiny wobble could send it tumbling out of control. The fins act like the feathers on an arrow, catching the air to instantly correct the rocket's path and keep it pointing straight up. Without them, your powerful launch would likely end in a spin.
These are just a few of the amazing principles that govern flight, and you can discover even more amazing space facts for kids that explain the science of the cosmos. Now that you understand the science, let's get ready for a safe and successful launch.
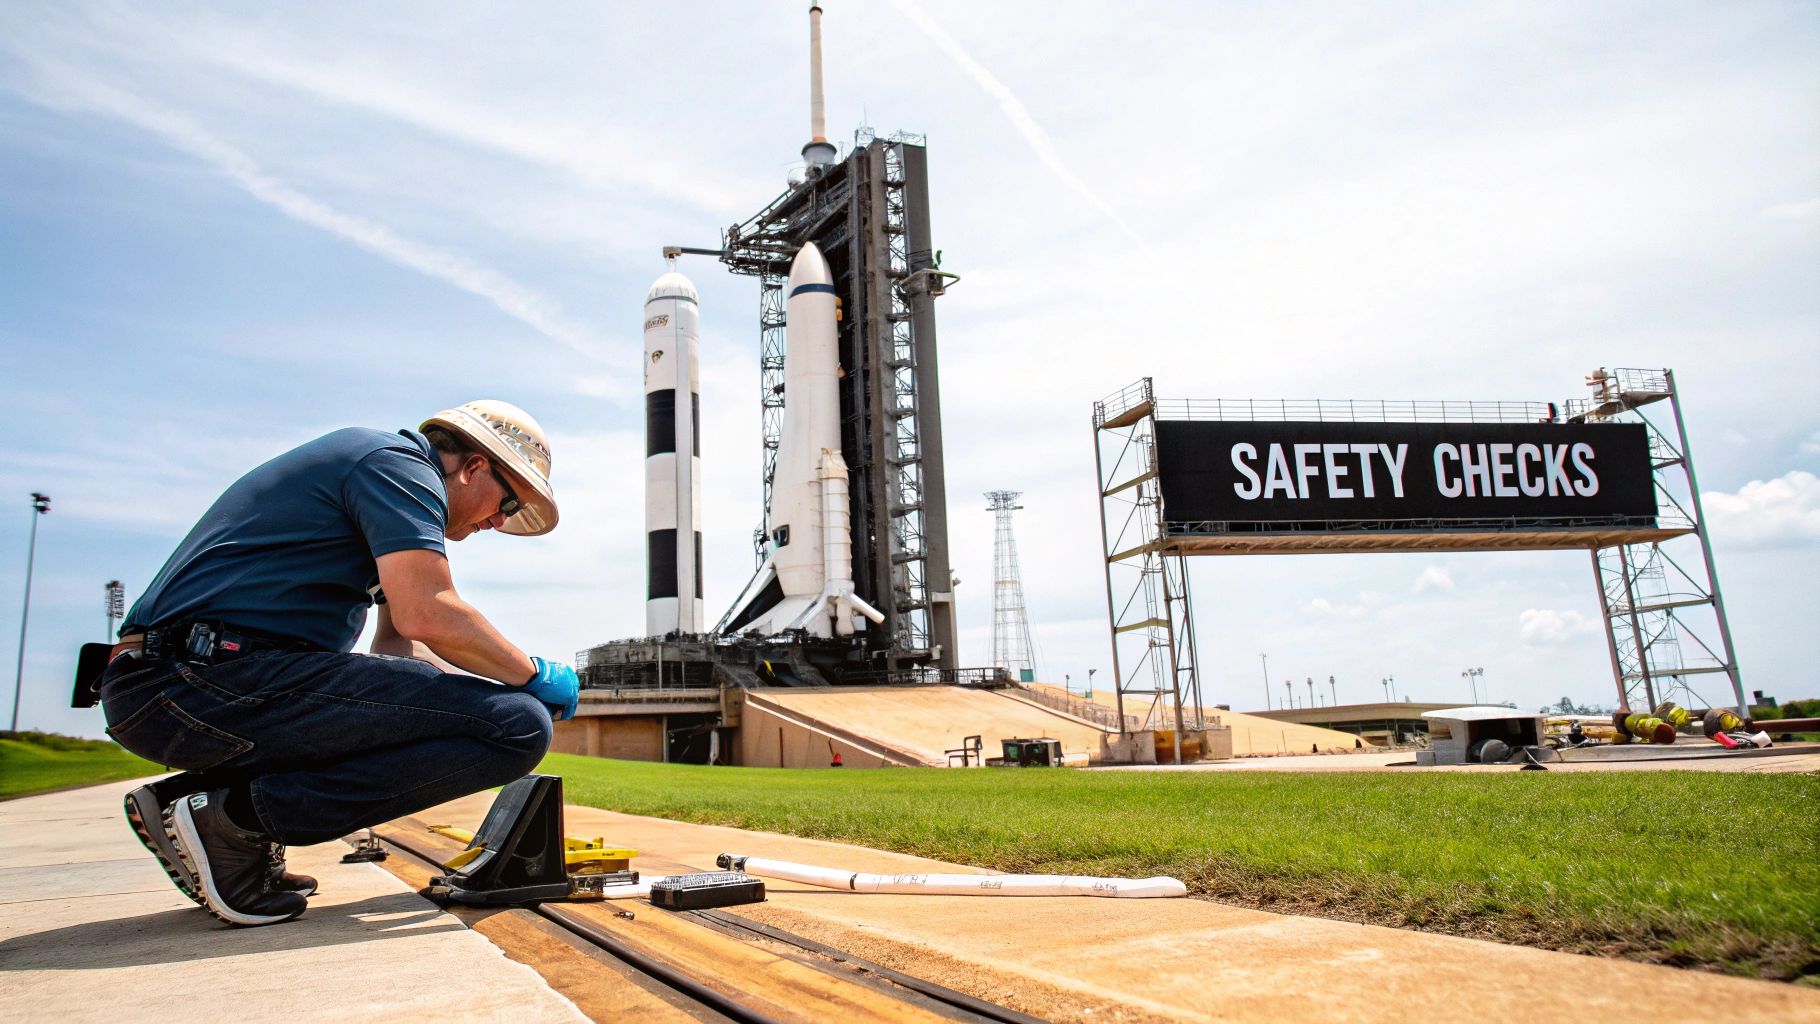
Getting Ready for a Safe and Successful Liftoff
Right, this is it, mission commander! Your rocket is built and ready, and the launchpad is waiting. But before we get to the exciting countdown, we have to think like real space engineers. For them, safety is always number one, so let’s run through our own pre-flight checks to guarantee a brilliant mission.
A successful launch is all about getting the preparation spot on. As we learn in Space Ranger Fred and the Tick Tock Tale, every second and every detail matters. That's the mindset we need right now.
Finding Your Launch Zone
First up, location, location, location. You absolutely cannot launch this rocket indoors or in a cramped back garden. You need a big, open space – think a local park or a playing field – well away from any buildings, roads, or people. And definitely keep clear of trees. A rocket rescue mission from a tall oak tree is a tricky business!
You’ll also need to be a bit of a weather watcher. A calm, still day is what you’re looking for. Even a gentle breeze can push your lightweight rocket way off course, so if it’s a bit windy, it’s best to postpone the mission for another day. Patience is a virtue for any good flight director.
Mission Critical Rule: A grown-up must always be in charge of the launch. They handle the pump and give the final go-ahead. Junior space rangers need to stand well back and enjoy the show from a safe distance.
The Launch Sequence
Once you’ve found a great spot and your adult flight director is ready, it’s time to fuel up the rocket.
Fuelling the Rocket
Pour cold water into the bottle until it’s about one-third full. You might be tempted to add more, but don't. This mix gives you the perfect balance between propellant (the water) and the pressurised air that will push it out.
Sealing the System
Now, push the cork firmly into the bottle opening. You’re looking for a really snug, airtight fit. If the cork is wobbly, the pressure won’t build up properly and it’ll pop out before you’re ready.
Positioning for Launch
Set your rocket down on a flat, stable surface. A couple of bricks or a sturdy, upturned box make a great launchpad, helping to keep the rocket pointing straight up at the sky.
The Final Countdown
With everything in place, it’s time for the action.
- Stand Clear! Everyone who isn't on pump duty needs to move back at least 5 metres. Safety first!
- Pressurise! The grown-up can now start pumping air into the bottle. You’ll begin to feel the pump get harder to push as the pressure builds inside. Keep going with slow, steady pumps.
- Liftoff! Once the pressure is high enough, the cork will give way. But what’s a launch without the drama? Get everyone to join in: "5… 4… 3… 2… 1… LIFTOFF!"
The rocket will blast upwards with surprising speed! Keep your eyes on it as it soars into the air and watch where it comes back down. Once it's landed, you can retrieve it, add more fuel, and go again.
Your Rocket Mission Questions Answered
Every brilliant space explorer has questions, and your rocket mission is no different! It's perfectly normal for a few head-scratchers to pop up while you're building and launching. Let’s walk through some of the common ones so you can get the best possible flight from your homemade rocket.
Even seasoned adventurers, like the crew in Space Ranger Fred and the Tick Tock Tale, face unexpected challenges. Thinking like a scientist is all about being curious and finding solutions.
My Rocket Is Not Flying Very High
This is a classic problem, but don't worry, the fix is usually quite simple. If your rocket's more of a hopper than a high-flyer, a few quick checks can make all the difference.
- Look for Leaks: The number one culprit is usually a leaky seal. Is your cork fitting nice and snug in the bottle opening? If you can hear air hissing out as you pump, you’re losing the pressure you need for a powerful launch.
- Tweak Your Fuel Levels: The amount of water you put in is critical. We find that about one-third full is a fantastic starting point, but every rocket is a little different. Don't be afraid to experiment a bit – try a splash more or a little less to find the perfect mix for your design.
- Straighten Those Fins: Wobbly fins are a rocket's worst enemy! They create drag and make the whole thing unstable, which completely kills its upward momentum. Double-check that they're glued on securely and are perfectly straight.
Can We Turn This Into A Science Experiment?
Absolutely! This is the best way to figure out how to make your rocket even better. To transform this fun activity into a proper scientific investigation, the trick is to change only one thing at a time. This is what real scientists call a variable.
To run a fair test, you have to keep everything else exactly the same. For instance, if you're testing different amounts of water, make sure you use the same number of pumps for every single launch.
You could test how different fin shapes affect stability, or see how the amount of water changes how high your rocket soars. Just remember to jot down your results in a notebook, like a proper mission scientist on a new discovery!
At Space Ranger Fred, we know that curiosity is the real fuel for every great adventure. Our stories and activities are designed to spark that same spirit of discovery in young explorers. To continue your journey into the fun side of STEM, blast off to spacerangerfred.com.