Meta title: Make Fun Pom Pom Animals Step by Step
Meta description: Learn how to make pom pom animals with simple steps, classroom tips, and space-themed craft ideas for children, parents, teachers and librarians.
Rain outside. Socks on. One child has already said, “I’m bored,” and another is eyeing the glue stick like it’s experimental rocket fuel.
Perfect.
That means it’s time for pom pom animals. Not just any old craft, either. This is the sort of make-and-play activity that turns a ball of wool into a creature with a face, a name, and a backstory.
Blast Off on a Fluffy Adventure
A pom pom starts as a bundle of wrapped wool. Then something brilliant happens. You tie the middle, give it a trim, and suddenly it becomes a fluffy little sphere that looks ready to blink at you.
That’s part of the magic for children.
It feels like a reveal. A bit like opening a space capsule and discovering a brand new alien sidekick inside.
The lovely thing is that this craft does more than keep hands busy. Children have to notice shape, solve tiny problems, and make decisions. Should the ears be pointy? Should the body be bigger than the head? Why does one pom pom look round and full while another looks a bit scruffy?
Those are early design and STEM questions in disguise.
A good pom pom project helps children say, “I think, I try, I can.”
And if something goes wrong, that’s useful too. A lopsided creature can become a sleepy owl. A very shaggy pom pom can become a wild lion from a faraway planet. In craft, as in space exploration, surprises are often where the fun begins.
By the end, children haven’t just made something cute. They’ve tested an idea with their own hands. Even better, they can explain how they did it.
Your Mission Briefing Gathering Your Craft Supplies
Before any successful mission, you check the kit.
You don’t need a cupboard bursting with specialist tools to make pom pom animals. A small pile of sensible supplies will do the job beautifully.
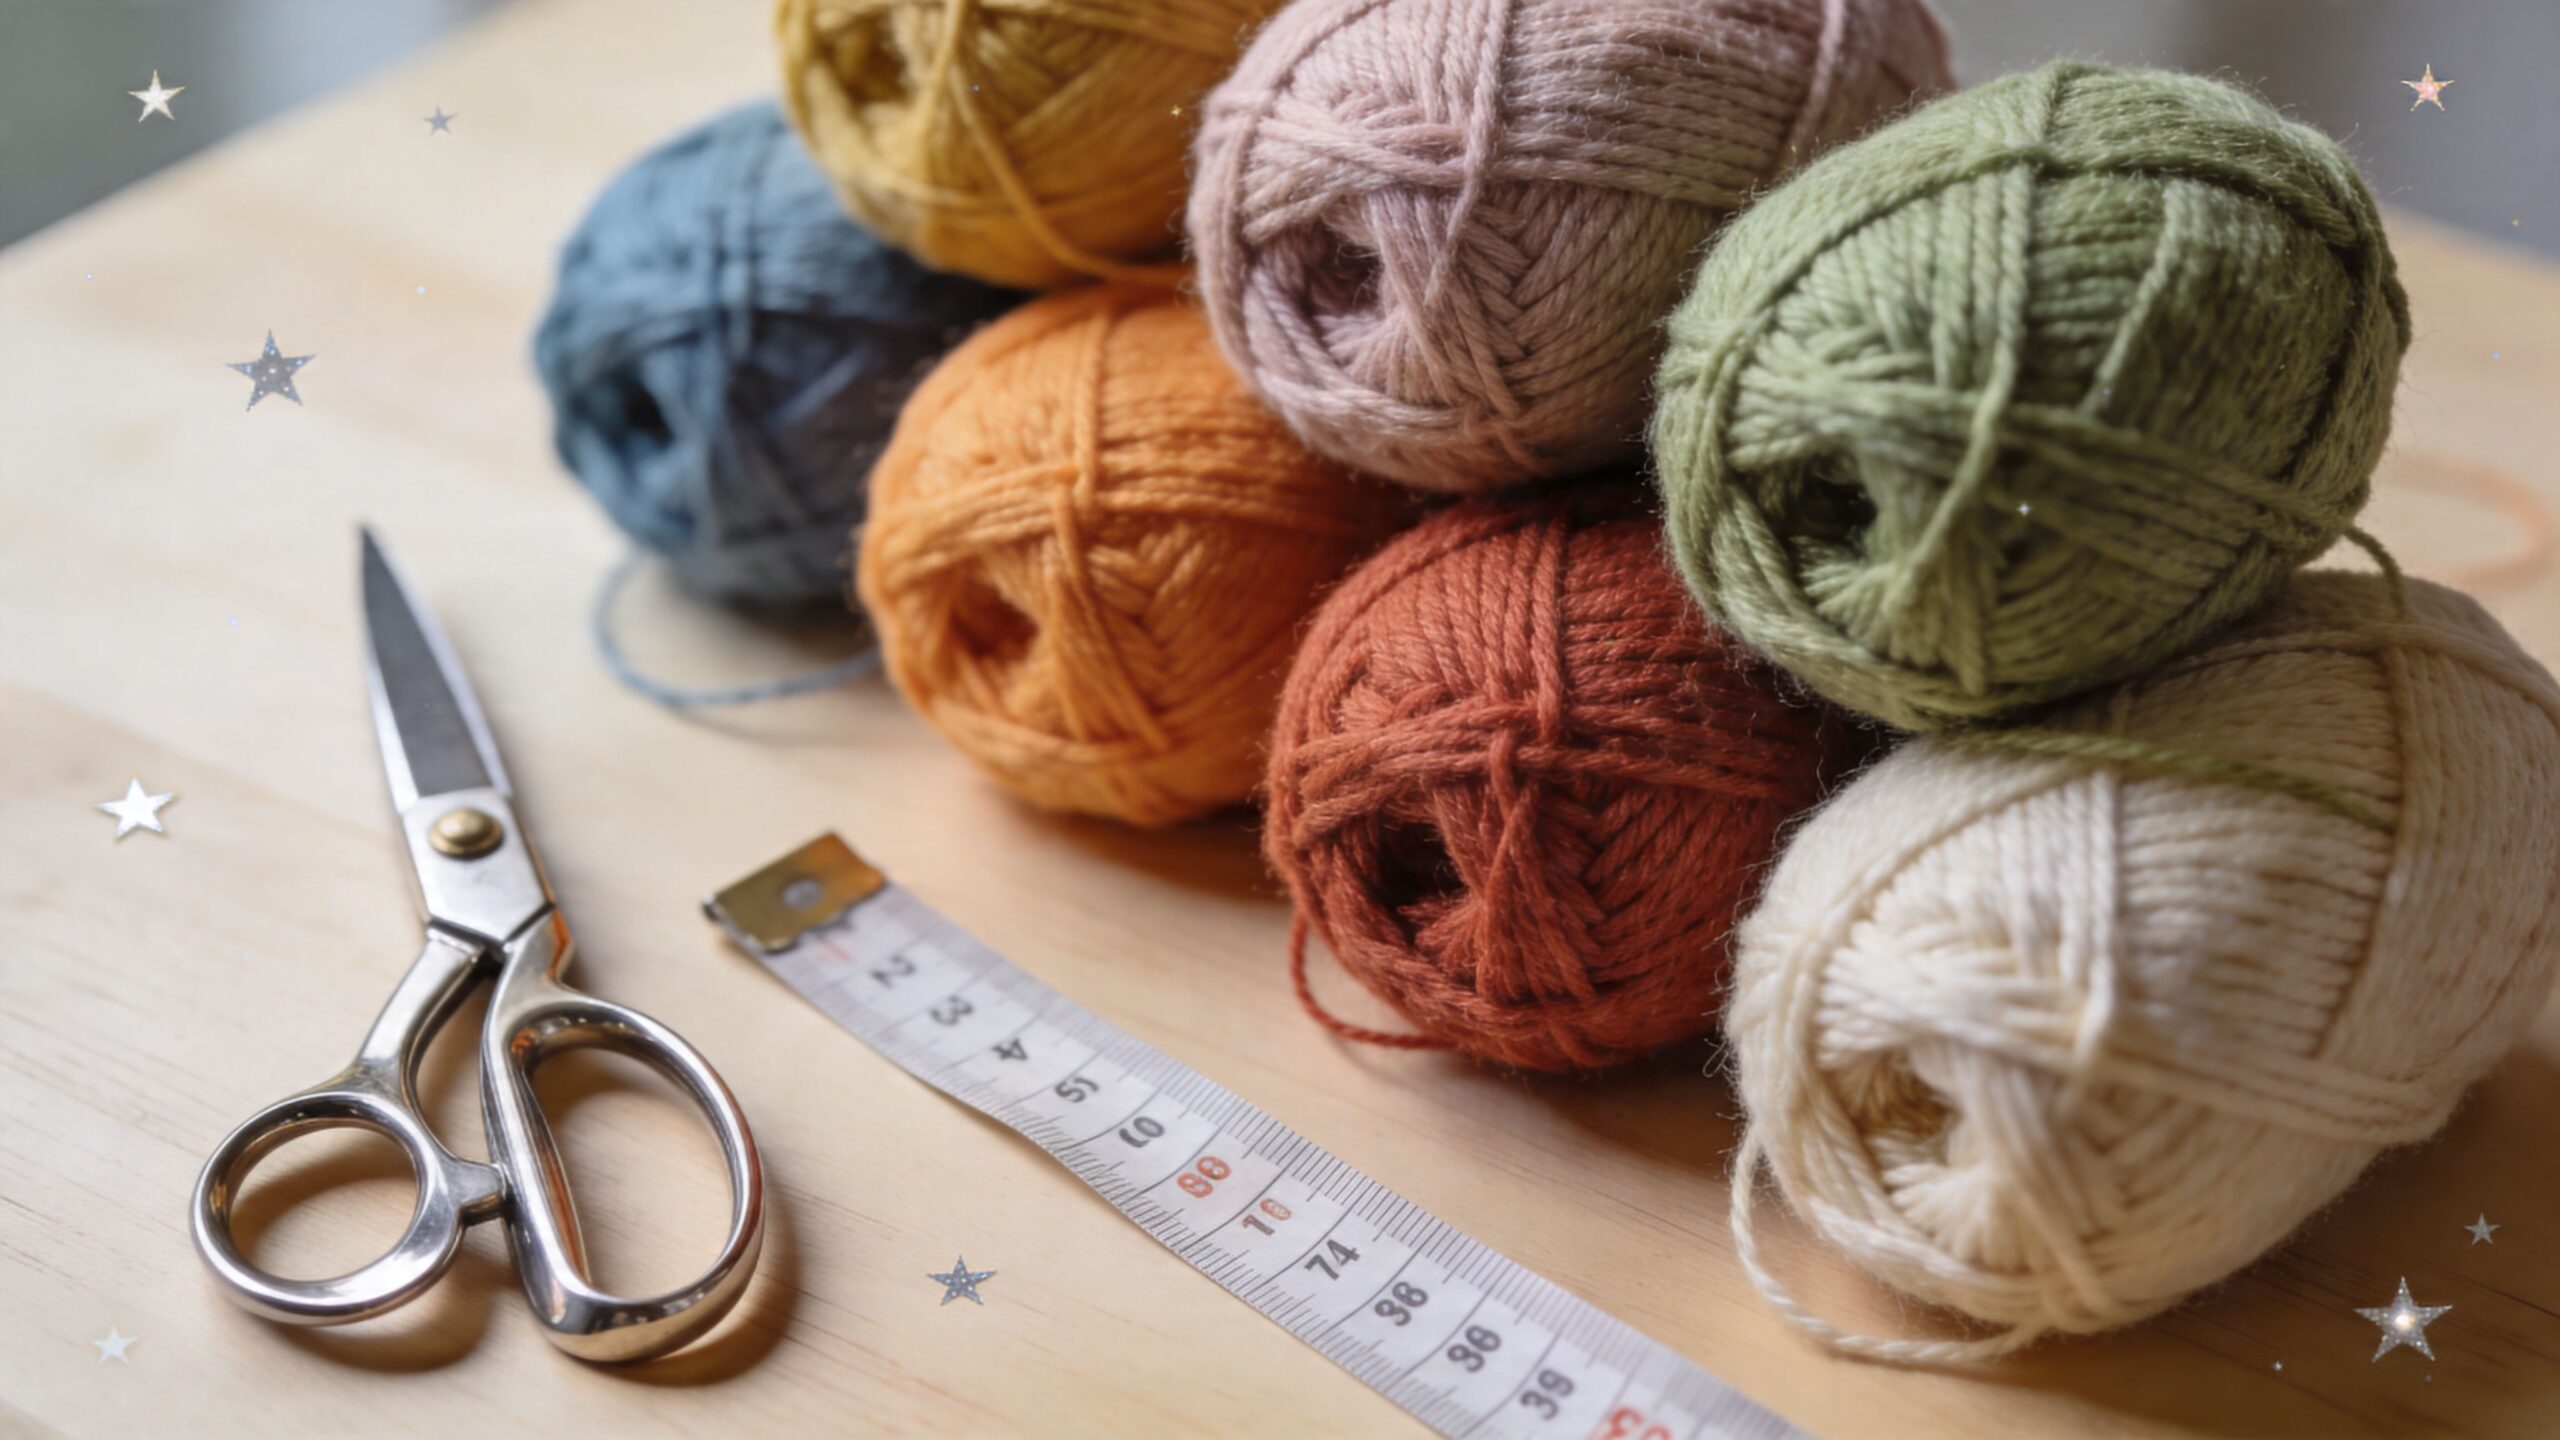
The core supplies
Here’s the basic equipment list for your first fluffy crew:
- DK weight wool or yarn: This is a friendly choice for beginners because it wraps neatly and gives a good, soft finish.
- Cardboard: Old cereal boxes are excellent for homemade templates.
- Sharp scissors: These are for grown-up co-pilots when it’s time for the important snipping.
- Extra strand of yarn: You’ll need this to tie the middle tightly.
- Glue: Handy for joining body parts and adding features.
- Felt, foam, or paper scraps: Great for ears, tails, beaks, wings, or antennae.
- Googly eyes or drawn eyes: Either works. A black marker can be just as effective.
If you enjoy open-ended making, you might also like these messy, imaginative homemade playdough ideas for another rainy-day mission.
Why each item matters
Cardboard gives your pom pom its starting shape.
Yarn creates the volume. The more you wrap, the fuller your pom pom becomes. Scissors help release all that hidden fluff. The tying strand is the mission-critical part. If that knot is loose, the whole thing can wobble apart like a spaceship with a missing bolt.
Then come the character pieces.
A tiny felt triangle can become a fox nose. Two paper circles can become giant monster eyes. One pipe cleaner can turn a plain pom pom into a moon bug with antennae.
Choose kind materials
There’s one supply choice that matters for reasons beyond craft.
When sourcing materials, it’s worth checking that your pom poms and trims are not made from real fur. Four Paws explains that some commercial pom poms are made from real animal fur from creatures like minks and foxes, and a 2023 YouGov poll found that 88% of UK residents support a ban on fur farming (Four Paws UK).
For children’s crafts, yarn is the simplest and kindest choice.
Mission rule: If you’re crafting animals, let’s be kind to real ones too.
That gives you a project that feels cheerful from start to finish.
The Classic Cardboard Method Your First Pom Pom
Space Ranger Fred would call this the launch stage.
You start with flat cardboard, loose yarn, and a plan. A few careful moves later, you have a soft, round pom pom ready for its first mission. For children, that change feels a bit like watching rocket parts turn into a spacecraft.
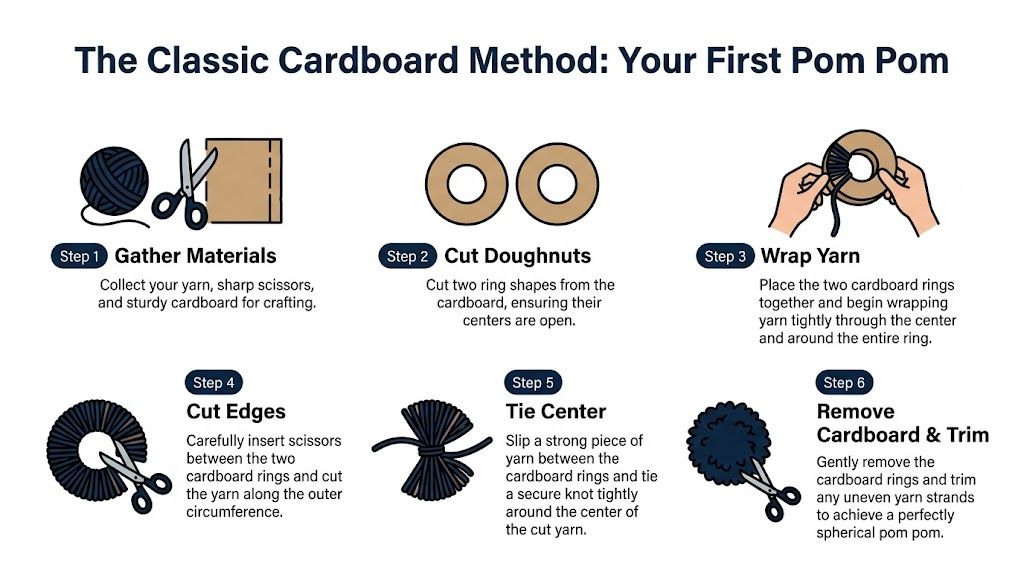
Make your cardboard rings
The Baker Ross method begins with two pairs of cardboard rings. One larger pair can become a body, and one smaller pair can become a head. Their guide uses circles about 8cm wide for the larger set, 5cm wide for the smaller set, and a 2cm hole in the middle, cut by an adult (Baker Ross pom pom pets).
Place each matching pair together so you have two cardboard doughnut shapes.
That middle hole matters. It gives the yarn somewhere to pass through as you wrap, and later it becomes the centre of your pom pom.
Wrap until the ring feels packed
This is usually the quietest part of the mission.
Children wrap the yarn round and round the cardboard ring, feeding it through the centre hole each time. It can feel repetitive at first, but that repetition is doing a job. Every loop adds more fluff, rather like adding layers to a winter coat.
A common worry pops up here. “Have I wrapped enough?”
Use this quick guide:
- If you can still see lots of space in the middle hole, keep wrapping
- If the yarn feels thick and snug all the way round, you are close
- If pushing the yarn through takes a little effort, the ring is full enough to cut
The Baker Ross method notes that fuller wrapping gives a rounder result. Thin wrapping often leads to a pom pom that looks patchy instead of plump.
A handy demo can make the sequence easier to follow:
The big snip
Now comes the exciting bit.
Slide your scissors between the two cardboard rings and cut through the yarn all the way round the outside edge. Keep hold of the shape as you go so the strands stay in place. You are opening the fluffy shell, but the centre still needs its seatbelt.
Next, take a separate piece of yarn and slip it between the cardboard rings. Pull it tight around the middle and tie a firm double knot. Only after that should you remove the cardboard.
Children love this moment because the pom pom suddenly opens up like a tiny woolly planet.
Mission rule: Tie the centre tightly before you fluff. A loose knot lets the strands fall out.
Trim for shape
Fresh pom poms often look uneven.
That is completely normal for a first launch.
As noted previously in the Baker Ross method, a little trimming helps shape the pom pom into a neater sphere, and sparse wrapping is one of the main reasons a pom pom looks scraggly. Turn it slowly in your hand and snip small amounts from any long tufts. Small snips give you control. Big cuts can leave bald spots.
A child-friendly way to explain it is this. You are giving your pom pom a tidy haircut, not shearing a sheep.
If your first one looks a bit wild, Space Ranger Fred would still approve. Every great cosmic creature starts as a slightly shaggy fluff ball.
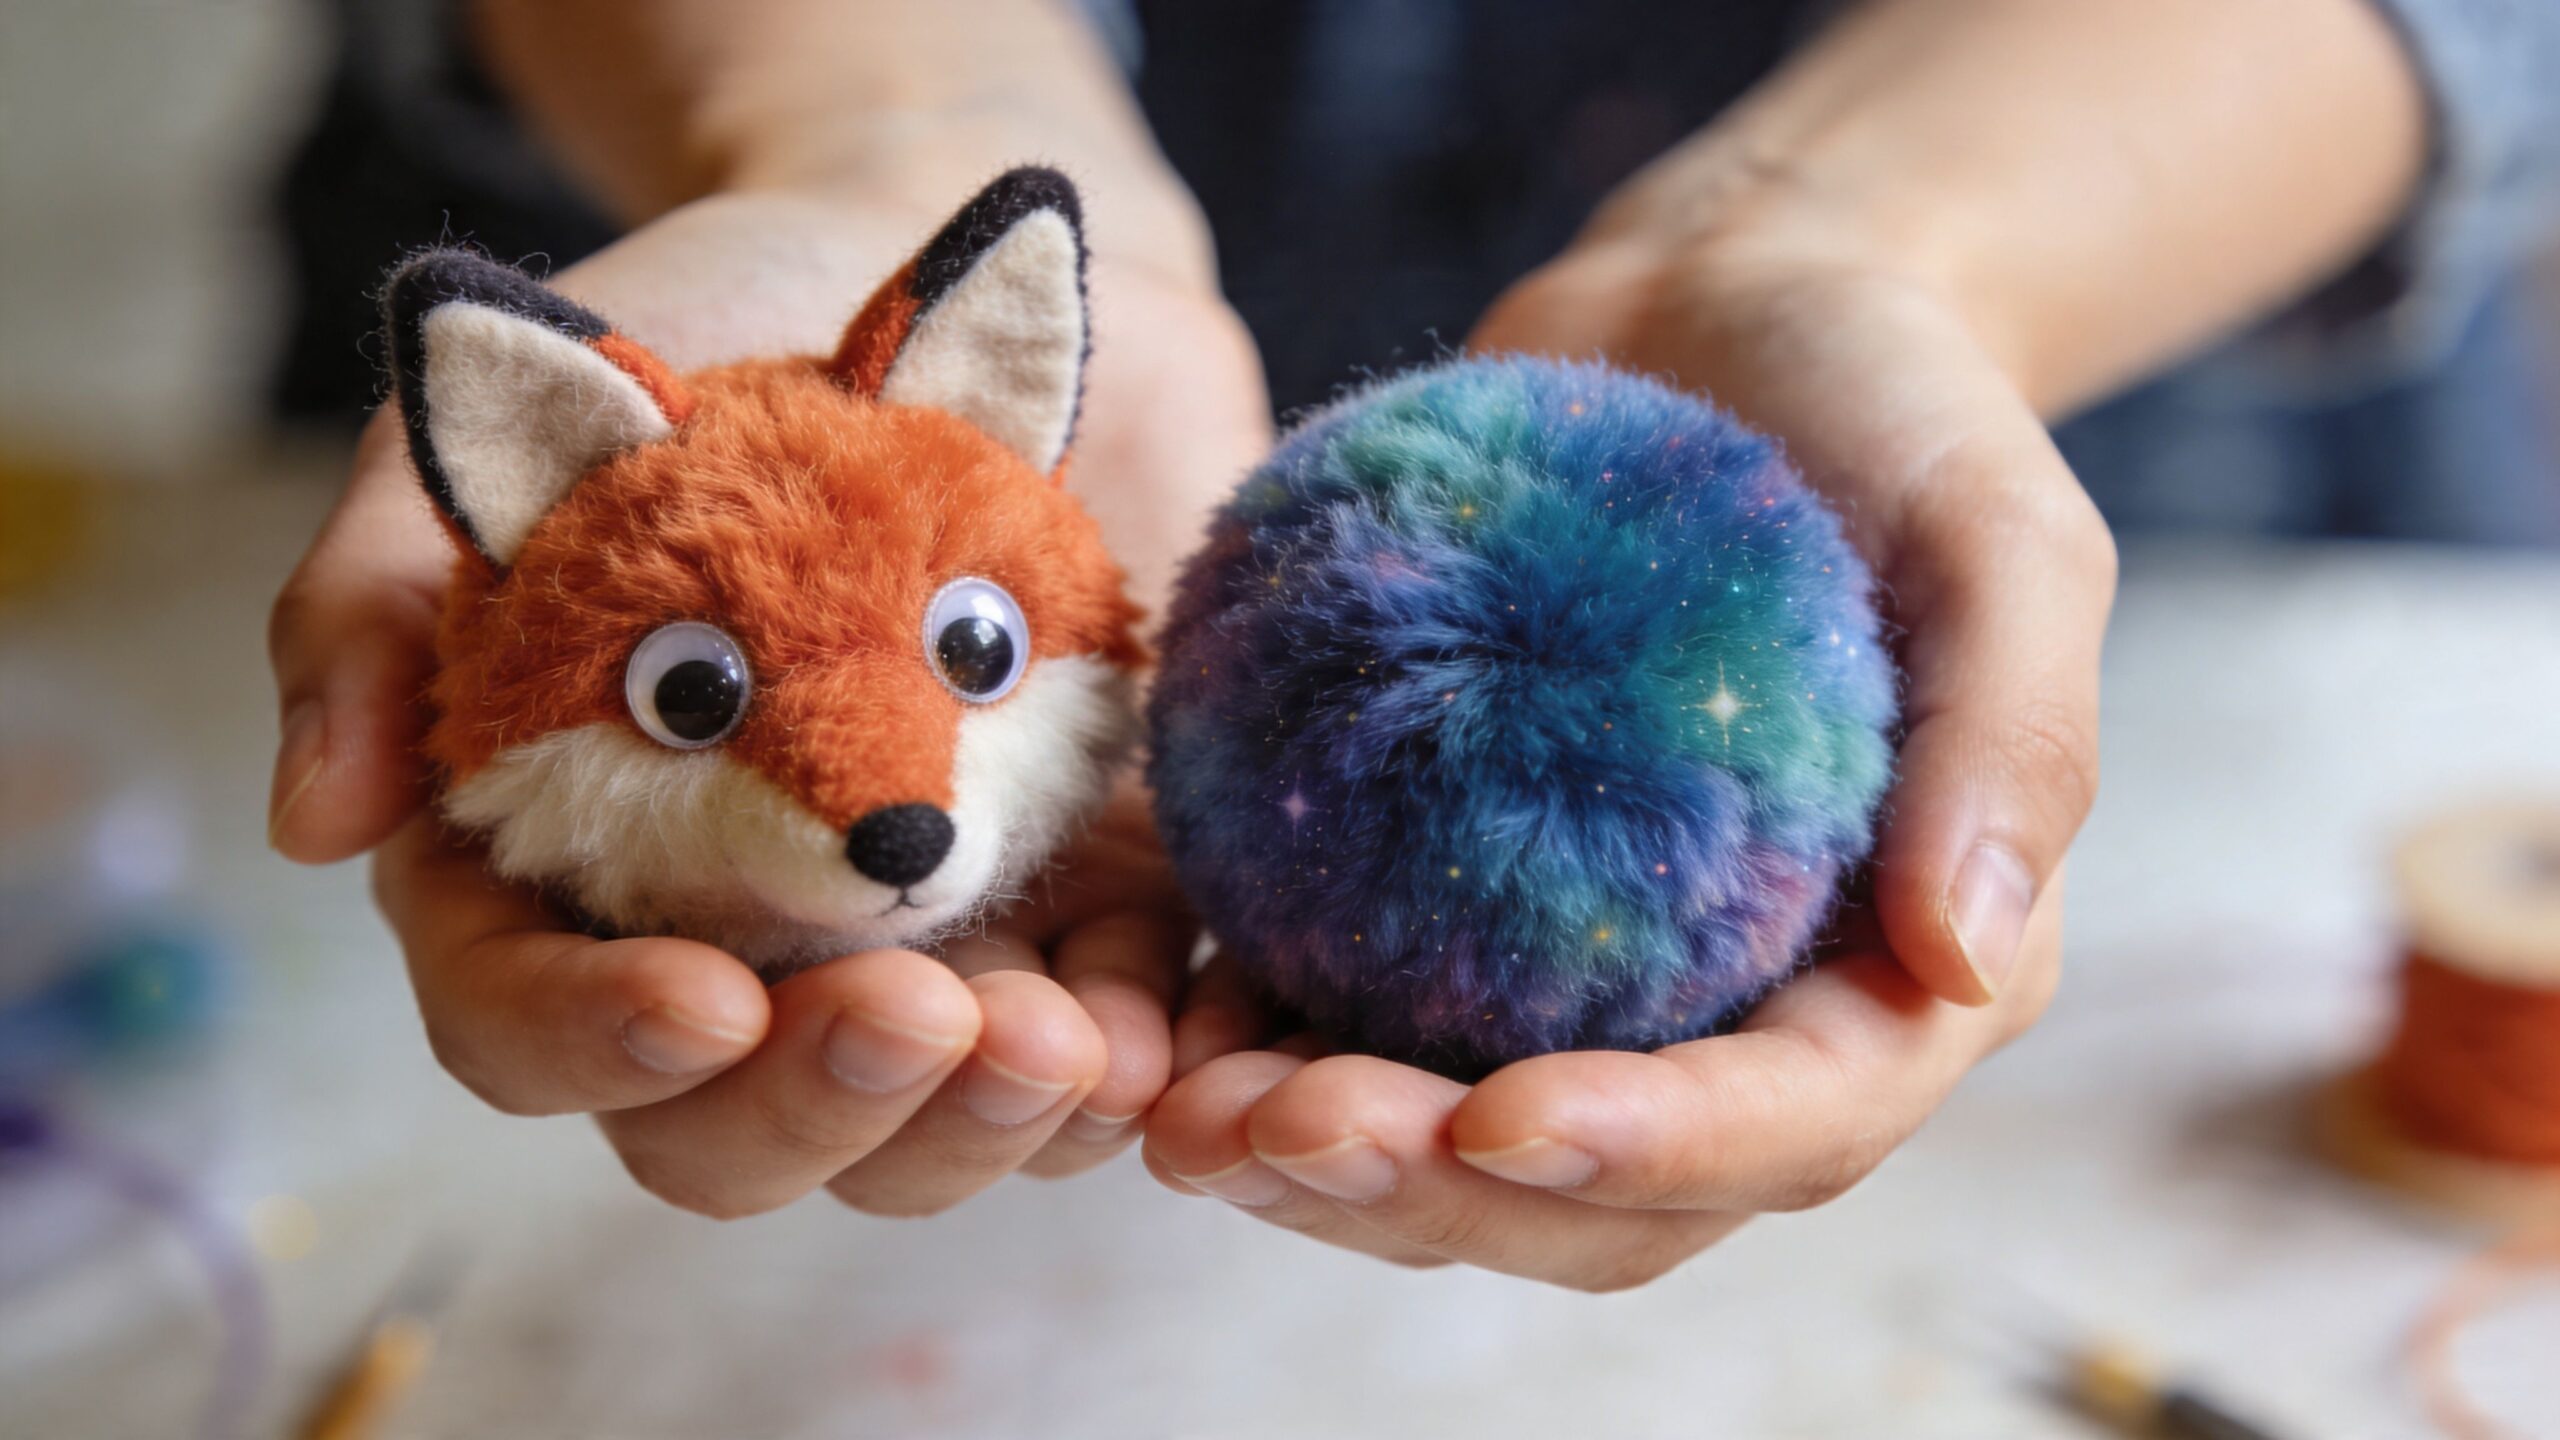
From Fluffy Orb to Cosmic Creature
A pom pom on its own is lovely.
Two pom poms together become a character.
That’s where children stop “following instructions” and start inventing.
Build the body
The easiest starting point is a simple head-and-body creature.
Glue the smaller pom pom on top of the larger one and give it time to dry fully. After that, add the features.
You could make:
- A fox: pointy felt ears, tiny black nose, orange or rust-coloured pom poms
- An owl: wide eyes, little felt beak, small wings at the sides
- A space alien: bright colours, extra eyes, springy antennae
- A monster pet: mismatched ears, zig-zag tail, enormous grin
Children often worry that they need to copy a “correct” animal. They don’t.
If it has a face and a bit of personality, it works.
Give it a story
At this point, the craft becomes far richer.
Ask a few playful questions:
- Where does your creature live?
- What does it eat?
- Is it shy, bold, giggly, or grumpy?
- Does it travel in a rocket, or sleep in a shoebox cave?
A plain white pom pom with blue ears can become a moon rabbit.
A black and green pom pom with three eyes can become a lost visitor from a slime-covered comet.
When children answer these questions, they’re doing storytelling without the pressure of a blank page.
Fix the wobbly bits
Most problems are easy to rescue.
If the head slides about, use a little less glue next time and press the pieces together more firmly. If ears keep drooping, cut them smaller or use slightly stiffer material. If eyes won’t sit straight, draw sleepy eyes with a pen and call it a design choice.
Indeed, some of the funniest creatures come from accidents.
The pom pom doesn’t need to be perfect. It needs character.
That’s the great secret of pom pom animals. The handmade look is part of the charm.
A Classroom Mission Tips for Teachers and Group Fun
Pom pom animals work brilliantly in groups because every child can end with something different, even when everyone starts with the same pile of wool.
They also slot neatly into art, design, speaking, listening, and simple maths language about shape and size.
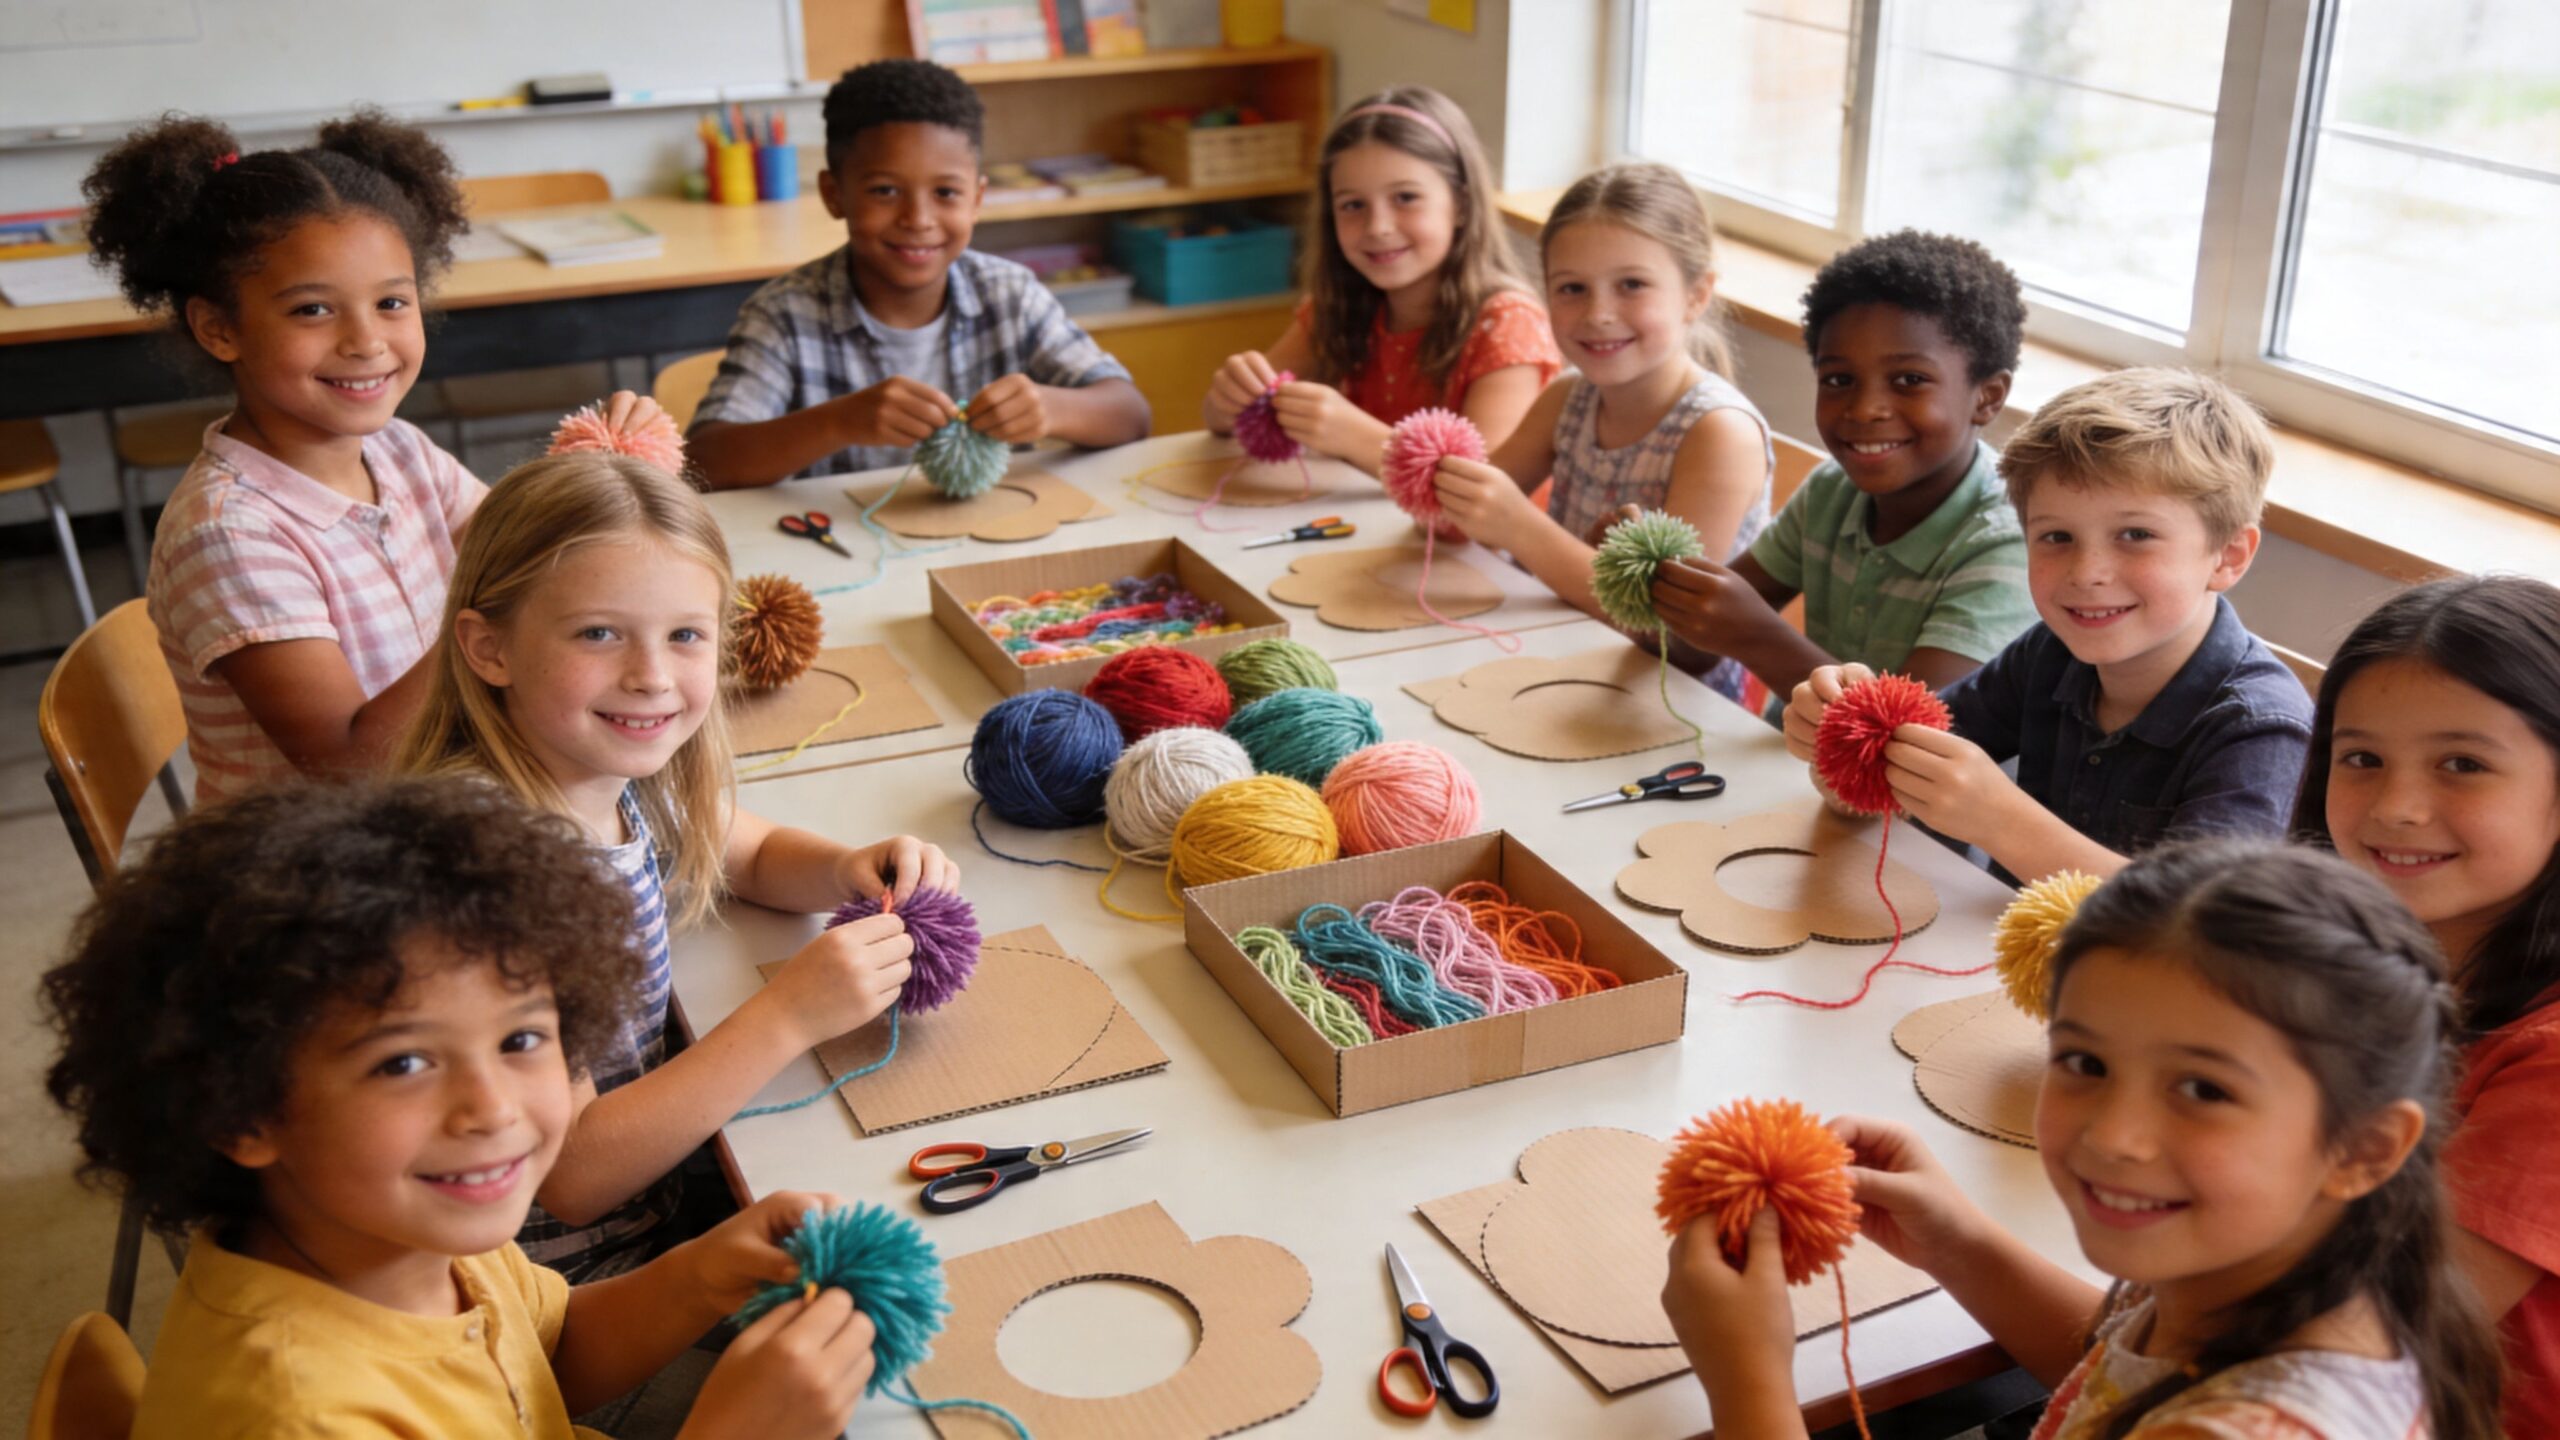
Keep the room organised
For a class or library session, preparation matters.
Pre-cutting cardboard rings saves a lot of time and reduces frustration. It also helps to split the room into mini stations, such as wrapping, tying, trimming, and decorating.
A simple flow can look like this:
| Station | What happens there |
|---|---|
| Template table | Children collect their cardboard rings and yarn |
| Wrapping area | They build the pom pom body and head |
| Adult help point | Tying and cutting happen safely |
| Decorating table | Faces, ears, tails, and names are added |
If you’re planning wider craft sessions too, Session Monkey has a useful list of after-school club activity ideas that fits nicely alongside hands-on making.
Add a learning spark
You don’t need to turn the craft into a lecture.
A few quick prompts are enough:
- Shape talk: Why does trimming help create a sphere?
- Comparison: Which pom pom looks denser and why?
- Story link: What kind of character would live inside a book?
- Speaking task: Can you introduce your creature to a partner?
You can even bring in a tiny piece of British history. The fluffy Pomeranian dog breed, often nicknamed “Pom Poms”, became popular in Britain thanks to Queen Victoria, who owned over 35 of them, and the breed club was established in England in 1891 (Waggel on the history of the Pomeranian).
Children usually find that brilliant. A fluffy craft with a fluffy historical twist.
Cardboard method or pom maker tool
If you’re deciding between homemade rings and a plastic tool, this quick comparison helps:
- Cardboard rings: Cheap, easy to prepare, ideal for first attempts
- Pom pom maker tool: Neater for repeated use and better for detailed patterns
- Mixed approach: Start with cardboard, then offer tools for confident crafters
For extension work after the session, printable activities can help children keep the idea going at home or in provision. These cut and stick activities are handy for that kind of follow-up.
Advanced Tech Using a Pom Pom Maker Tool
Some children love the handmade cardboard method.
Others want the craft equivalent of a shiny new gadget.
That’s where a plastic pom pom maker comes in.
The tool opens into curved sections, making wrapping tidier and easier to control. It’s especially useful when you want pattern, not just fluff.
Why use one
Using a dedicated pom pom maker tool, crafters can achieve a 92% success rate. For a detailed 7cm panda pom pom, the process uses over 300 wraps of different coloured wool, secures the centre with waxed linen thread, and then trims away 25 to 40% of the fibres to shape the final form (pom maker animal pattern guide).
That means the tool is especially good for:
- More consistent results
- Repeated group sessions
- Patterned animals, such as pandas or bears
- Children who like precision
What children learn from the tool
The clever part is the planning.
If a child wants black eye patches on a panda, they have to think ahead about where each colour goes before they tie and trim. That’s a genuine design process.
They’re predicting the outcome.
They’re testing an arrangement.
They’re adjusting after the reveal.
So even though the tool feels easier in the hand, the thinking can become more advanced.
A pom pom maker doesn’t remove creativity. It gives children more control over it.
If your group already knows the cardboard method, this is a lovely next challenge.
Your Mission Is Complete Your Next Adventure Awaits
A ball of wool became a creature.
A simple craft became a lesson in shape, patience, design, and storytelling.
That’s why pom pom animals are such a gem for homes, classrooms, and libraries. Children begin with an idea. Then they test it. Then they hold the result in their hand and say, “I made that.”
That learning journey matters.
It’s the difference between being shown and understanding.
The four-part learning win
This craft naturally supports a powerful sequence:
- I think about what I want to make
- I try the steps and solve problems
- I can create something from simple materials
- I can explain how I did it
And once a child can explain the process, the learning has really landed.
Keep the momentum going
You might make one pom pom animal today.
Tomorrow, it could be a whole colony.
A basket of jungle creatures. A row of mini pets for a reading corner. A shoebox moon base full of woolly aliens. A class display with names, habitats, and character descriptions.
If you’d like more printable inspiration for creative sessions, these crafts you print are a handy next stop.
The best craft activities don’t end when the glue dries. They spill into play, talk, drawing, writing, and new ideas.
That is the core mission.
Learning should feel like an adventure children are part of, not just a set of instructions they follow.
If you’d like your next adventure to mix stories, laughter, and STEM, explore Space Ranger Fred for books, activities, and interactive school visits that help children build confidence in reading, communication, and curious thinking.