Meta title: How to Draw Space Rockets for Kids
Meta description: Learn how to draw space rockets with simple steps, fun STEM links, and creative classroom ideas for kids, parents, and teachers.
A child is at the table with a pencil, a blank page, and a very serious question.
How do I draw a rocket that looks like it could zoom to the Moon?
That's a brilliant question. It's also one of my favourite things to teach, because rocket drawings are simple enough for beginners and exciting enough for big imaginations. A few shapes can turn into a full space mission. Better still, those shapes can help children think about movement, balance, and design while they draw.
Ready for Blast-Off? Let's Draw Some Rockets
Some children start with a tall tube and a triangle on top. Others draw flames first and decide the rocket later. Both approaches are perfectly valid. In art, we often begin with what feels fun, then tidy it up as we go.
That's one reason how to draw space rockets works so well at home, in libraries, and in classrooms. It feels playful, but it also opens the door to proper thinking. Children make choices. Should the rocket be narrow or wide? Should it have giant fins? Where does the window go? Every choice says something about the mission.
There's also a real need for activities that connect drawing with learning. A 2024 UKLA report found that 72% of librarians actively seek space-themed resources that blend art with STEM for ages 6 to 12, yet many drawing tutorials still don't connect their steps to curriculum ideas such as describing movement and forces, as noted in this rocket drawing resource discussion.
Why rockets are such a good starting point
Rocket drawings are helpful because they use familiar shapes.
- Body shape: usually a rectangle or long oval
- Nose cone: often a triangle or curved point
- Fins: simple angled shapes at the base
- Flames: loose zigzags, curves, or teardrops
Children don't need advanced sketching skills to begin. They need permission to try.
A rocket is one of the friendliest things to draw. It looks impressive, but it's built from easy shapes.
If a child says, “Mine looks silly,” I usually reply, “Excellent. Space is full of unusual vehicles.” That gets a smile, and suddenly the pencil starts moving again.
Your Mission Toolkit What You Need to Draw
You don't need fancy kit to get started. A rocket can begin with a school pencil and the back of an old worksheet. Still, a few well-chosen tools make the job smoother.
Keep the toolkit simple
I'd gather these first:
- Pencil: for light sketch lines and easy changes
- Rubber: because redesigning is part of the mission
- Plain paper: any size is fine, though a bigger sheet gives more room for flames and stars
- Black fineliner or felt tip: for outlining once the shape is settled
- Crayons, coloured pencils, or pens: to add colour and contrast
If your child prefers drawing on screen, a tablet can work nicely too. Small hands often do better with a stylus that feels comfortable and easy to control, so this guide to choosing the right iPad drawing tool is useful if you're comparing options.
Pick tools for the kind of rocket you want
Different tools create different moods.
| Tool | Best for | Why it helps |
|---|---|---|
| Pencil | First sketch | Easy to adjust shapes |
| Crayons | Bold rocket colours | Fast coverage and strong energy |
| Coloured pencils | Windows and shading | Better control for details |
| Felt tips | Clean cartoon style | Strong outlines that stand out |
For children who like digital art, simple shape tools can be a huge confidence boost. A child can build a rocket body from basic forms, then draw over the top. If you want a screen-based option, this online drawing program for kids is a handy starting point.
Practical rule: Set out all the materials before anyone starts drawing. Hunting for the red crayon halfway through take-off can cause an avoidable launch delay.
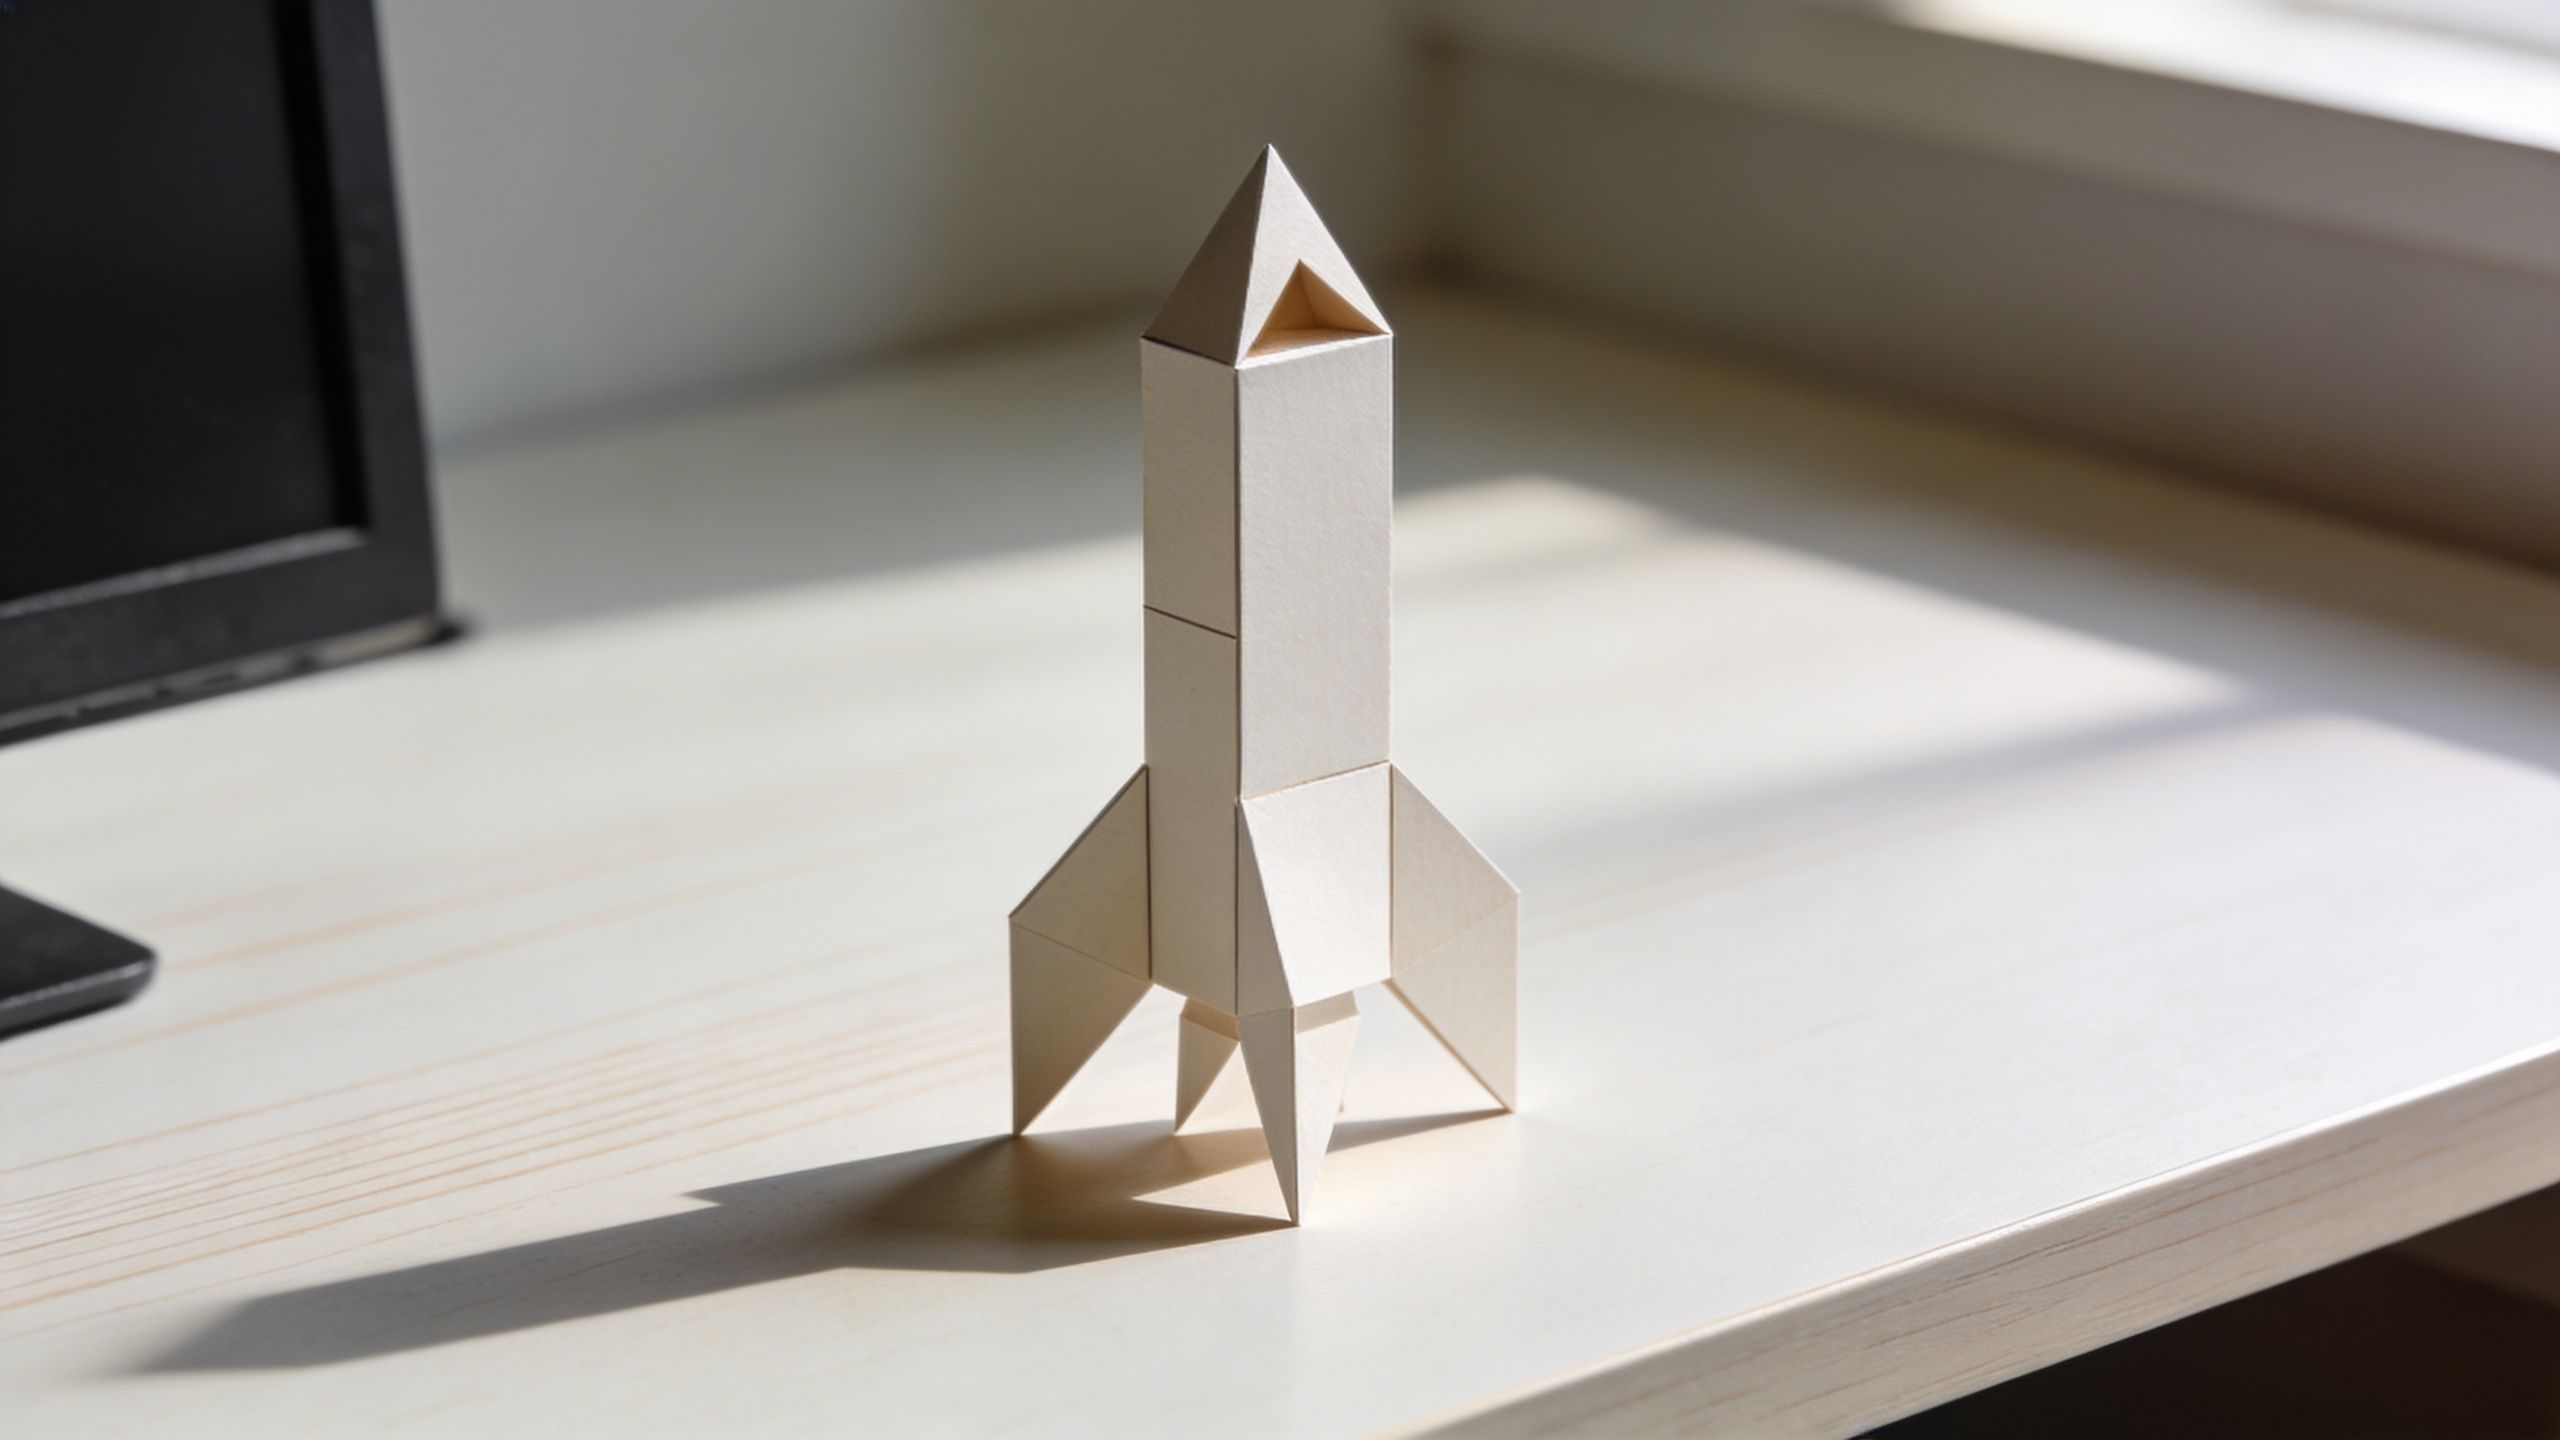
The 'First Flight' Rocket A Simple Drawing Guide
Let's start with a rocket that feels manageable and looks great on the page. This one is ideal for younger children, but older artists often enjoy it too because it gives them a strong base for later upgrades.
Step one to three
Begin with the body. Draw a tall rectangle with slightly rounded corners if you like. This is the main part of the rocket.
Next, add the nose cone. Place a triangle or soft curved point on top. Keep it centred. If it leans a bit, that's fine. Many children worry about symmetry here, but a tiny wobble won't ruin the drawing.
Then add two fins at the bottom. One on the left, one on the right. Think of them like little wings or triangle feet that help the rocket look steady.
Step four to six
Draw a window somewhere near the top half. A circle is easiest. If circles are tricky, draw a small oval instead.
Now add a door or a stripe down the middle. This helps the rocket look less flat. You can also draw a line around the middle to suggest separate sections.
Underneath, sketch the engine flame. I tell children to think “spiky teardrop”. Start narrow where the flame meets the rocket, then let it flick outwards.
- If the rocket looks too plain: add a second stripe
- If the fins look odd: make them bigger, not fussier
- If the flame looks messy: that's often perfect for a flame
The key idea is simple. I think about the shape. I try the line. I can build the rocket.
A quick check before colouring
Before you reach for colours, pause and look.
Ask:
- Is the rocket tall enough for the page?
- Are the fins attached at the bottom?
- Does the window sit inside the body shape?
- Is there space around it for stars, planets, or smoke?
Once the sketch feels right, trace the main lines more firmly.
If your child likes seeing another version drawn in real time, this short demo can help:
A good first rocket doesn't need loads of detail. It needs a clear shape and enough confidence to say, “Yes, that's my spacecraft.”
The 'Galaxy Explorer' A More Detailed Rocket Design
When children are ready for a bigger challenge, I like to move from the basic rocket to a more adventurous design. Personality starts to appear at this stage. The rocket stops being “a rocket” and becomes “the rocket that rescues moon robots” or “the rocket that delivers sandwiches to Saturn”.
Add upgrades that tell a story
Start with the simple rocket shape from earlier, then build on it.
Try adding:
- Side boosters: long narrow shapes attached to the body
- A larger cockpit window: perhaps with a little pilot visible inside
- Panel lines: gentle curves or bands across the rocket body
- A stronger exhaust trail: more layered flames and a cloud of smoke below
Children often overwork the middle of the rocket and forget the silhouette. I'd focus on the outside shape first. If the outline looks exciting, the drawing already has energy.
Use curved lines for movement
A detailed rocket doesn't have to mean a stiff rocket. In fact, a slight curve can make it feel more alive. Tilt the whole rocket a little to one side so it looks as if it's climbing through the sky.
Then think about the flame trail. Instead of one neat shape, draw several layers.
| Part | Drawing idea | Effect |
|---|---|---|
| Main flame | Long pointed shape | Fast take-off |
| Outer glow | Softer line around flame | Heat and light |
| Smoke cloud | Puffy curves | Drama and lift |
This is also a nice point to look at design inspiration from science fiction artwork. If older children enjoy spaceship aesthetics, a unique Star Wars Shuttle print can spark ideas about wings, engines, and silhouette without needing to copy it exactly.
More detail only works if the main shape stays clear. Add one upgrade at a time.
Colour choices that work
Pick two or three main colours rather than using every pen in the pencil case. A strong body colour, a contrasting window, and a hot flame palette usually do the trick.
If the rocket is getting lost on the page, darken the outline and keep the background lighter. Stars and planets can sit around it, but they shouldn't steal the show.
From Doodles to Discovery Adding The Science
A good rocket drawing isn't only art. It's also a simple way to talk about science without making it feel heavy.
When children draw a pointed top, they're thinking about shape. When they add fins, they're thinking about balance. When they draw flames bursting downwards, they're showing force and movement.
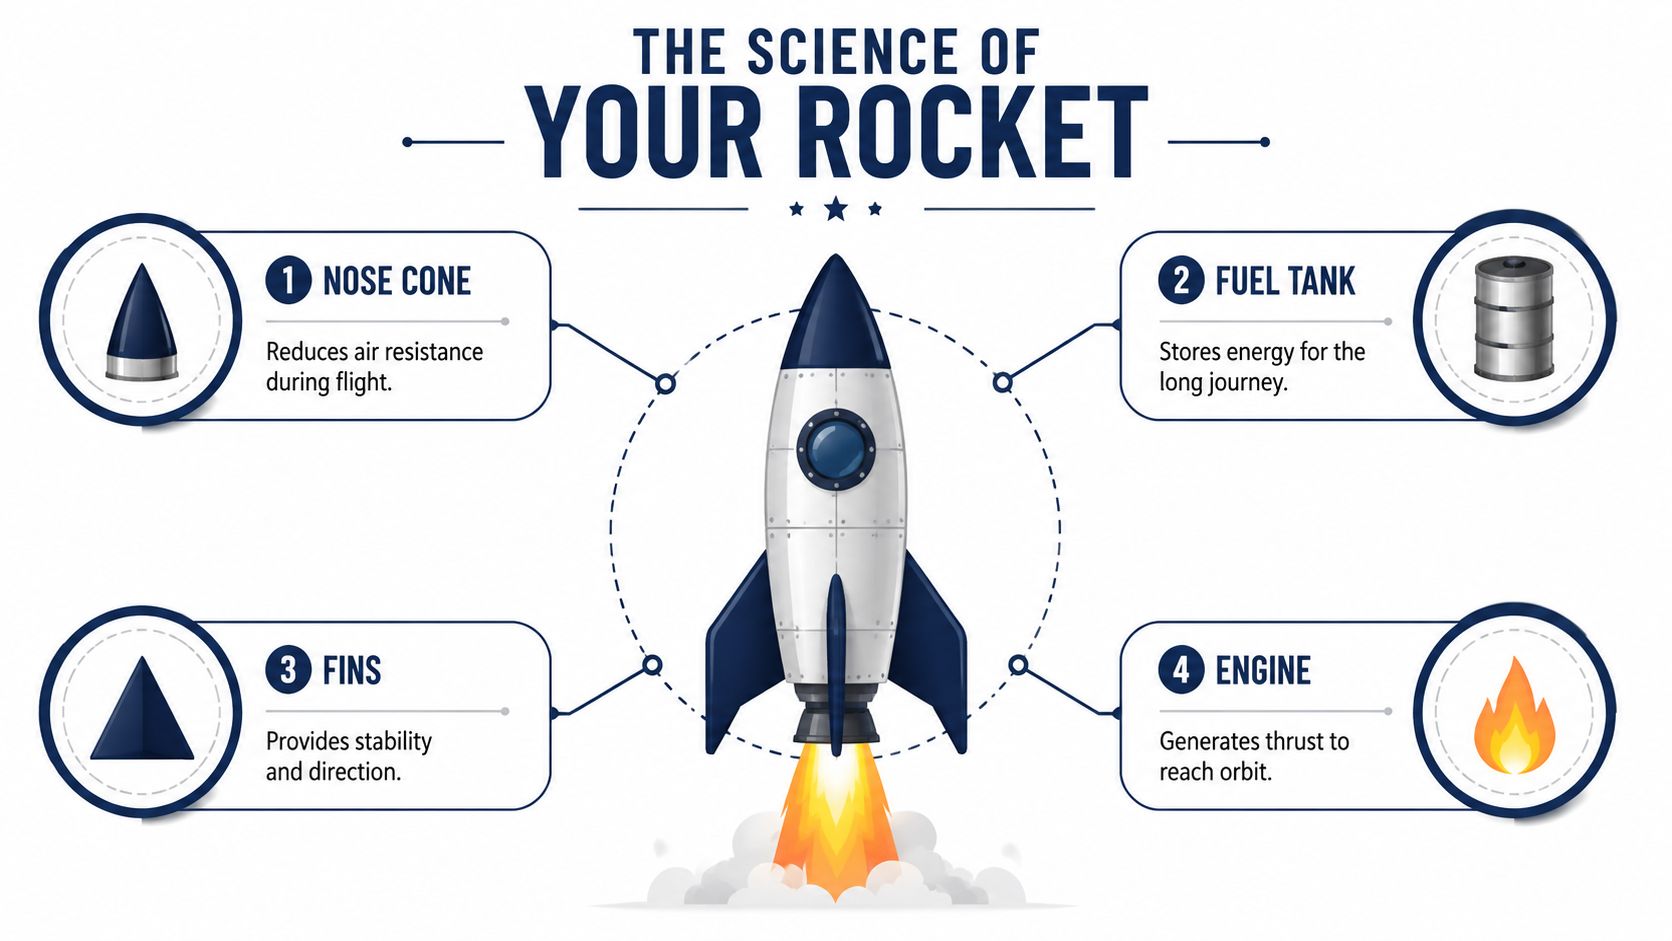
Match each part to a science idea
Here's a child-friendly way to explain it:
- Nose cone: helps the rocket move through the air more smoothly
- Fuel tank area: stores what the rocket needs for its journey
- Fins: help keep the rocket steady
- Engine and flame: push the rocket upwards because the force goes down
That last idea is a lovely one to act out. Hands push down. Body moves up. Suddenly Newton feels much less mysterious.
There's evidence that simple cartoon rocket drawing works well in early learning. A quantitative analysis linked to UK schools found that 78% of nursery children mastered basic outlines in 20 minutes, and guideline tracing boosted completion to 95%. The same analysis says pairing the activity with storytelling improved motor skills by 76% according to DfE EYFS metrics, as summarised in this easy cartoon rocket drawing guide.
Turn drawing into explanation
Once the picture is finished, ask children to explain it.
Try prompts like these:
- Why is your rocket pointy at the top?
- What do the fins do?
- Why are the flames going down?
- Where is the rocket travelling, and what does it need to get there?
That shift matters. A child moves from “I copied a picture” to “I can explain my design”.
For a simple follow-on reading activity, this article on how rockets work pairs nicely with a drawing lesson and keeps the science language age-friendly.
Big learning move: Ask for the reason behind each line. Drawing becomes thinking you can see.
Launch New Adventures Classroom and Home Ideas
The best rocket drawings rarely stop at the page. Once a child has made one, they usually want a planet, an astronaut, an alien snack delivery, or a dramatic rescue mission involving moon dust and missing socks.
That's where the activity really opens up.
Ideas for home
Parents can turn one drawing session into a whole afternoon of making and talking.
- Mission challenge: ask your child to design a rocket for one job only, such as visiting Mars or collecting ice from a comet
- Story card: write three sentences about the pilot, the destination, and the problem
- Display wall: tape finished rockets to a bedroom wall or fridge and turn it into a launch bay
A rocket drawing also pairs beautifully with cutting, folding, and model-making. If you want another hands-on activity, these space crafts for kids can extend the theme without much prep.
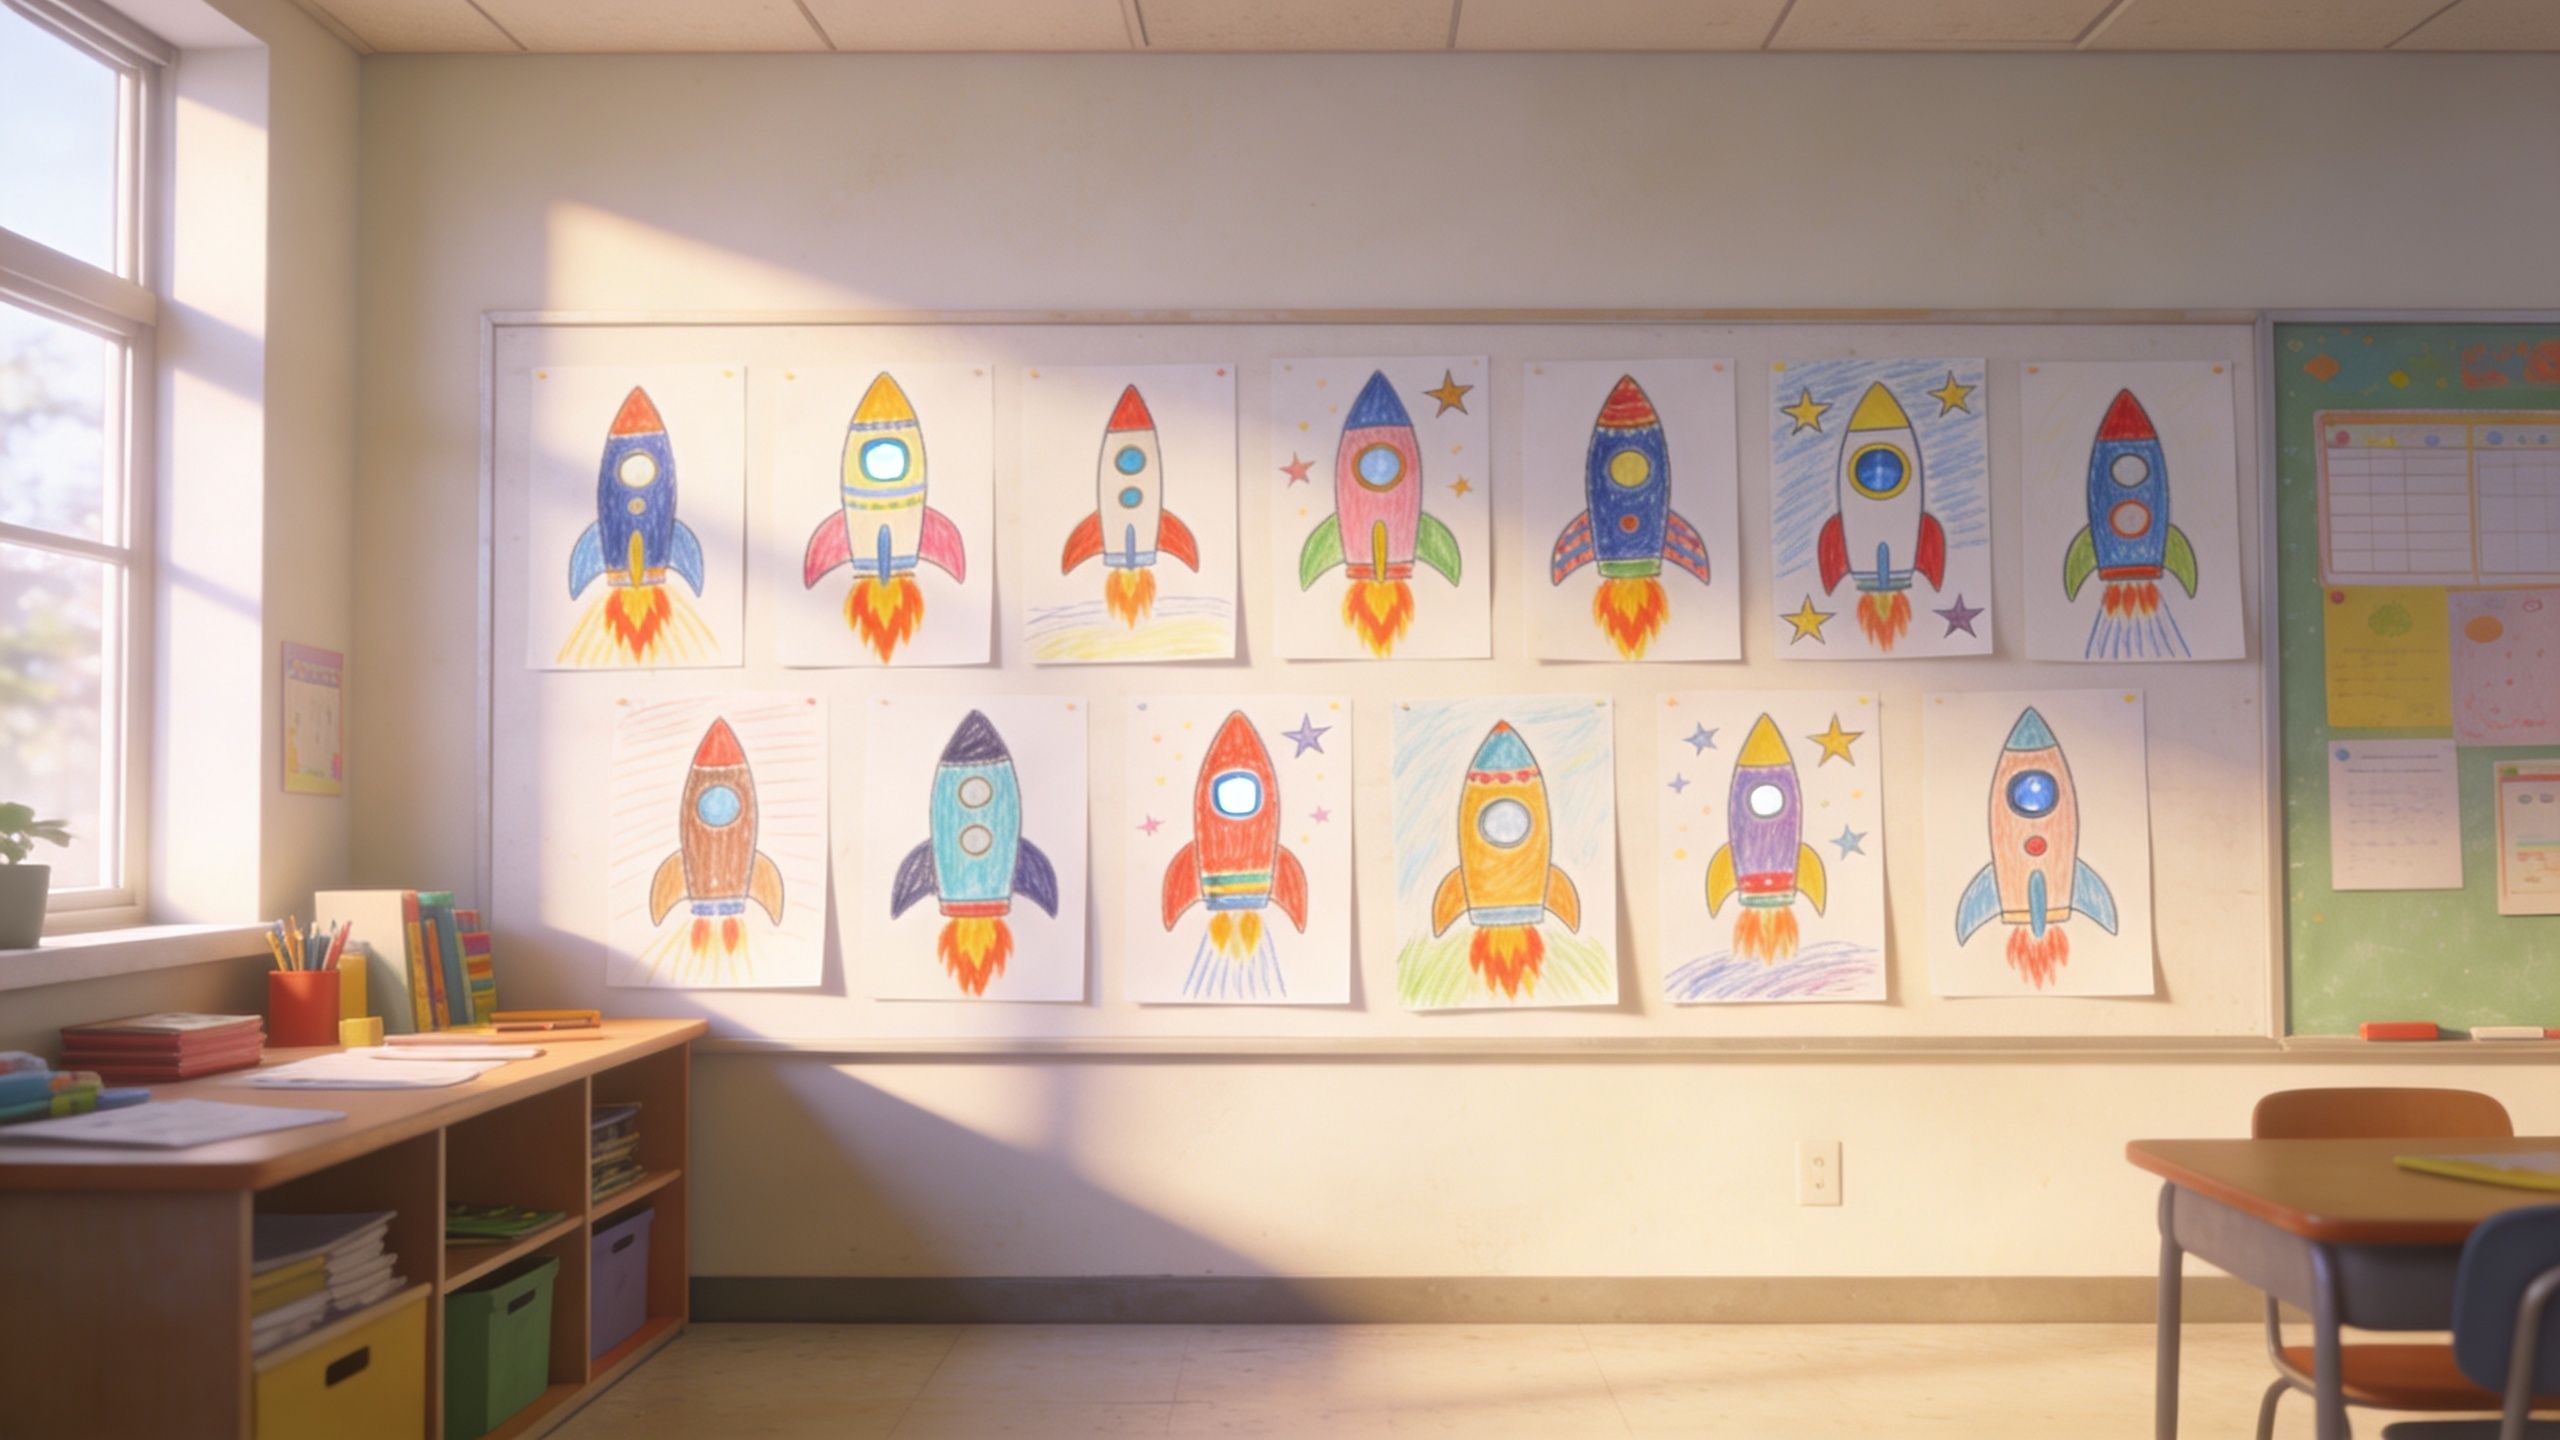
Ideas for schools and libraries
A shared display changes the energy of the room. Children start comparing designs, talking about choices, and borrowing ideas from one another.
Try one of these:
| Setting | Activity | Learning angle |
|---|---|---|
| Classroom | Rocket gallery wall | Speaking and listening |
| Library | Story-and-draw session | Reading for inspiration |
| Small group | Team rocket design | Collaboration and turn-taking |
You can also create a “launch briefing” where each child presents their rocket in one or two sentences. That gives even hesitant artists a chance to say, “I made this for a reason.”
And if a child gets stuck? Give them a mission prompt instead of more drawing advice. “This rocket must carry a robot to the Moon.” A purpose often opens up the picture.
If you'd like more story-led space fun, printable activities, and books that mix humour with STEM, have a look at Space Ranger Fred. You can also explore the book page, grab ideas from the activities and freebies on the main site, and browse another blog post for more space-themed inspiration. If you're planning a school event, Space Ranger Fred school visits can bring together interactive storytelling, science, reading confidence, and communication in one memorable session. Learning should be experienced, not just delivered.