Rain tapped the window while a child held up a scrap of blue tissue paper and whispered, “It looks like Neptune.” That is the magic of this craft. A plain pane of glass becomes a tiny observatory.
A stain glass window template is one of the easiest ways to mix art, storytelling, and simple science. It feels like a craft. It behaves like a light experiment. And if you have a few eager cadets nearby, it can also save a rainy afternoon.
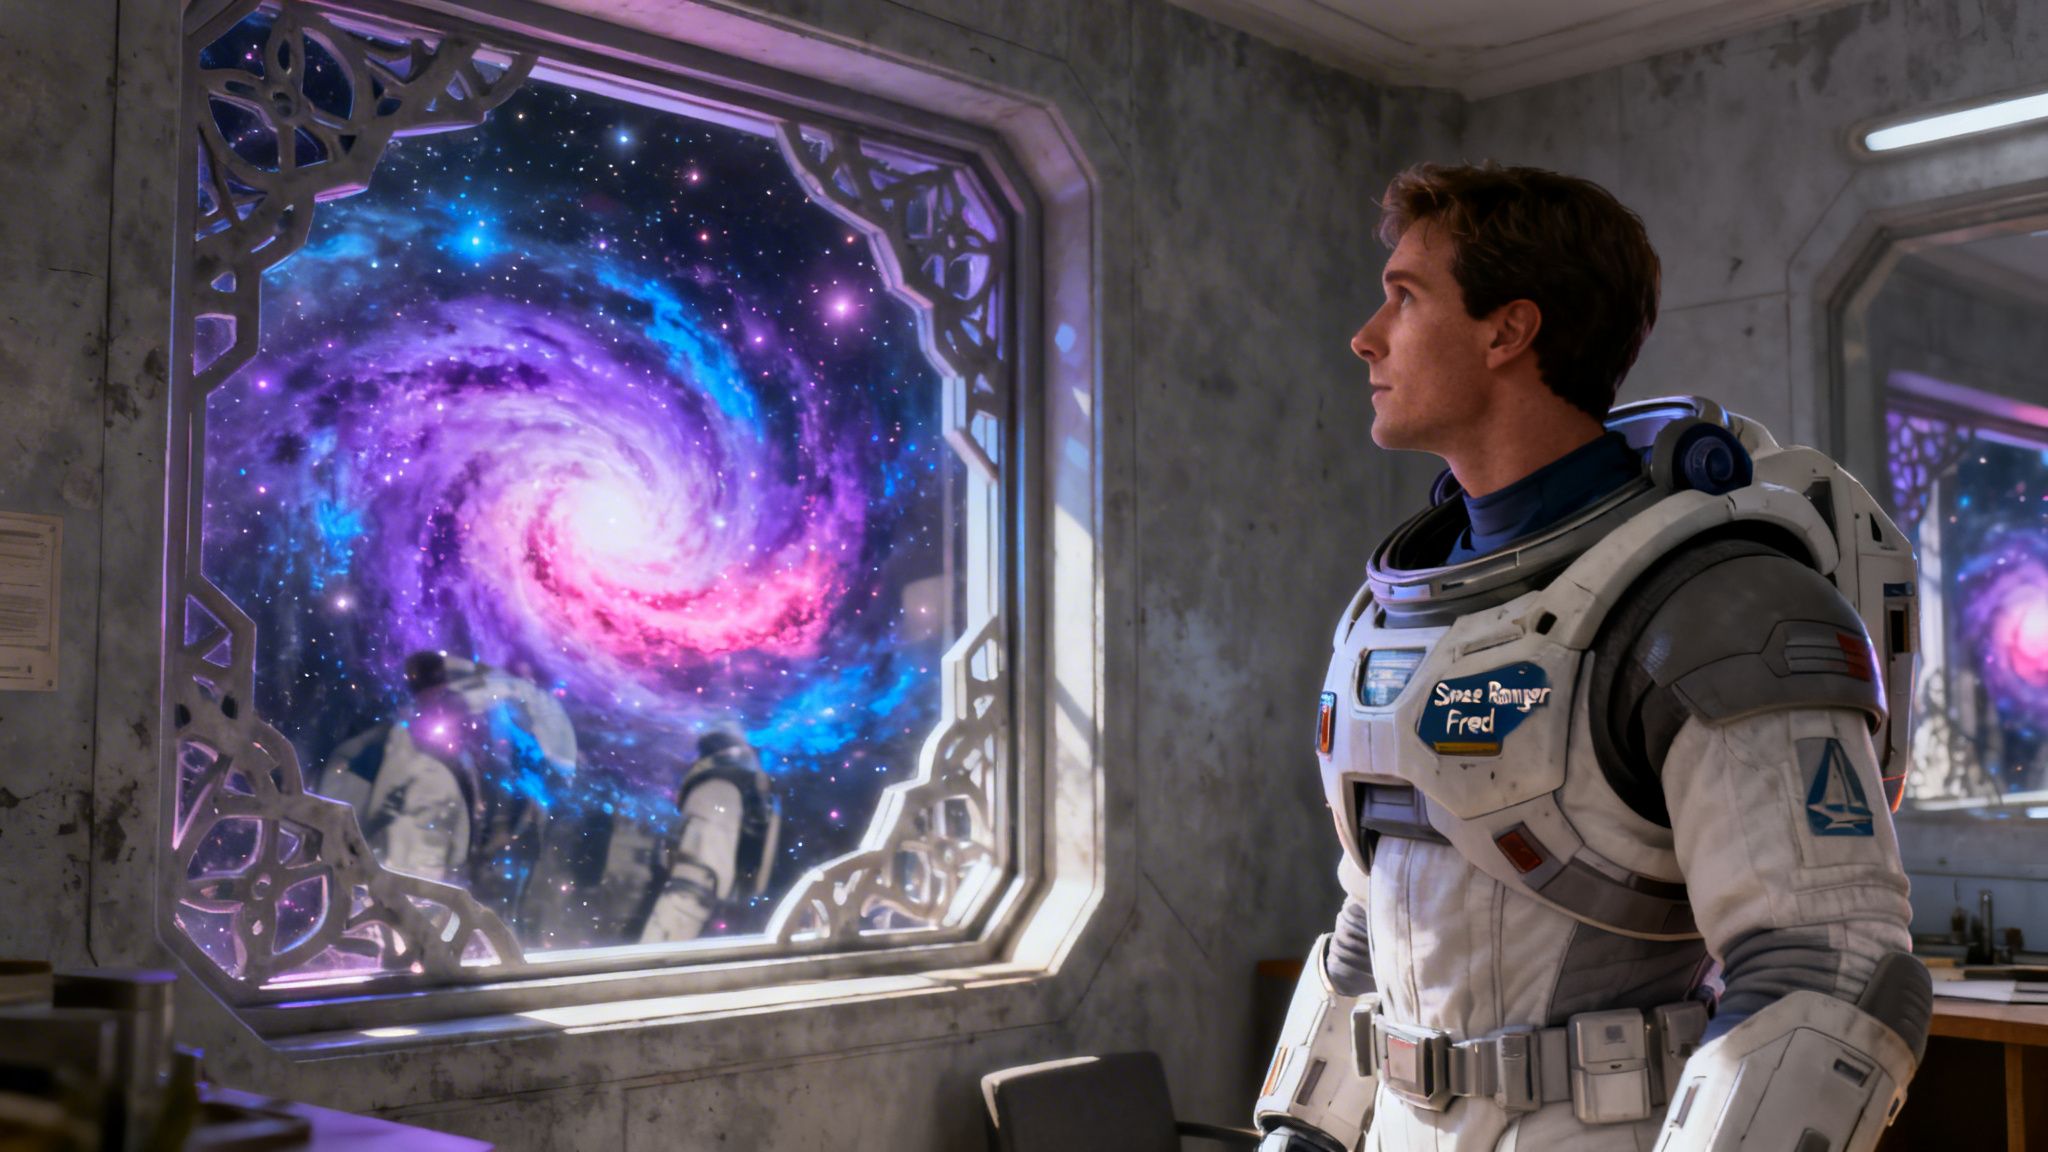
Turn Your Windows into a Cosmic Art Gallery
Space explorers spend a lot of time staring through windows. Not because they are bored. Because windows are where wonder sneaks in.
A child does the same thing. They look outside and notice puddles, clouds, pigeons, sunbeams, and the strange way light changes everything. Add a colourful craft to that window, and suddenly the room feels less like a classroom or kitchen and more like mission control.
Why this craft feels special
This project borrows an old idea and gives it a playful twist. In the UK, evidence of stained glass goes back to 675 AD, when Benedict Biscop imported French glaziers for his monastery at Monkwearmouth, as noted in this history of stained glass. That is a lovely reminder that people have been chasing coloured light for a very long time.
Children do not need a cathedral window to feel that excitement. They need paper, colour, and a bit of sunlight.
Why teachers and families keep looking for better templates
Adults often want a craft that does more than keep hands busy. They want something that opens a conversation.
That matters because 68% of primary schools integrate STEM through arts projects, yet only 12% of online templates include science themes such as astronomy or space adventures, according to this teaching resource discussion. So there is a gap between “nice colouring sheet” and “art activity with a learning spark”.
Mission idea: Ask children, “If your window showed a planet, a rocket, or an alien city, what colours would you choose and why?”
A good stain glass window template can do three jobs at once:
- Art job: It gives children a bold outline to fill.
- Story job: It turns shapes into rockets, moons, stars, or friendly creatures.
- Science job: It helps children notice how light passes through some materials and not others.
That is why this craft works so well at home, in primary classrooms, in libraries, and during themed events. It is calm enough for quiet time. It is exciting enough to feel like a mission.
Mission Prep Your Essential Craft Supplies
Every crew needs a kit check before launch. The good news is that this mission uses simple gear.
You do not need soldering irons, heavy glass tools, or a workshop. For a child-friendly version, most adults already have the basics somewhere between the glue sticks and the mystery drawer of tangled string.
Your basic mission kit
For the classic tissue-paper version, gather:
- Printed template: A bold design with clear sections
- Black card or printed outline sheet: This creates the window frame look
- Tissue paper: Bright colours work best
- Child-safe scissors: For cutting shapes or trimming edges
- Glue stick or PVA glue: Glue stick is tidier, PVA gives stronger hold
- Clear contact paper or laminating pouch: Helpful if you want a see-through finish
- Tape: To attach the finished piece to a window
- Tray or mat: Very wise if your crew gets enthusiastic with glue
If you are leading younger children, pre-cutting some pieces is not cheating. It is excellent mission planning.
Choose Your Colour-Filling Technique
| Material | Difficulty | Mess Level | Best For Ages | Finished Look |
|---|---|---|---|---|
| Tissue paper | Easy | Medium | Younger children with help, and older children working independently | Soft, glowing, slightly patchy in a lovely way |
| Cellophane | Easy to medium | Low | Children who want brighter blocks of colour | Shiny, bold, crisp |
| Window crayons | Easy | Low to medium | Quick activities and short attention spans | Bright and temporary |
| Window paint | Medium | High | Older children with close supervision | Strong colour, more polished look |
| Coloured acetate | Medium | Low | Class displays and reusable pieces | Smooth, neat, durable |
| Vinyl stickers | Easy | Low | Shared spaces such as libraries | Clean, peel-and-place finish |
How to choose without overthinking
Some adults freeze at the supply stage. That is normal. The options can feel oddly serious for what is basically “let us stick colourful things to paper”.
Use this simple rule:
- Choose tissue paper if you want texture and easy layering.
- Choose cellophane if you want stronger light shining through.
- Choose contact paper if you want less glue chaos.
- Choose vinyl or acetate if you need a tidier setup in a library or shared room.
Quick tip: If your group includes children who do not enjoy sticky fingers, prepare pieces in small bowls so they can pick and place rather than tear and scramble.
A few practical choices that help
Black outlines usually look best because they mimic the dark leading lines of traditional stained glass. Thick outlines also help children stay inside each section without feeling trapped by tiny details.
If you are printing your own stain glass window template, choose designs with larger spaces first. A simple rocket with five or six sections is often more satisfying than a swirling galaxy packed with tiny stars. Tiny stars look heroic on paper. They look less heroic when someone has to glue them.
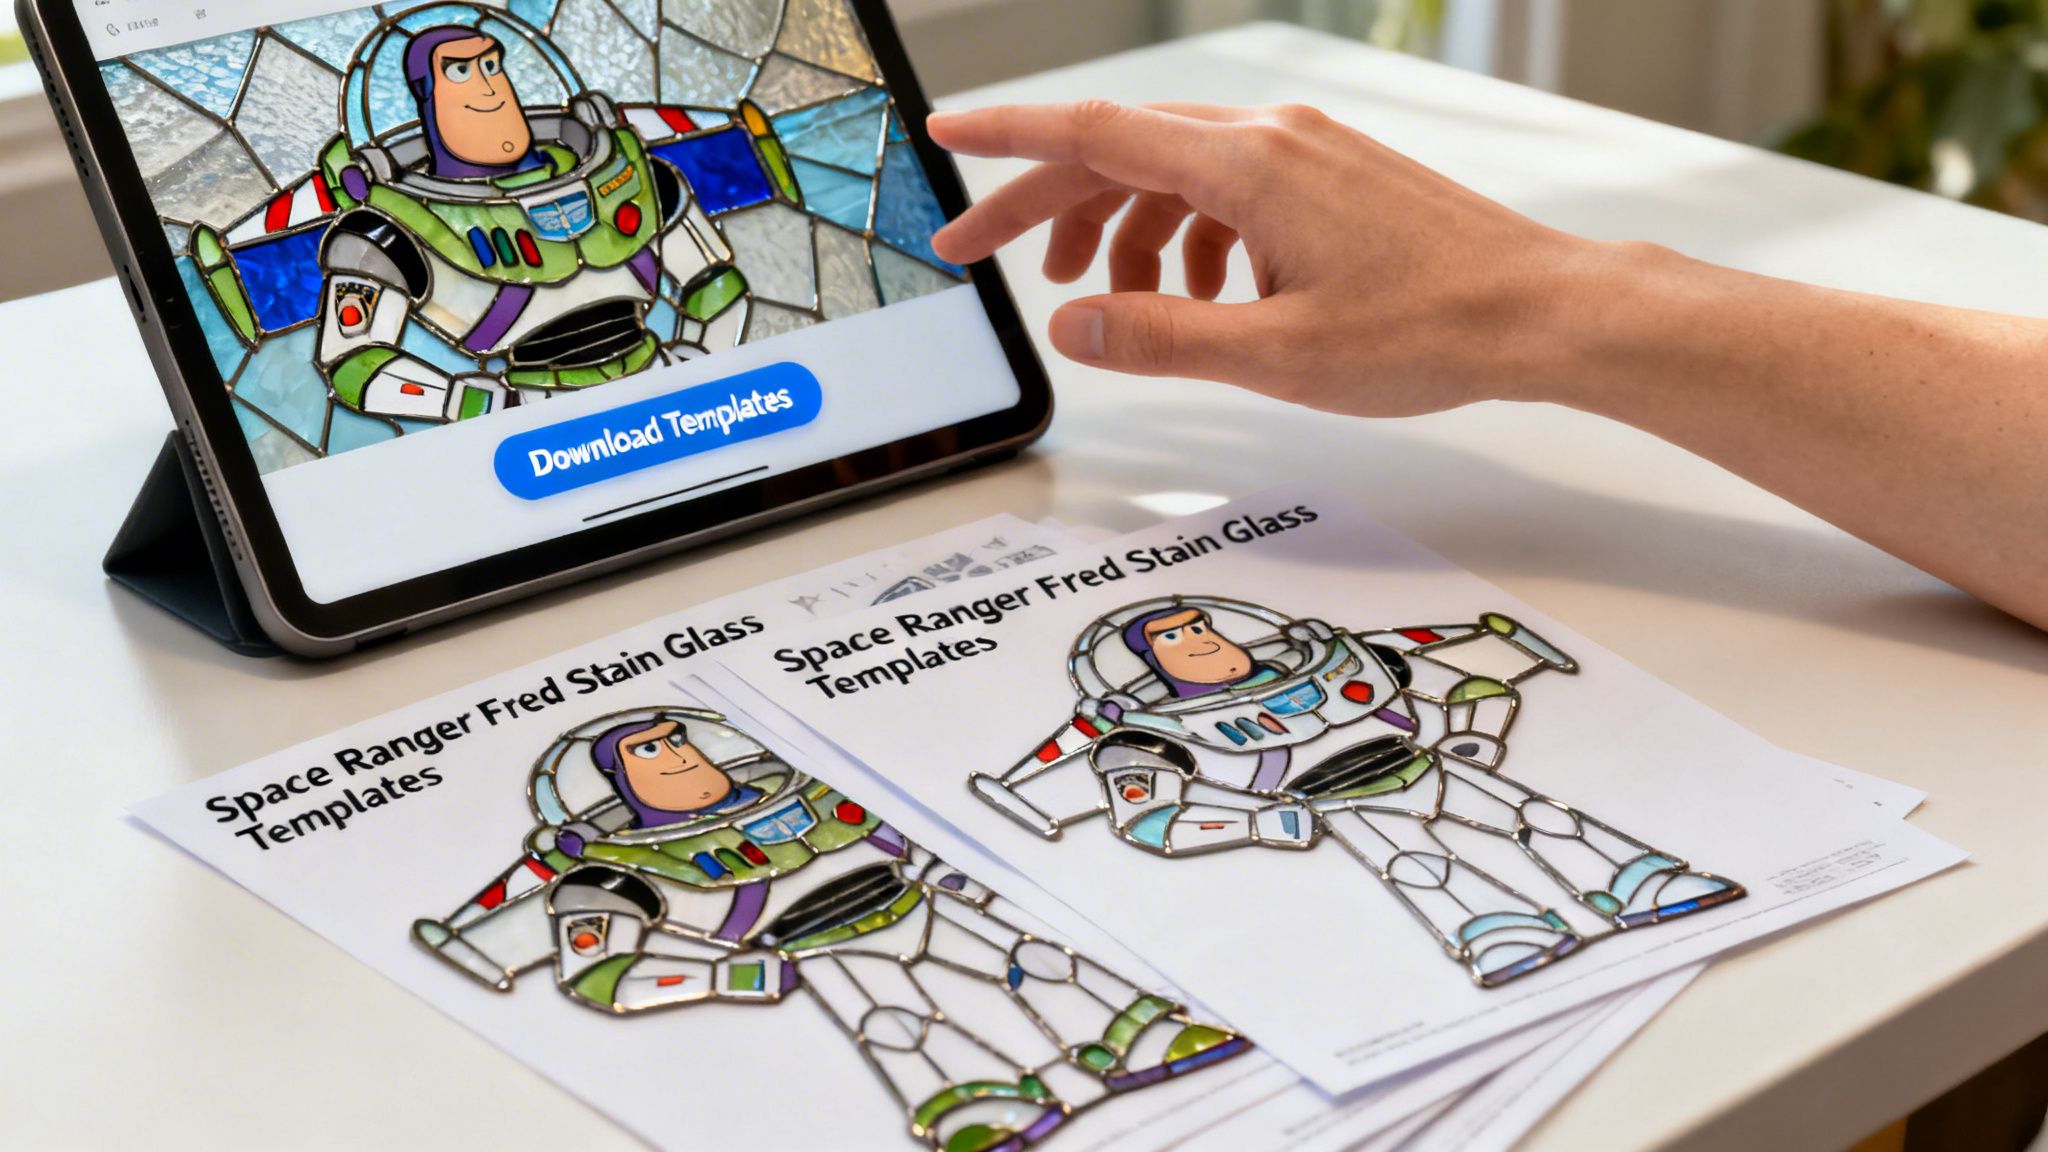
Download Your Free Space Ranger Fred Templates
Some crafts begin with a blank page. This one begins with a mission map.
If you want a ready-to-use stain glass window template, try designs that turn the activity into a story prompt as well as an art task. A rocket can launch a conversation about planets. A moon can lead to a poem. A cheerful alien can become the star of a library display.
Templates with bold shapes are especially useful for mixed-age groups. Younger children can focus on choosing colours. Older children can add storytelling, labels, or background details.
A handy starting point is this printable activity page at https://www.spacerangerfred.com/2026/03/13/template-of-a-balloon/. Even if you adapt the idea into a more cosmic design, it shows the value of a clear outline and a simple shape. That makes the craft feel achievable from the start.
What to look for in a good template
A strong template usually has:
- Clear sections: Easy to fill with tissue or cellophane
- Bold outlines: Helpful for cutting and sticking
- Recognisable shapes: Planets, stars, rockets, moons
- Room for choice: Enough freedom for children to invent their own colour story
Good templates do not do all the thinking for the child. They give structure, then step aside.
Your Step-by-Step Guide to Creating Cosmic Art
Commander, your crew is ready for launch.
One moment the table is covered with paper scraps and sticky fingers. A little later, the window glows with rockets, moons, and planets as if your classroom or living room has joined the space program. That is the magic of this mission. Children are making art, but they are also building a picture that light can bring to life.
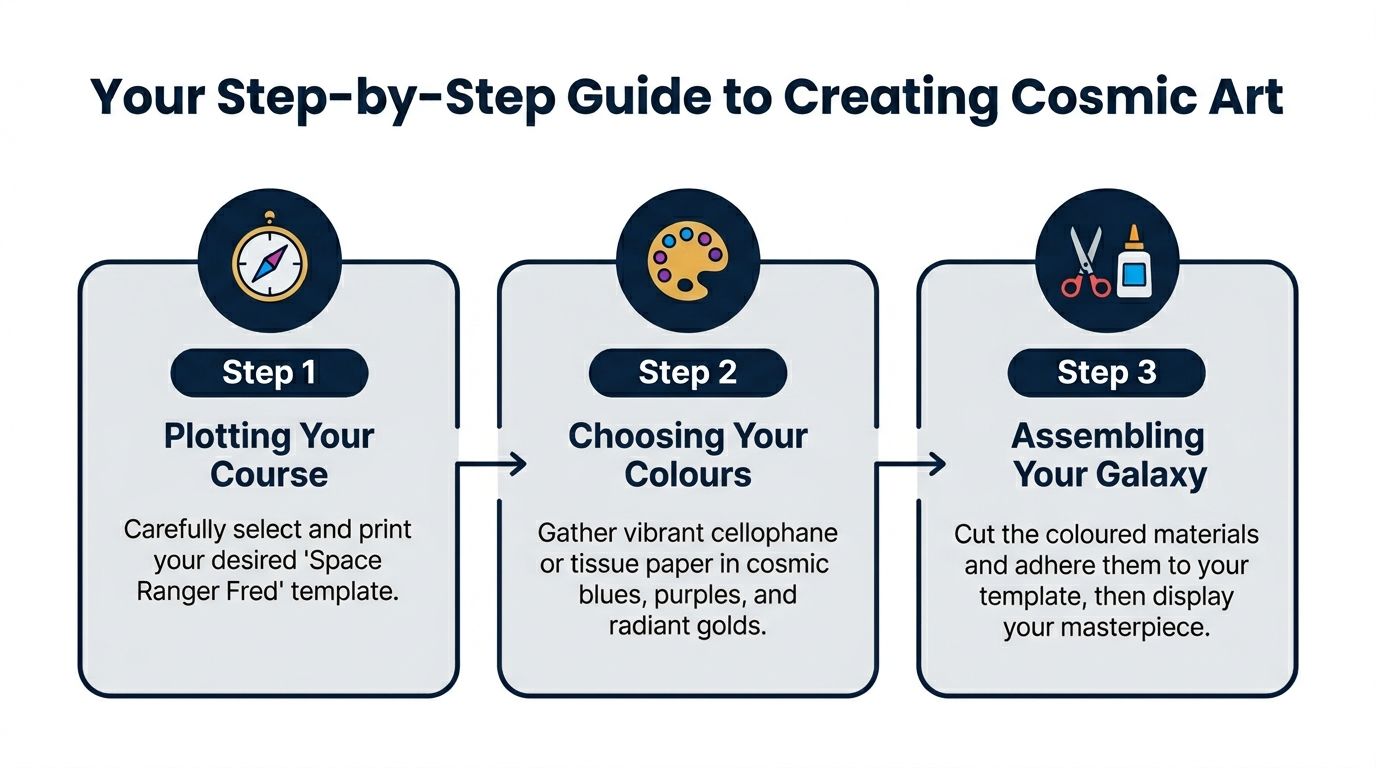
Plotting your course
Set out your printed template and give everyone a quick look at the mission map before any cutting or sticking begins. If you are using black card, cut out the inner sections first so the colour can shine through later. If that sounds fiddly for younger cadets, tracing the template lines with a thick black marker works well too.
Now ask the question that turns a simple craft into a story.
What is happening in this window?
Perhaps Space Ranger Fred is zooming past a ringed planet. Perhaps an alien is waving from a crater. Perhaps your crew has discovered a rainbow nebula nobody has named yet. A clear idea helps children choose colours with purpose instead of grabbing the nearest scrap and hoping for the best.
Building your colour plan
Spread out the tissue paper or cellophane and let children sort it before they glue anything down. This small pause saves a lot of mid-mission chaos.
You can group colours in a simple way:
- Cool colours: blue, green, violet
- Warm colours: red, orange, yellow
- Space extras: silver foil, translucent white, a tiny sprinkle of glitter
Some children like tidy squares. Others tear jagged pieces that look like asteroid shards. Both are useful. Neat pieces create clear sections, while torn pieces overlap beautifully and make the finished stain glass window template glow with more variety.
A child might ask, “Can my moon be orange?” Yes. Real observation is welcome. Inventive space storytelling is welcome too.
A short video can also help visual learners see the general process before they begin:
Assembling your galaxy
If you are using contact paper, place it sticky side up and lower the outline onto it carefully. If you are using glue, work in small areas so the paper stays manageable and children do not end up with one giant shiny puddle.
Add coloured pieces behind each open section of the template. Overlap the edges a little. That helps cover gaps and gives the colours a layered, jewel-like look when sunlight comes through. If a gap does appear, no alarms are needed. Tiny clear spots often look like stars.
This part can feel exciting and chaotic at the same time, so give one calm instruction again and again: one section at a time.
Flight control tip: Finishing one panel before starting the next keeps the design clear and saves many brave adults from glue-related distress.
When all the sections are filled, press everything flat, trim the loose edges, and tape the finished piece to a bright window. The reveal is often the best moment in the whole mission.
Helping children past the “oops” moment
The biggest obstacle is usually not scissors or glue. It is that sudden frown when a child decides the whole thing is ruined because one colour landed in the “wrong” place.
That is your chance to guide them like a steady mission commander.
Try language like this:
- I think this section needs a new colour.
- I try layering another piece on top.
- I can solve the problem.
- I can explain why I chose these colours.
That last sentence matters because it adds reflection. Children are not only making a pretty window. They are testing ideas, making choices, and explaining their design like young artists and scientists.
If your crew enjoys making customised projects beyond window art, this complete crafting guide gives adults more ideas for themed making across different materials.
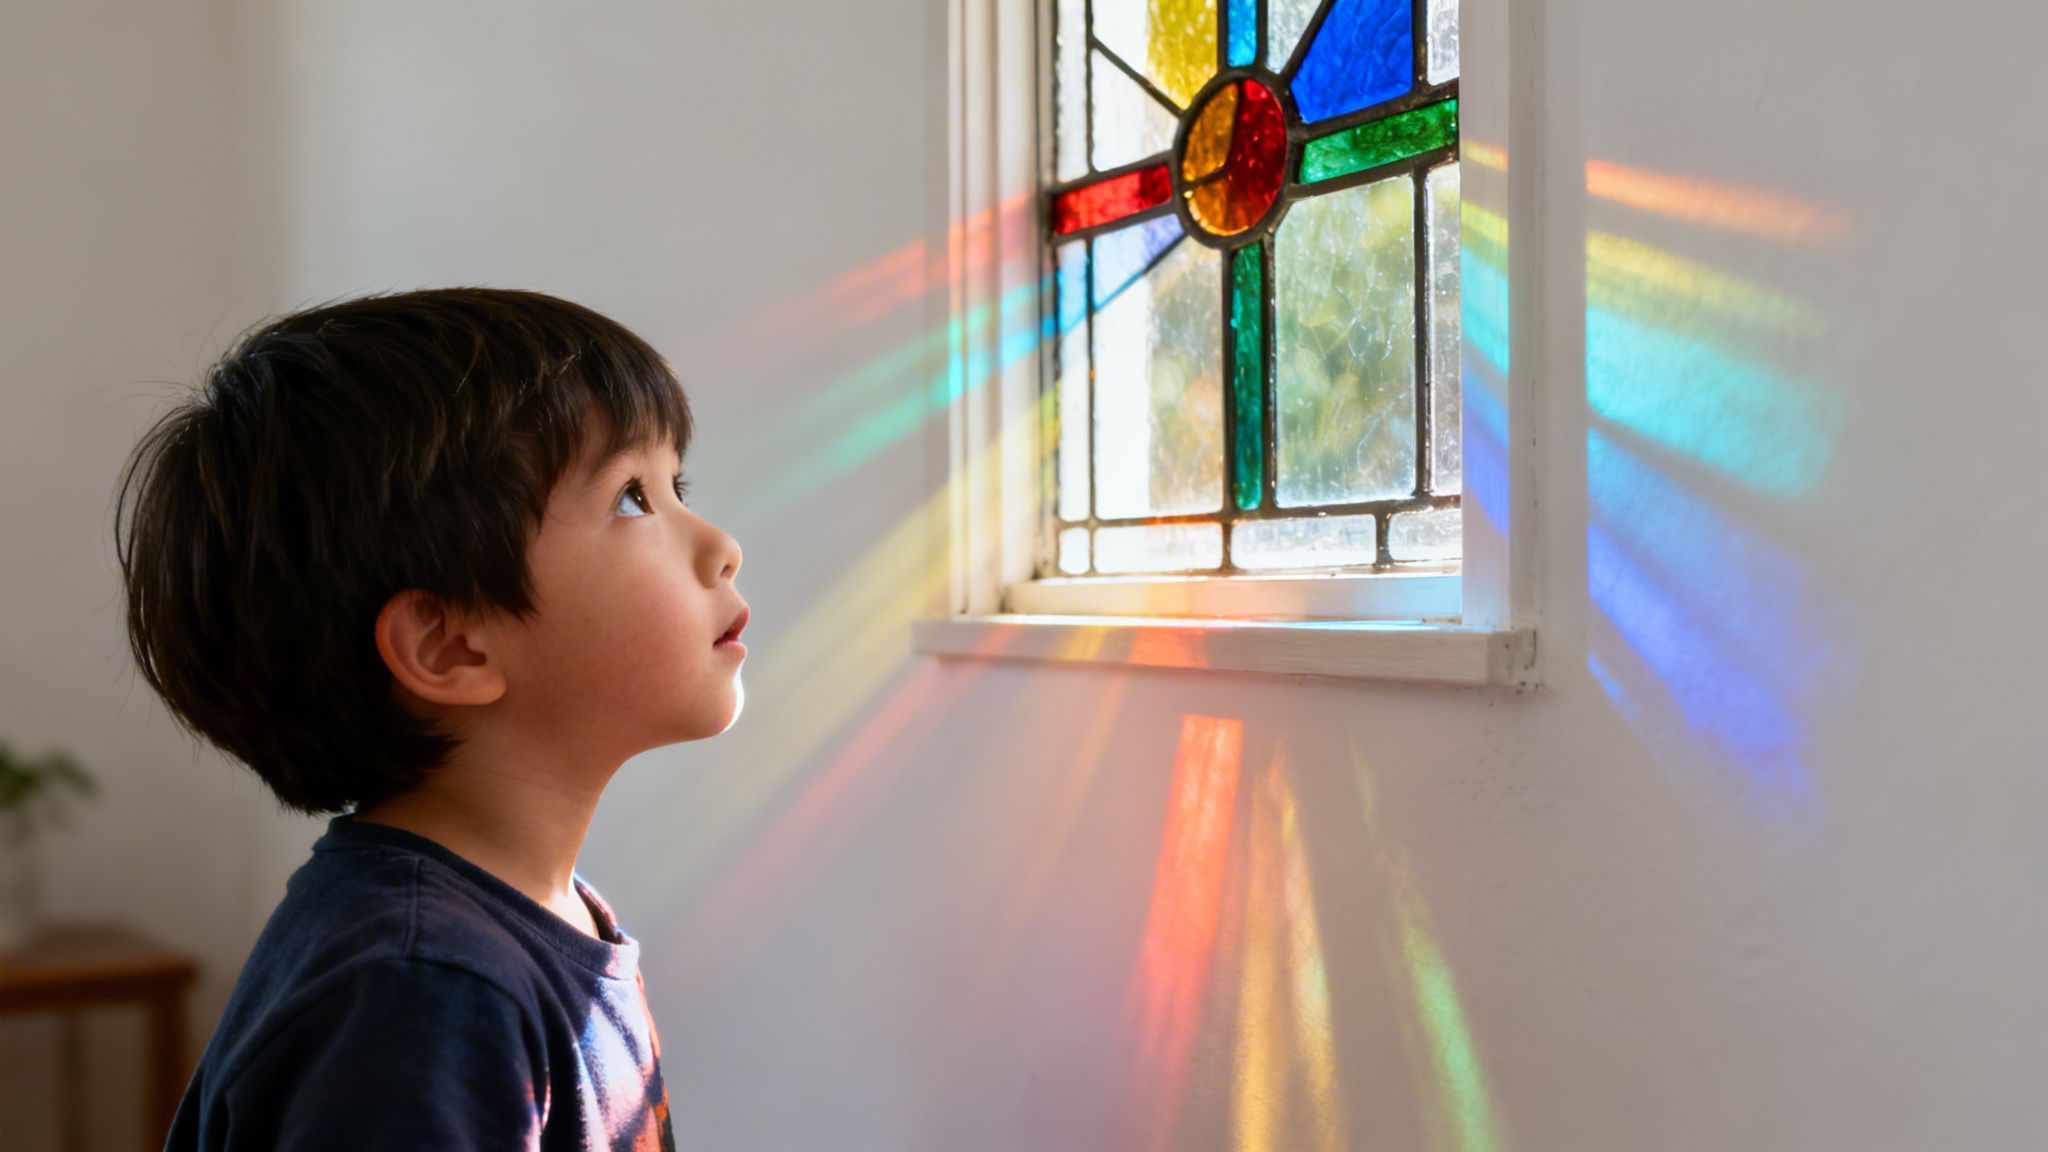
The Secret Science of Light and Colour
The clever part of this craft happens after you finish it. You tape it to the window, the sun shines through, and everyone goes a bit quiet for a second.
That glow is science.
What light is doing
Sunlight looks white, but it carries many colours. Consider it a team of tiny colour travellers all arriving together.
When light hits your craft, the coloured material acts like a filter. Blue tissue lets more blue light through. Red cellophane lets more red light through. That is why your window changes the colour of the light you see.
Two useful science words
Here are two words children can use proudly at the end of the mission:
- Translucent: lets some light through
Tissue paper and cellophane are translucent. - Opaque: blocks light
Cardboard and thick black paper are opaque.
If you want to stretch the science chat a bit further, this child-friendly look at the electromagnetic spectrum can help older children connect visible light to the bigger idea of how energy travels.
A simple experiment to try
Hold up different materials to the window:
- tissue paper
- plain printer paper
- foil
- clear plastic
Ask:
- Which lets light through?
- Which changes the colour?
- Which blocks it completely?
That gives children a practical way to say, “I can explain what my window does.”
Science shortcut: Your craft is not making light. It is filtering light.
If children become fascinated by why colours mix and change, a visual complete color mixing chart can help adults guide those follow-up questions in a simple way.
More Creative Missions and Troubleshooting Tips
Some crews finish one window and immediately ask for a second mission. Excellent. That means morale is high.
Others hit a bump halfway through and someone glues a sleeve to the table. Also normal.
Side quests for different settings
Try these variations if you want a different finish or a calmer setup:
- Contact paper version: Put the sticky side up and press bits of tissue or cellophane straight onto it. This works well for younger children.
- Black glue outlines: Draw raised lines first, let them dry, then fill the spaces with colour. This looks dramatic but needs patience.
- Sticker window art: Use translucent coloured stickers for a low-mess library activity.
- Collage frame version: Build a paper frame, fill it from behind, then hang it with string.
If you want more themed making ideas, this collection of space crafts for kids offers handy inspiration for extending the activity into a full reading or STEM session.
Common mission hiccups
Here are the usual gremlins and what to do about them.
- Tissue paper tears: Use smaller pieces and dab rather than drag glue.
- Too much glue: Swap to glue sticks, or put PVA into a small dish and apply with a cotton bud.
- The window looks muddy: Limit the number of overlapping dark colours.
- It curls up: Press the finished piece under a book once dry.
- Children lose confidence: Offer two colour choices instead of ten. Fewer choices can feel safer.
Making it more inclusive
This matters in every classroom and shared setting. Ofsted’s 2025 UK SEN review highlights 1.5 million pupils, or 18% of primaries, needing simplified, large-section templates for colouring activities, while many online resources still lack inclusive features such as numbered sections or low-vision outlines, according to this SEN resource reference.
That means a better stain glass window template should be easier to read and easier to handle.
Helpful adaptations include:
- Larger sections: Easier for cutting, placing, and seeing
- Numbered areas: Helpful for sequencing and confidence
- Thicker outlines: Better visual contrast
- Pre-cut shapes: Reduces fine motor strain
- Alternative tools: Chunky glue sticks, adaptive grips, sticker materials
Inclusive mission rule: Neater is not better. More accessible is better.
Some children will prefer choosing colours. Some will prefer sticking pre-cut pieces. Some will enjoy explaining the science while an adult helps with assembly. All of those are valid ways to take part.
Your Adventure in Art and Science Is Complete
A sheet of paper, a handful of colour, and a patch of light can do quite a lot. They can brighten a room. They can start a story. They can help a child notice how light works without needing a long science lecture.
That is why this craft lasts.
A stain glass window template gives children structure, but it also leaves room for invention. They make choices. They test ideas. They explain what happened. That is a strong little chain of learning.
You can hear it in the language children use afterwards.
“I thought yellow would look like a star.”
“I tried layering blue and purple.”
“I can make another one.”
“I can explain why the light changed colour.”
That is not just crafting. That is confidence in action.
Keep the finished pieces in the window for a few days if you can. Let children revisit them in morning light, afternoon light, and grey weather. Every change becomes a tiny observation. Every observation becomes part of the mission log.
If your crew loved this adventure, explore more stories, activities, and cosmic fun with Space Ranger Fred. You can find books that blend humour, reading, and STEM, plus creative resources for home and school. Teachers and librarians can also look into interactive school visits that use storytelling and space-themed learning to build confidence, reading enthusiasm, and classroom communication. Learning should be experienced, not just delivered.